Send data to a new screen
Oftentimes, we not only want to navigate to a new screen, but also pass some data to the screen as well. For example, we often want to pass information about the item we tapped on.
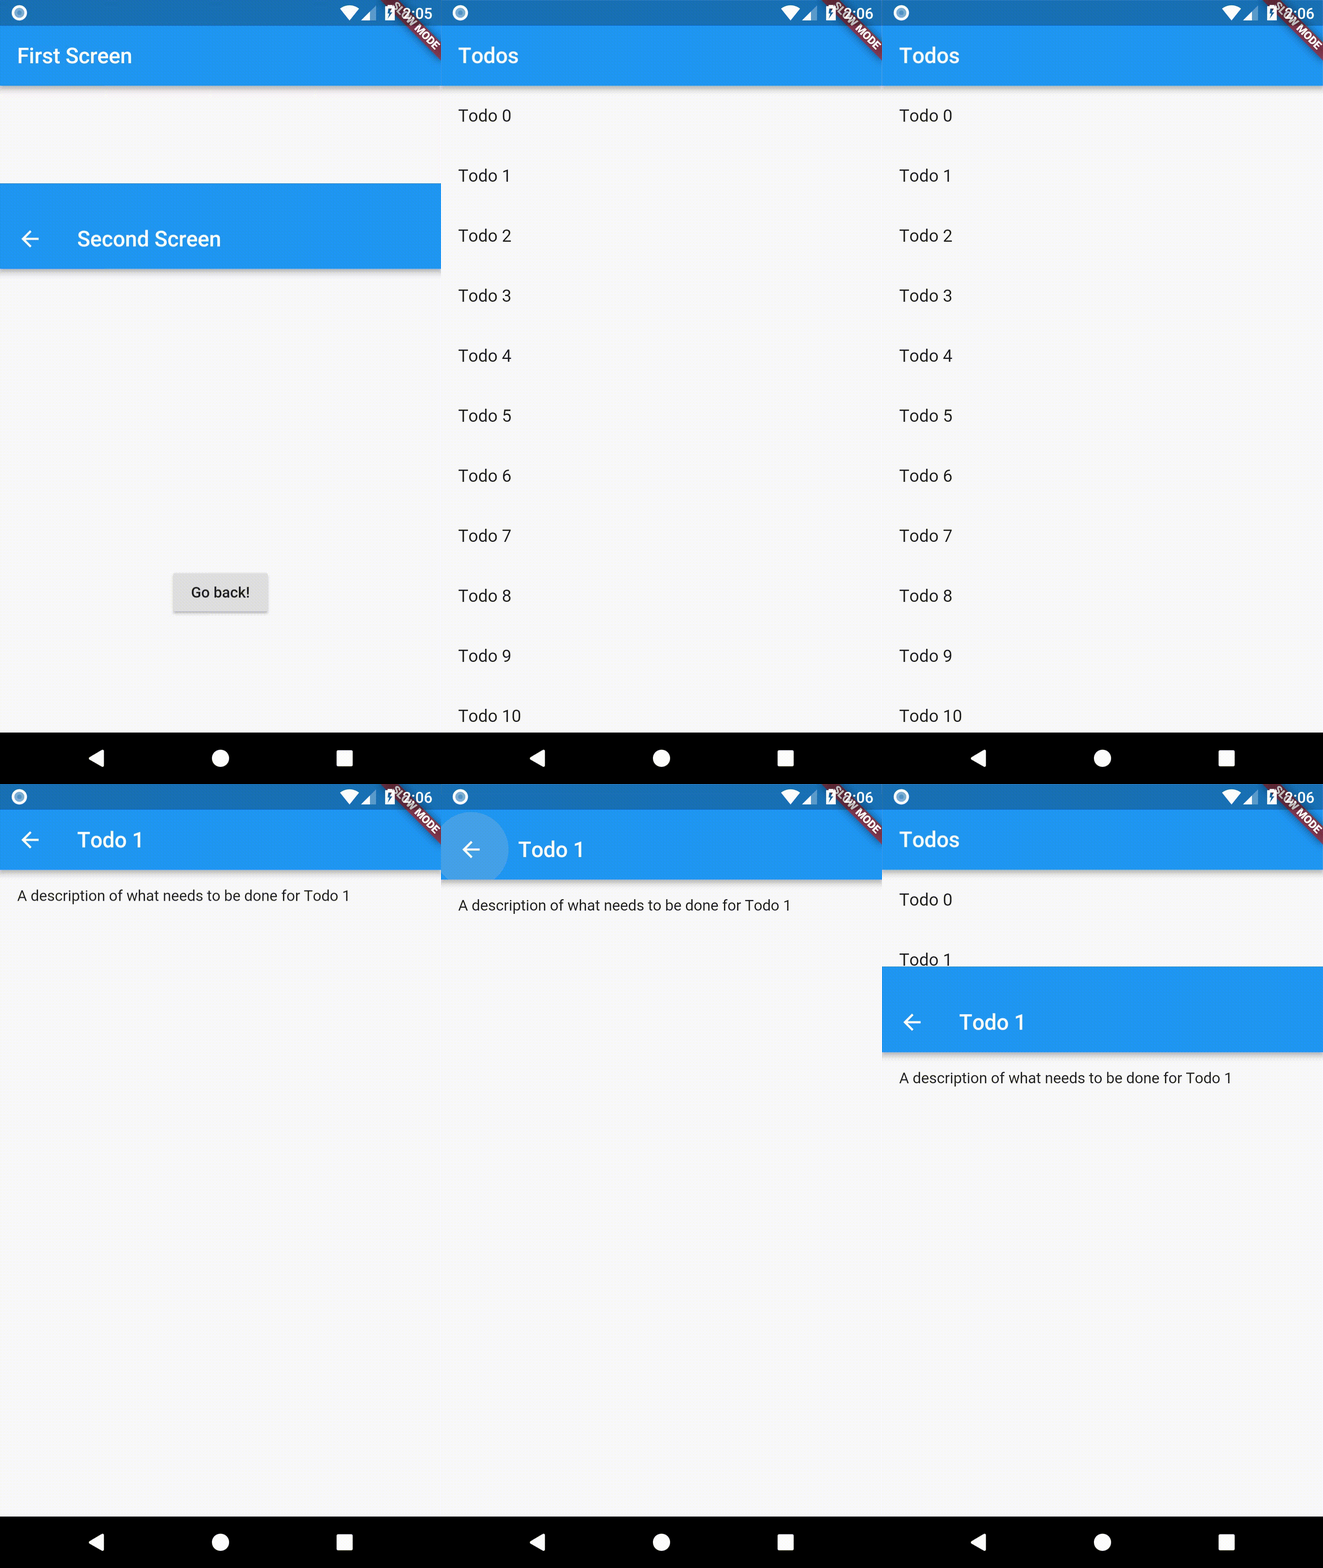
Remember: Screens are Just Widgets™. In this example, we’ll create a List of Todos. When a todo is tapped on, we’ll navigate to a new screen (Widget) that displays information about the todo.
Directions
- Define a Todo class
- Display a List of Todos
- Create a Detail Screen that can display information about a todo
- Navigate and pass data to the Detail Screen
1. Define a Todo class
First, we’ll need a simple way to represent Todos. For this example, we’ll create a class that contains two pieces of data: the title and description.
class Todo {
  final String title;
  final String description;

  Todo(this.title, this.description);
}
2. Create a List of Todos
Second, we’ll want to display a list of Todos. In this example, we’ll generate 20 todos and show them using a ListView. For more information on working with Lists, please see the Basic List recipe.
Generate the List of Todos
final todos = List<Todo>.generate(
  20,
  (i) => Todo(
        'Todo $i',
        'A description of what needs to be done for Todo $i',
      ),
);
Display the List of Todos using a ListView
ListView.builder(
  itemCount: todos.length,
  itemBuilder: (context, index) {
    return ListTile(
      title: Text(todos[index].title),
    );
  },
);
So far, so good. We’ll generate 20 Todos and display them in a ListView!
3. Create a Detail Screen that can display information about a todo
Now, we’ll create our second screen. The title of the screen will contain the title of the todo, and the body of the screen will show the description.
Since it’s a normal StatelessWidget, we’ll simply require that users creating the Screen pass through a Todo! Then, we’ll build a UI using the given Todo.
class DetailScreen extends StatelessWidget {
  // Declare a field that holds the Todo
  final Todo todo;

  // In the constructor, require a Todo
  DetailScreen({Key key, @required this.todo}) : super(key: key);

  @override
  Widget build(BuildContext context) {
    // Use the Todo to create our UI
    return Scaffold(
      appBar: AppBar(
        title: Text(todo.title),
      ),
      body: Padding(
        padding: EdgeInsets.all(16.0),
        child: Text(todo.description),
      ),
    );
  }
}
4. Navigate and pass data to the Detail Screen
With our DetailScreen in place, we’re ready to perform the Navigation! In our case, we’ll want to Navigate to the DetailScreen when a user taps on a Todo in our List. When we do so, we’ll also want to pass the Todo to the DetailScreen.
To achieve this, we’ll write an onTap callback for our ListTile Widget. Within our onTap callback, we’ll once again employ the Navigator.push method.
ListView.builder(
  itemCount: todos.length,
  itemBuilder: (context, index) {
    return ListTile(
      title: Text(todos[index].title),
      // When a user taps on the ListTile, navigate to the DetailScreen.
      // Notice that we're not only creating a DetailScreen, we're
      // also passing the current todo to it!
      onTap: () {
        Navigator.push(
          context,
          MaterialPageRoute(
            builder: (context) => DetailScreen(todo: todos[index]),
          ),
        );
      },
    );
  },
);
Complete example
import 'package:flutter/foundation.dart';
import 'package:flutter/material.dart';

class Todo {
  final String title;
  final String description;

  Todo(this.title, this.description);
}

void main() {
  runApp(MaterialApp(
    title: 'Passing Data',
    home: TodosScreen(
      todos: List.generate(
        20,
        (i) => Todo(
              'Todo $i',
              'A description of what needs to be done for Todo $i',
            ),
      ),
    ),
  ));
}

class TodosScreen extends StatelessWidget {
  final List<Todo> todos;

  TodosScreen({Key key, @required this.todos}) : super(key: key);

  @override
  Widget build(BuildContext context) {
    return Scaffold(
      appBar: AppBar(
        title: Text('Todos'),
      ),
      body: ListView.builder(
        itemCount: todos.length,
        itemBuilder: (context, index) {
          return ListTile(
            title: Text(todos[index].title),
            // When a user taps on the ListTile, navigate to the DetailScreen.
            // Notice that we're not only creating a DetailScreen, we're
            // also passing the current todo through to it!
            onTap: () {
              Navigator.push(
                context,
                MaterialPageRoute(
                  builder: (context) => DetailScreen(todo: todos[index]),
                ),
              );
            },
          );
        },
      ),
    );
  }
}

class DetailScreen extends StatelessWidget {
  // Declare a field that holds the Todo
  final Todo todo;

  // In the constructor, require a Todo
  DetailScreen({Key key, @required this.todo}) : super(key: key);

  @override
  Widget build(BuildContext context) {
    // Use the Todo to create our UI
    return Scaffold(
      appBar: AppBar(
        title: Text(todo.title),
      ),
      body: Padding(
        padding: EdgeInsets.all(16.0),
        child: Text(todo.description),
      ),
    );
  }
}


