更改选择器顺序(Changing Selector Order)
优质
小牛编辑
148浏览
2023-12-01
描述 (Description)
在更改选择器排序时,将选择器预先添加到继承的(父)选择器非常有用。 这是通过在选择器后面放置&来实现的。 例如,使用Modernizer时,您可能希望根据支持的功能指定不同的规则。
例子 (Example)
以下示例演示了如何在LESS文件中使用changing selector order -
<html>
   <head>
      <link rel = "stylesheet" href = "changing_selector_order.css" type = "text/css" />
      <title>Parent Selector</title>
   </head>
   <body>
      <div class = "header">
         <div class = "menu">
            <h2>Welcome to xnip</h2>
            <p>It is possible to reference the parent selector by using &(ampersand) operator.</p>
         </div>
      </div>
   </body>
</html>
现在,创建style.less文件。
style.less
.header {
   .menu {
      border-radius: 5px;
      border: 1px solid red;
      & {
         padding-left: 200px;
      }
   }
}
您可以使用以下命令将style.less文件编译为style.css -
lessc style.less style.css
执行上面的命令; 它将使用以下代码自动创建style.css文件 -
style.css
.header .menu {
   border-radius: 5px;
   border: 1px solid red;
   padding-left: 200px;
}
.no-borderradius & selector将在其父选择器.header .menu .no-borderradius .header .menu
输出 (Output)
请按照以下步骤查看上述代码的工作原理 -
将上述html代码保存在changing_selector_order.htm文件中。
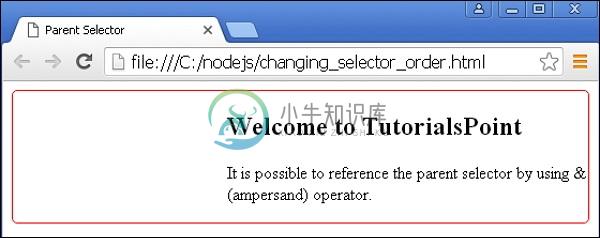
在浏览器中打开此HTML文件,将显示以下输出。


