TensorFlow安装
精华
小牛编辑
143浏览
2023-03-14
要安装TensorFlow,首先要在系统中安装“Python”,Python 3.4+版本兼容TensorFlow是最好的。
注:目前为止,TensorFlow还不支持Python3.7+以上版本,这里将安装Python3.5版本。
请按照以下步骤在Windows操作系统中安装TensorFlow。
第1步 - 验证已经安装的python版本,如下图所示:

第2步 - 用户可以选择任何方式(机制)在系统中安装TensorFlow。但推荐pip和“Anaconda”。Pip是用于在Python中执行和安装模块的命令。
在安装TensorFlow之前,需要在系统中安装Anaconda框架。Anaconda框架可从以下网址下载:
- https://repo.anaconda.com/archive/ (选择:Anaconda3-5.2.0)
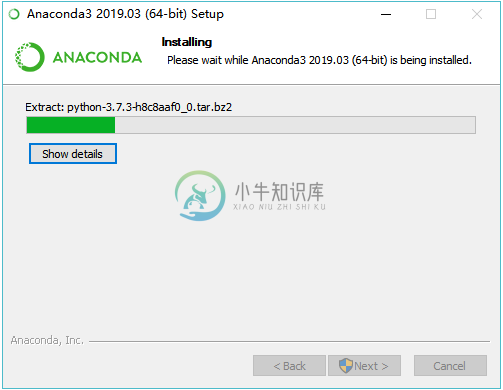
安装成功后,通过conda命令检入命令提示符。命令执行如下 -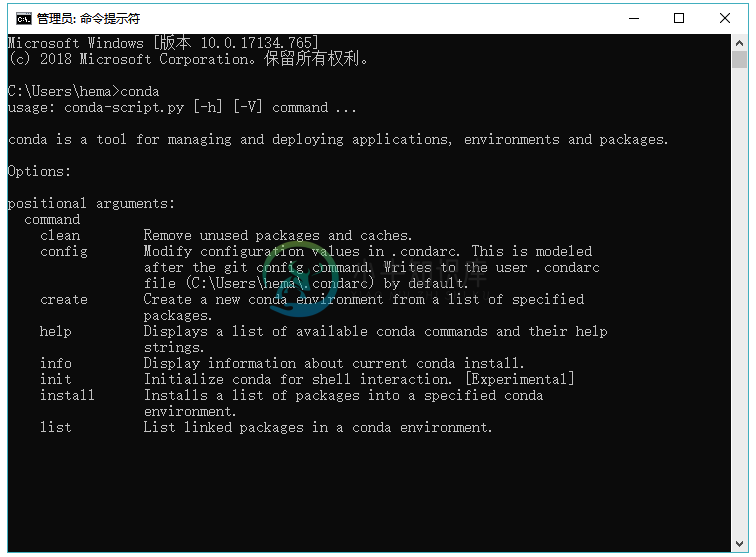
注:没有类似结果,请将
Anaconda3/condabin添加到系统环境变量。
第3步 - 执行以下命令初始化TensorFlow的安装 -
C:/> conda create --name tensorflow python=3.6
它会下载TensorFlow设置所需的必要软件包。
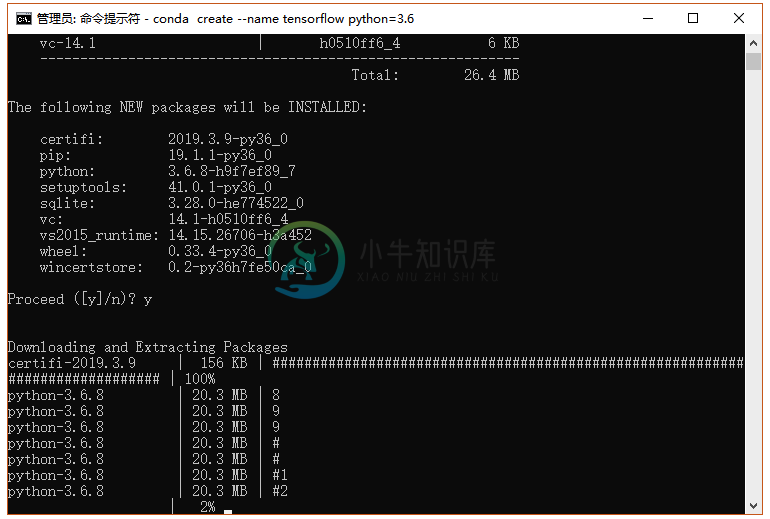
第4步 - 成功完成环境设置后,激活TensorFlow模块非常重要。
C:/> activate tensorflow
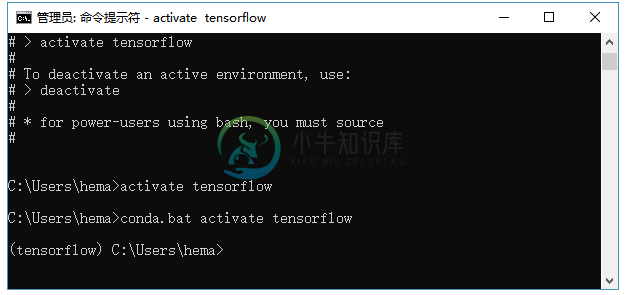
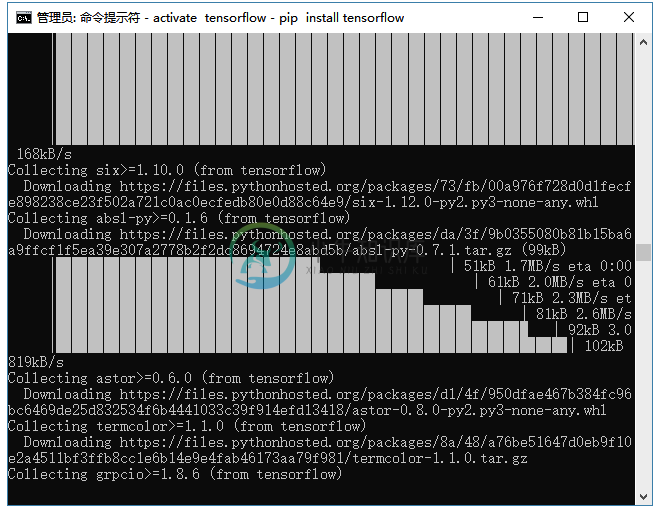
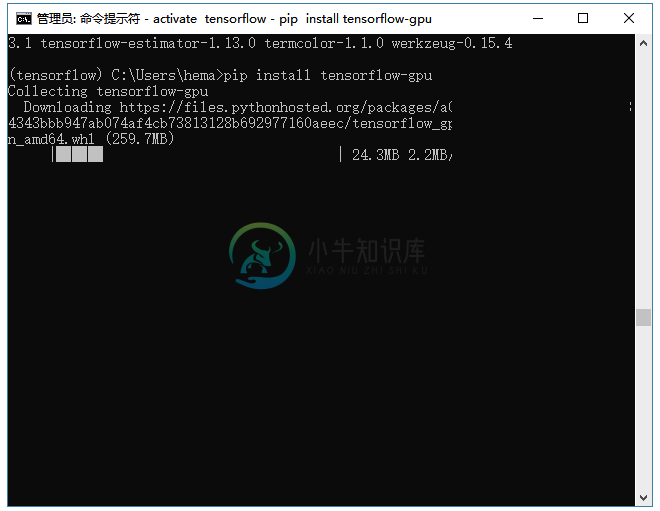
第5步 - 使用pip在系统中安装“Tensorflow”。用于安装的命令如下所述 -
C:/> pip install tensorflow
C:/> pip install tensorflow-gpu
安装成功后,了解TensorFlow的示例程序执行非常重要。
以下示例帮助我们了解TensorFlow中的基本程序创建“Hello World”。
第一个程序实现的代码如下所述 -
>> activate tensorflow
>> python (activating python shell)
>> import tensorflow as tf
>> hello = tf.constant(‘Hello, Tensorflow!’)
>> sess = tf.Session()
>> print(sess.run(hello))
