02 MacOS 下搭建 Python 开发环境
既然要学习 Python,那么肯定要在电脑上安装 Python。这节课我们就来学习下如何在 MacOS 的操作系统下搭建我们的 Python 运行环境:
1. MacOS 的 Python 运行环境
1.1 Python 2 与 Python 3
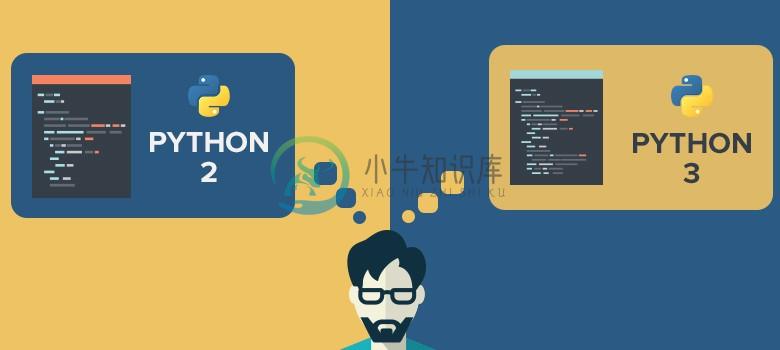
Python 有两个主要的版本: Python 2 与 Python 3。Python 3 相对于 Python 2 是一个重大的升级,Python 3 与 Python 2 两者的语法不兼容。最近这几年 Python 3 逐渐普及、使用率不断上升,Python 2 即将逐步退出历史舞台。因此,新手学习 Python 应该选择 Python 3,在安装 Python 时请注意选择安装 Python 3。
1.2 32 位 Python 与 64 位 Python
- 32 位操作系统与 64 位操作系统
MacOS 操作系统分为 32 位操作系统与 64 位操作系统。在 32 位操作系统中,CPU 一次能处理 32 位的数据,支持内存最多为 4 GB (2 的 32 次方);在 64 位操作系统中,CPU 一次能处理 64 位的数据,支持内存可以超过 4 GB (2 的 32 次方)。通常情况下,内存超过 4 GB 时,应该选择安装 64 位操作系统。
- 32 位 Python 与 64 位 Python
根据操作系统的位数,Python 分为 32 位 Python 与 64 位 Python。在 32 位操作系统中,只能运行 32 位 Python;在 64 位操作系统中,既能运行 32 位 Python 也能运行 64 位 Python。
1.3 MacOS 对 Python 的支持
MacOS 是一套运行于苹果电脑上的操作系统。MacOS 的内核与 Linux 的内核存在相似之处,尤其是在命令行环境下,在两个操作系统之间存在大量的类似命令和软件。在 MacOS 环境中的 Python 使用方法与在 Linux 环境中的 Python 使用方法几乎完全相同。
MacOS 对 Python 的支持具有如下特点:
MacOS 已经自带了 Python 2 软件,但是没有自带 Python 3 软件。因为 Python 2 即将退出历史舞台,Python 3 是学习和应用的主流,因此用户需要单独安装 Python 3 软件。
在 MacOS 中,Python 2 的程序名称为 python,Python 3 的程序名称为 python3。而在 Windows 中,Python 2 与 Python 3 的程序名称均为 python。目前关于 python 的教程、视频都是针对 Python 3,因此,用户在 MacOS 环境中学习 python 时,请使用命令 python3 进入 Python 环境。
从 2018 年初开始,MacOS 系统开始全面转向 64 位应用了,苹果公司要求所有提交至 MacOS 应用商店的应用程序都必须更新至 64 位。因此在新版本的 MacOS 中,只有 64 位的 Python。
2. 安装步骤
2.1 安装 Homebrew
Homebrew 是运行在 MacOS 下的一款软件包管理工具,提供了诸如安装、卸载、更新、查看、搜索等功能,功能类似于 Ubuntu Linux 的安装包管理工具 apt。
使用命令行方式安装 Homebrew,在 MacOS 的终端中输入:
$ /usr/bin/ruby -e "$(curl -fsSL https://raw.githubusercontent.com/Homebrew/install/master/install)"
以上命令首先使用 curl 命令从网站 raw.githubusercontent.com 下载 Homebrew 的安装脚本,安装脚本是用 Ruby 语言编写的,然后使用 Ruby 执行该安装脚本安装 Homebrew。执行安装脚本时,屏幕输出如下信息:
==> This script will install:
/usr/local/bin/brew
/usr/local/share/doc/homebrew
...

==> The following new directories will be created:
/usr/local/bin
/usr/local/etc
/usr/local/include
/usr/local/lib
...

==> /usr/bin/sudo /bin/mkdir -p /usr/local/bin /usr/local/etc /usr/local/include /usr/local/lib /usr/local/sbin /usr/local/share /usr/local/var /usr/local/opt /usr/local/share/zsh /usr/local/share/zsh/site-functions /usr/local/var/homebrew /usr/local/var/homebrew/linked /usr/local/Cellar /usr/local/Caskroom /usr/local/Homebrew /usr/local/Frameworks
Password:
...

==> Installation successful!
安装脚本在执行过程中要求用户输入密码,获得管理员权限后在系统目录下创建文件。当屏幕出现 “Installation successful!” 表示安装成功。
2.2 安装 Python 3
首先,使用 ‘brew search’ 命令搜索软件仓库的软件,确认软件仓库存在软件 python3,如下所示:
$ brew search python3
==> Formulae
boost-python3       python3             python@3            python@3.8
然后,使用 ‘brew install’ 命令从软件仓库中下载并安装 Python 3,如下所示:
$ brew install python3
Updating Homebrew...
==> Installing dependencies for python: gdbm, openssl@1.1, readline, sqlite and xz
==> Installing python dependency: gdbm
==> Downloading https://homebrew.bintray.com/bottles/gdbm-1.18.1.high_sierra.b

==> python
Python has been installed as
  /usr/local/bin/python3

Unversioned symlinks `python`, `python-config`, `pip` etc. pointing to
`python3`, `python3-config`, `pip3` etc., respectively, have been installed into
  /usr/local/opt/python/libexec/bin

If you need Homebrew's Python 2.7 run
  brew install python@2

You can install Python packages with
  pip3 install <package>
They will install into the site-package directory
  /usr/local/lib/python3.7/site-packages

See: https://docs.brew.sh/Homebrew-and-Python
从以上输出可以看到 Python 3 最终的路径为 /usr/local/bin/python3,Python 3 的程序名称为 python3 而不是 python。
3. 在 MacOS 中运行 Python
3.1 运行 Python
Python 存在两个版本 Python 2 和 Python 3,在 MacOS 中,命令 python 启动的是 Python 2,命令 python 3 启动的是 Python 3。
在命令行中输入命令 python,启动 Python 2,如下所示:
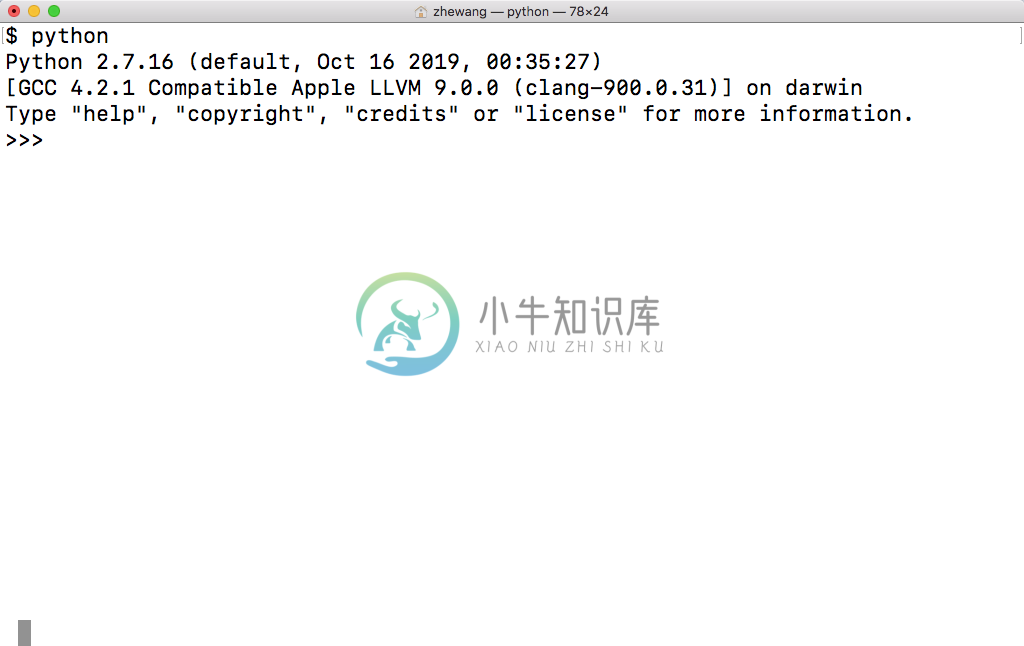
Python 2 启动时,在第一行输出信息包括 “Python 2.7.16”,表明当前使用的 Python 版本是 Python 2。
3.2 运行 Python3
在命令行中输入命令 python3,启动 Python 3,如下所示:
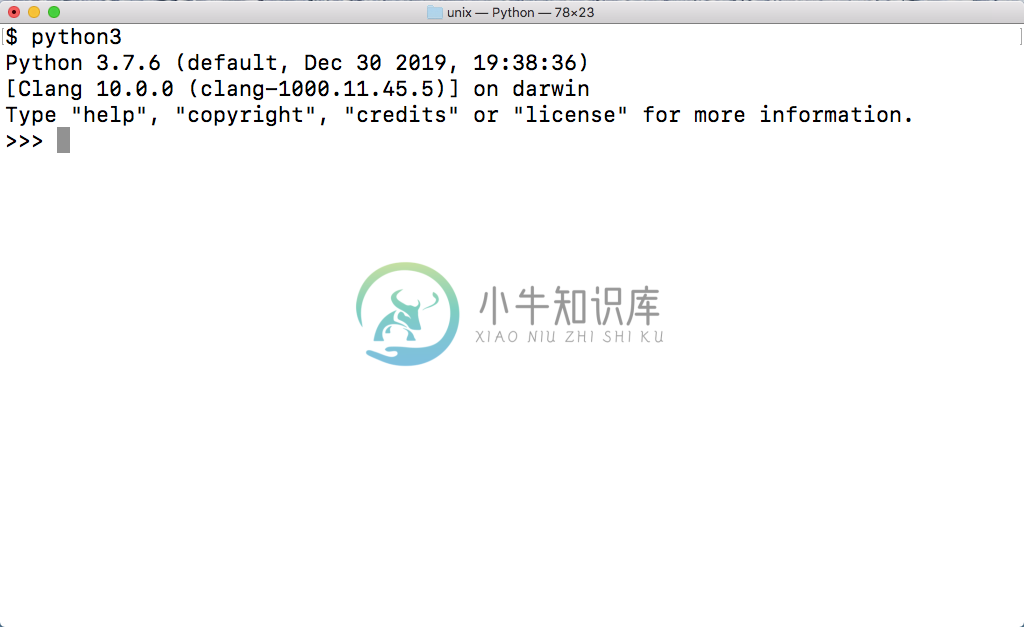
Python 3 启动时,在第一行输出信息包括 “Python 3.7.6”,表明当前使用的 Python 版本是 Python 3。**在 Ubuntu 中,请使用命令 python3 而不是命令 python 进入 Python 环境。 **
3.3 退出 Python
启动 Python 命令后,输入命令 exit() 可以退出 Python,请注意输入 exit() 而不是 exit,如下所示:

3.4 运行 IDLE
IDLE 是 Python 官方提供的 Python 集成开发环境,可以在 IDLE 中完成编写和运行 Python 程序。IDLE 的功能简单容易上手,适合初学者入门使用。在 MacOS 中,Python 的安装包带有 IDLE,安装完 Python 时,同时也安装了 IDLE。
Python 存在两个版本 Python 2 和 Python 3,在 MacOS 中,命令 idle 启动的是 Python 2 版本的 IDLE,命令 python 3 启动的是 Python 3 版本的 IDLE。
在命令行中输入命令 idle,启动 Python 2 版本的 IDLE,IDLE 启动后显示 “Python 2.7.16”,如下所示:
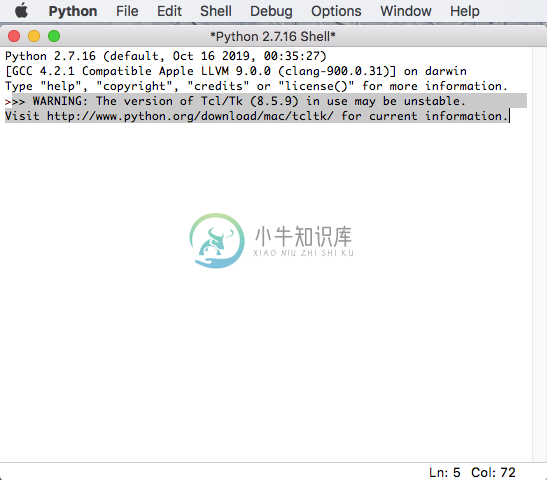
在命令行中输入命令 idle3,启动 Python 3 版本的 IDLE,IDLE 启动后显示 “Python 3.7.6”,如下所示: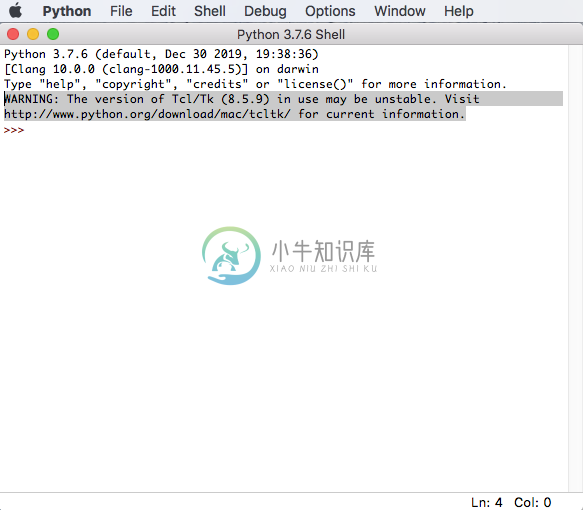
4. 小结
到这里,在 MacOS 下安装 Python 已经成功了,需要注意的是 Python 存在两个版本 Python 2 和 Python 3,在 MacOS 中,命令 python 启动的是 Python 2,命令 python 3 启动的是 Python 3。现在的情势 Python 3 正在慢慢取代 Python 2。所以,本教程也会使用 Python 3 版本来进行讲解学习。

