lesson8: 自己动手写组件
优质
小牛编辑
134浏览
2023-12-01
React-Native的核心思想就是组件化,相当于MVC的view,因此开发应用的最佳方式就是将功能组件化。
一、最简单的方式
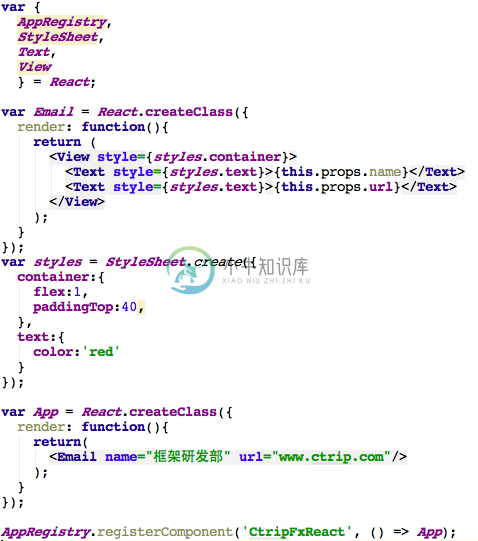
这里我们实现一个最简单的组件,就是邮件的末尾署名的组件。组件意味着复用,意味着统一。现在有这样一个需求,我们需要根据不同用户发送邮件时,生成每个用户的名片(即邮件末尾的署名)。1、一般一开始的实现方式如下,直接将组件内容写到功能需求的地方:<View><View>..........这里是当前邮件组的其它功能</View><View><Text>框架研发部</Text><Text>www.ctrip.com</Text></View></View>2、有一天,其它的部门的同事提出他们也需要在其他的地方,增加他们的邮件署名,那么你是否又会复制一份代码呢,当然不是,我们可以组件化:var Email = React.createClass({render: function(){return (<View style={styles.container}><Text style={styles.text}>{this.props.name}</Text><Text style={styles.text}>{this.props.url}</Text></View>);}});3、整体的代码如下:

二、循环一个文章列表
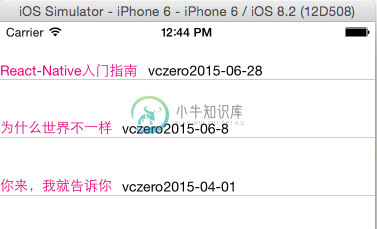
要实现的效果如下图:

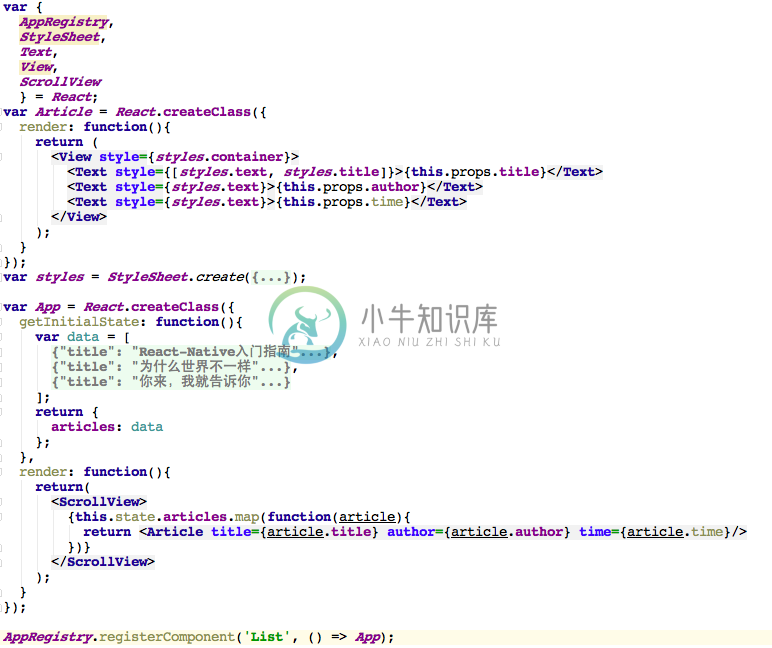
第一步改造我们的组件var Article = React.createClass({render: function(){return (<View style={styles.container}><Text style={[styles.text, styles.title]}>{this.props.title}</Text><Text style={styles.text}>{this.props.author}</Text><Text style={styles.text}>{this.props.time}</Text></View>);}});第二步定义数据model和循环var App = React.createClass({getInitialState: function(){var data = [{title: "React-Native入门指南",author: "vczero",time: "2015-06-28"},{title: "为什么世界不一样",author: "vczero",time: "2015-06-8"},{title: "你来,我就告诉你",author: "vczero",time: "2015-04-01"}];return {articles: data};},render: function(){return(<ScrollView>{this.state.articles.map(function(article){return <Article title={article.title} author={article.author} time={article.time}/>})}</ScrollView>);}});整个代码如下:


