
Markdown to PDF

A simple and hackable CLI tool for converting markdown to pdf. It uses Marked to convert markdown to html and Puppeteer (headless Chromium) to further convert the html to pdf. It also uses highlight.js for code highlighting. The whole source code of this tool is
only ~250 lines of JS
~400 lines of Typescript and ~100 lines of CSS, so it is easy to clone and customize.
Highlights:
- Concurrently convert multiple Markdown files
- Watch mode
- Use your own or remote stylesheets/scripts
- Front-matter for configuration
- Headers and Footers
- Page Breaks
- Syntax highlighting in code blocks
- Extend the options of the underlying tools
- Programmatic API
- Supports
stdio
Installation
Option 1: NPM
npm i -g md-to-pdf
Option 2: Git
If you want to have your own copy to hack around with, clone the repository instead:
git clone "https://github.com/simonhaenisch/md-to-pdf"
cd md-to-pdf
npm link # or npm i -g
Then the commands md-to-pdf and md2pdf (as a shorthand) will be globally available in your cli. Use npm start to start the TypeScript compiler (tsc) in watch mode.
Update
If you installed via npm, run npm i -g md-to-pdf@latest in your CLI. If you cloned this repository instead, you can simply do a git pull to get the latest changes from the master branch, then do npm run build to re-build. Unless there have been changes to packages (i. e. package-lock.json), you don't need to re-install the package (because NPM 5+ uses symlinks, at least on Unix systems).
Usage
$ md-to-pdf [options] path/to/file.md

Options:

  -h, --help ............... Output usage information
  -v, --version ............ Output version
  -w, --watch .............. Watch the current file(s) for changes
  --watch-options .......... Options for Chokidar's watch call
  --basedir ................ Base directory to be served by the file server
  --stylesheet ............. Path to a local or remote stylesheet (can be passed multiple times)
  --css .................... String of styles
  --document-title ......... Name of the HTML Document.
  --body-class ............. Classes to be added to the body tag (can be passed multiple times)
  --page-media-type ........ Media type to emulate the page with (default: screen)
  --highlight-style ........ Style to be used by highlight.js (default: github)
  --marked-options ......... Set custom options for marked (as a JSON string)
  --pdf-options ............ Set custom options for the generated PDF (as a JSON string)
  --launch-options ......... Set custom launch options for Puppeteer
  --gray-matter-options .... Set custom options for gray-matter
  --port ................... Set the port to run the http server on
  --md-file-encoding ....... Set the file encoding for the markdown file
  --stylesheet-encoding .... Set the file encoding for the stylesheet
  --as-html ................ Output as HTML instead
  --config-file ............ Path to a JSON or JS configuration file
  --devtools ............... Open the browser with devtools instead of creating PDF
The pdf is generated into the same directory as the source file and uses the same filename (with .pdf extension) by default. Multiple files can be specified by using shell globbing, e. g.:
md-to-pdf ./**/*.md
(If you use bash, you might need to enable the globstar shell option to make recursive globbing work.)
Alternatively, you can pass the markdown in from stdin and pipe its stdout into a target file:
cat file.md | md-to-pdf > path/to/output.pdf
Tip: You can concatenate multiple files using cat file1.md file2.md.
The current working directory (process.cwd()) serves as the base directory of the file server by default. This can be adjusted with the --basedir flag (or equivalent config option).
Watch Mode
Watch mode (--watch) uses Chokidar's watch method on the markdown file. If you're having issues, you can adjust the watch options via the config (watch_options) or --watch-options CLI arg. The awaitWriteFinish option might be particularly useful if you use editor plugins (e. g. TOC generators) that modify and save the file after the initial save. Check out the Chokidar docs for a full list of options.
Note that Preview on macOS does not automatically reload the preview when the file has changed (or at least not reliably). There are PDF viewers available that can check for file changes and offer auto-reload (e. g. Skim's "Sync" feature).
Programmatic API
The programmatic API is very simple: it only exposes one function that accepts either a path to or content of a markdown file, and an optional config object (which can be used to specify the output file destination).
const fs = require('fs');
const { mdToPdf } = require('md-to-pdf');

(async () => {
	const pdf = await mdToPdf({ path: 'readme.md' }).catch(console.error);

	if (pdf) {
		fs.writeFileSync(pdf.filename, pdf.content);
	}
})();
The function throws an error if anything goes wrong, which can be handled by catching the rejected promise. If you set the dest option in the config, the file will be written to the specified location straight away:
await mdToPdf({ content: '# Hello, World' }, { dest: 'path/to/output.pdf' });
Page Break
Place an element with class page-break to force a page break at a certain point of the document (uses the CSS rule page-break-after: always), e. g.:
<div class="page-break"></div>
Header/Footer
Use headerTemplate and footerTemplate of Puppeteer's page.pdf() options. If either of the two is set, then displayHeaderFooter will be enabled by default. It's possible to inject a few dynamic values like page numbers by using certain class names, as stated in the Puppeteer docs. Please note that for some reason the font-size defaults to 1pt, and you need to make sure to have enough page margin, otherwise your header/footer might be overlayed by your content. If you add a <style/> tag in either of the templates, it will be applied to both header and footer.
Example markdown frontmatter config that prints the date in the header and the page number in the footer:
---
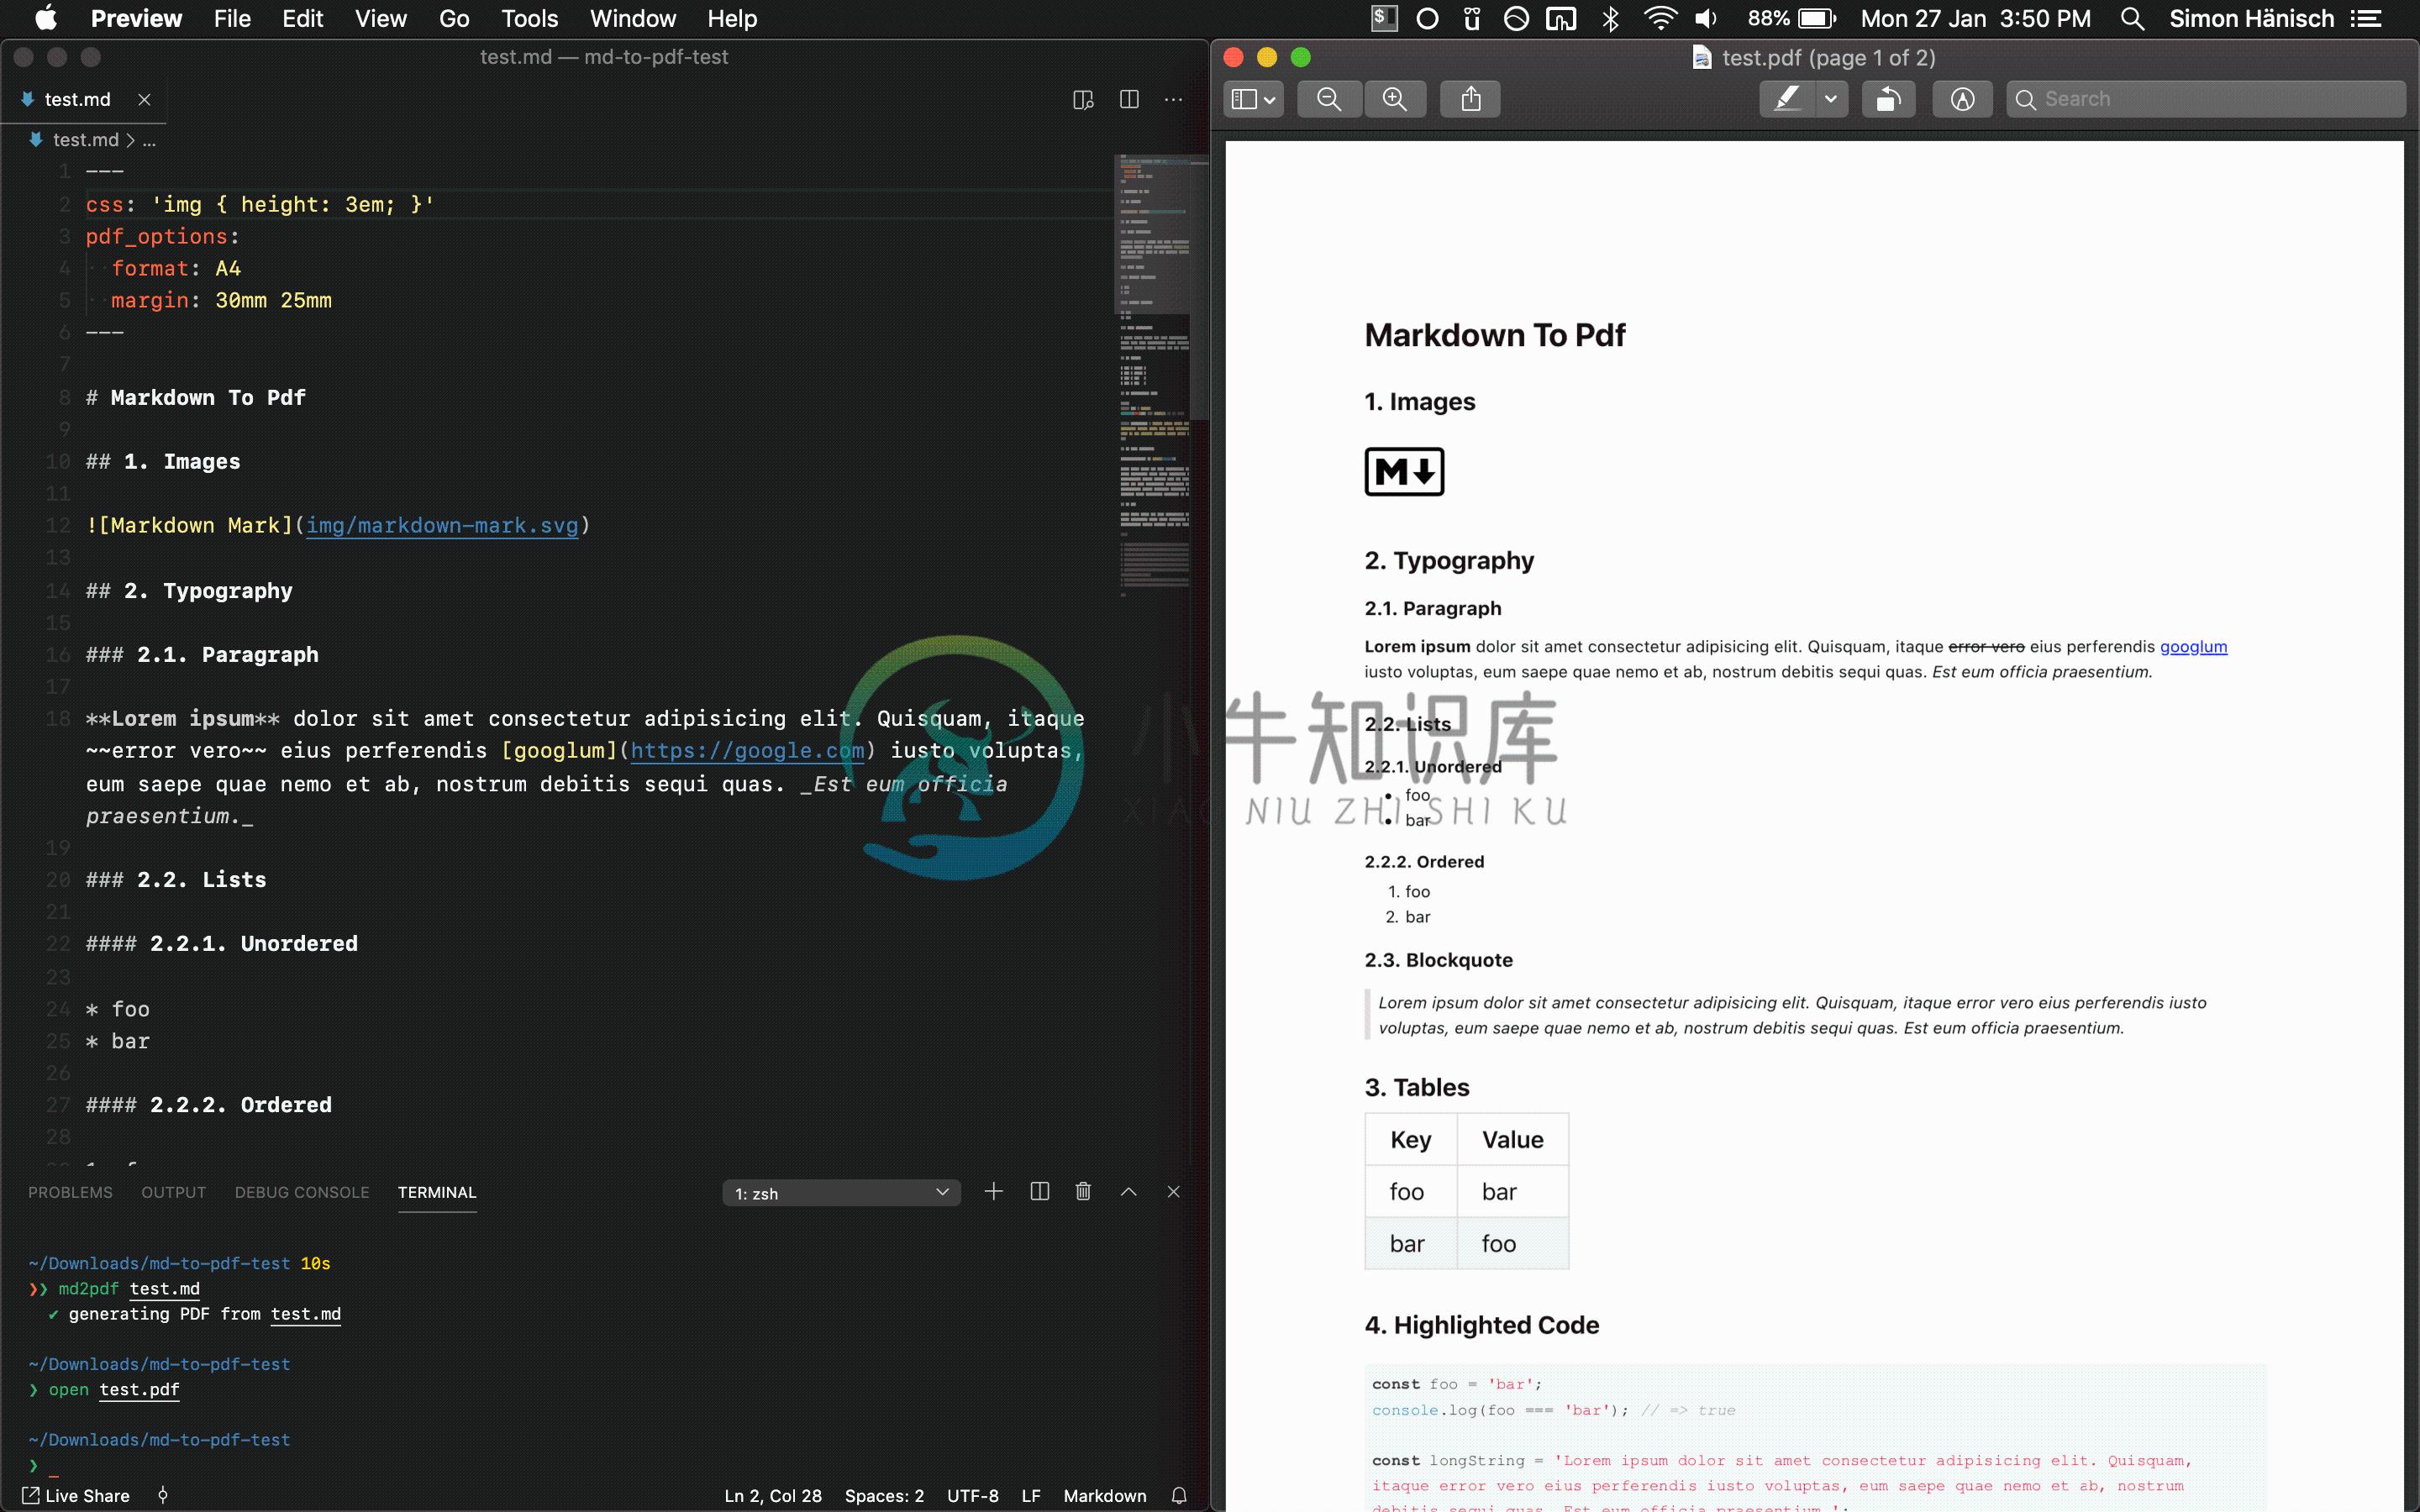
pdf_options:
format: a4
margin: 30mm 20mm
printBackground: true
headerTemplate: |-
<style>
section {
margin: 0 auto;
font-family: system-ui;
font-size: 11px;
}
</style>
<section>
<span class="title"></span>
<span class="date"></span>
</section>
footerTemplate: |-
<section>
<div>
Page <span class="pageNumber"></span>
of <span class="totalPages"></span>
</div>
</section>
---
Refer to the Puppeteer docs for more info about headers and footers.
Formulas
This can be achieved with MathJax. A simple example can be found in /src/test/mathjax.
Default and Advanced Options
For default and advanced options see the following links. The default highlight.js styling for code blocks is github. The default PDF options are the A4 format and some margin (see lib/config.ts for the full default config).
Options
| Option | Examples |
|---|---|
--basedir |
path/to/folder |
--stylesheet |
path/to/style.css, https://example.org/stylesheet.css |
--css |
body { color: tomato; } |
--document-title |
Read me |
--body-class |
markdown-body |
--page-media-type |
print |
--highlight-style |
monokai, solarized-light |
--marked-options |
'{ "gfm": false }' |
--pdf-options |
'{ "format": "Letter", "margin": "20mm", "printBackground": true }' |
--launch-options |
'{ "args": ["--no-sandbox"] }' |
--gray-matter-options |
null |
--port |
3000 |
--md-file-encoding |
utf-8, windows1252 |
--stylesheet-encoding |
utf-8, windows1252 |
--config-file |
path/to/config.json |
margin: instead of an object (as stated in the Puppeteer docs), it is also possible to pass a CSS-like string, e. g. 1em (all), 1in 2in (top/bottom right/left), 10mm 20mm 30mm (top right/left bottom) or 1px 2px 3px 4px (top right bottom left).
highlight-style: if you set a highlight style with a background color, make sure that "printBackground": true is set in the pdf options.
The options can also be set with front-matter or a config file (except --md-file-encoding can't be set by front-matter). In that case, remove the leading two hyphens (--) from the cli argument name and replace the hyphens (-) with underscores (_). --stylesheet and --body-class can be passed multiple times (i. e. to create an array). It's possible to set the output path for the PDF as dest in the config. If the same config option exists in multiple places, the priority (from low to high) is: defaults, config file, front-matter, cli arguments.
The JS engine for front-matter is disabled by default for security reasons. You can enable it by overwriting the default gray-matter options (--gray-matter-options null, or gray_matter_options: undefined in the API).
Example front-matter:
---
dest: ./path/to/output.pdf
stylesheet:
  - path/to/style.css
body_class: markdown-body
highlight_style: monokai
pdf_options:
  format: A5
  margin: 10mm
  printBackground: true
---

# Content
The config file can be a Javascript file that exports a config object, which gives you the full power of the eco-system (e. g. for advanced header/footer templates); or it can also be a .json if you like it simple.
Example config.js:
module.exports = {
	stylesheet: ['path/to/style.css', 'https://example.org/stylesheet.css'],
	css: `body { color: tomato; }`,
	body_class: 'markdown-body',
	marked_options: {
		headerIds: false,
		smartypants: true,
	},
	pdf_options: {
		format: 'A5',
		margin: '20mm',
		printBackground: true,
	},
	stylesheet_encoding: 'utf-8',
};
Example config.json:
{
	"highlight_style": "monokai",
	"body_class": ["dark", "content"]
}
Github Styles
Here is an example front-matter for how to get Github-like output:
---
stylesheet: https://cdnjs.cloudflare.com/ajax/libs/github-markdown-css/2.10.0/github-markdown.min.css
body_class: markdown-body
css: |-
  .page-break { page-break-after: always; }
  .markdown-body { font-size: 11px; }
  .markdown-body pre > code { white-space: pre-wrap; }
---
Security Considerations
Local file server
By default, this tool serves the current working directory via a http server on localhost on a relatively random port (or the port you specify), and that server gets shut down when the process exits (or as soon as it is killed). Please be aware that for the duration of the process this server will be accessible on your local network, and therefore all files within the served folder that the process has permission to read. So as a suggestion, maybe don't run this in watch mode in your system's root folder.
Don't trust markdown content you don't control
If you intend to use this tool to convert user-provided markdown content, please be aware that - as always - you should sanitize it before processing it with md-to-pdf.
Customization/Development
After cloning and linking/installing globally (npm link), just run the transpiler in watch mode (npm start). Then you can start making changes to the files and Typescript will transpile them on save. NPM 5+ uses symlinks for locally installed global packages, so all changes are reflected immediately without needing to re-install the package (except when there have been changes to required packages, then re-install using npm i). This also means that you can just do a git pull to get the latest version onto your machine.
Ideas, feature requests and PRs are welcome. Just keep it simple!
Credits
I want to thank the following people:
- imcvampire for handing over the npm package name.
- Sindre Sorhus and Zeit for inspiration on how to write cli tools.
- Josh Bruce for reviving Marked.
License
MIT.
-
利用Pandoc将markdown文件转化为pdf 准备工作 安装pandoc 安装MiKTeX 将markdown文件转换为pdf 准备工作 安装pandoc Windows下安装pandoc很容易,直接从pandoc官网上下载最新安装包安装即可。 Linux下的安装可以参考阳志平的博文1。 安装MiKTeX pandoc被称为格式转换的瑞士军刀2。执行程序文件只有20M左右大
-
1.下载 npm install --save react-to-print 2.引入 import ReactToPrint from 'react-to-print'; 3.使用 方法1 //触发按钮 <ReactToPrint trigger={() => <a href="#">点此打印</a>} content={() => this.ref}//他和下面的this.r
-
linux md文件转pdf 1.使用python依赖pypandoc,将md文本转成doc文件 import pypandoc //引入pypandoc依赖 """ :param text: 数据源文本 :param outputfile: 生成文件路径 """ pypandoc.convert_text(text, 'docx', 'md', outputfile= outputPath +
-
原本只是帮小仙女看个问题,发现docsify这个工具还挺有意思,花了几天时间研究了下,今天做个总结。 docsify:文档网站生成工具,自带服务(docsify server),其自身还算简单,部署方法网上多的是,所以今天不作为总结的重点,用到的老师照着网上的教程照猫画虎就OK啦~ docsify官网 那么重点必然就只能是docsify-pdf-converter组件了! docsify借助doc
-
1、实现说明 通过dom-to-image将dom转为图片 不使用html2canvas的原因是因为在开发过程中,因为页面dom较多,html2canvas出现卡顿响应很慢,通过dom-to-image可以很好的解决该问题 2、 通过jspdf 将图片生成pdf 在第一步将dom转换为图片后,需要通过jspdf将图片生成pdf 3、安装依赖 : npm install
-
邮件导出后是.msg文件,有时候需要再浏览器预览这个.msg的文件,这个时候要么是手动利用一些邮件软件导出为pdf,要么就是写代码自动转换。 如是就有了下面这个项目 :GitHub - CZHIC/GoViewFIle: golang 在线预览word,excel,pdf,MarkDown,msg,eml(Online Preview Word,Excel,PPT,PDF,Imag
-
微信 Markdown 编辑器 项目介绍 本项目基于 wechat-format 进行二次开发,感谢 lyricat 的创意和贡献! Markdown 文档自动即时渲染为微信图文,让你不再为微信文章排版而发愁!只要你会基本的 Markdown 语法,就能做出一篇样式简洁而又美观大方的微信图文。 在线编辑器地址 Netlify: https://mdhere.netlify.app Gitee Pa
-
markdown 博客 为小团队内部分享技术文档而生的一个 markdown 博客 在线编辑文档,提供实时预览的 markdown 编辑器 支持拖拽上传图片 采用 GFM 语法 支持离线缓存未发布的文档 像浏览个人博客一样的浏览团队文档 使用方法:https://github.com/hanxi/md-pages/blob/master/README.md 实现过程:http://
-
Thinker-md是什么 Thinker-md 是一个支持 Markdown 的在线文档编辑器。 在线演示:http://thinkermd.oschina.mopaas.com Thinker-md的特性 支持Markdown标准和Github风格; 编辑内容实时保存,刷新页面不会丢失; 支持实时预览、图片(跨域)上传; 支持MarkdownToHtml,HtmlToMarkdown双向解析;
-
md-cv A jekyll-based markdown CV, which currently looks something like this, see this blog post for details. Forked from the (great) markdown CV of elipapa. How to use To build, clone the repo and run
-
doocs-md 是一款高度简洁的微信 Markdown 编辑器:支持 Markdown 所有基础语法、色盘取色、一键复制并粘贴到公众号后台、多图上传、一键下载文档、自定义 CSS 样式、一键重置等特性。 Markdown 文档自动即时渲染为微信图文,让你不再为微信文章排版而发愁!只要你会基本的 Markdown 语法,就能做出一篇样式简洁而又美观大方的微信图文。 在线编辑器地址 Netlify:
-
lint-md 用于检查中文 markdown 编写格式规范的命令行工具,基于 AST 开发,且方便集成 ci。Cli tool to lint your markdown file for Chinese. 安装 npm i -g lint-md 使用 Usage:[options]lint your markdown filesOptions: -v, --version