
从0到1搭建个人网站 五-开启网站首页的大门

模板渲染
模板属于mvc中的view这一层,是用来为网页布局的,乍一看来就是个html页面,但是里面会嵌入模板引擎提供给我们的特殊语法。模板引擎有很多,不同语言或框架都会实现自己一套,还有一些通用的模板引擎,但是他们语法和功能都比较类似,无非就是模板继承、模板引入、读透传的变量、循环、逻辑判断、filters、自定义标签等。我们这里直接用django原生的django-template就足够了。
创建web/templates/web/index.html,内容如下:
<!DOCTYPE html>
<html lang="en">
<head>
    <meta charset="UTF-8">
    <title>Title</title>
</head>
<body>
<h1>Hello {{ name }}</h1>
</body>
</html>
修改web/views.py中的index函数如下:
def index(request):
    return render(request, 'web/index.html', {'name': 'lichuang'})
打开网页我们看到了一个大大的Hello lichuang
这里的{{}}就是变量透传的语法,直接获取到python传进去的变量。另外这个模板文件的路径用的是web/index.html而不是直接index.html,原因是django里多个app如果用相同的模板文件名,在python代码里指定模板名时它分辨不出是哪个,所以一般把app的名字作为模板文件的目录
模板继承
我们网站的所有页面都有一个共同的布局,那就是顶部是logo,底部是版权声明,所以这个框架可以抽象出来一个基类模板,而所有页面模板都继承自这一模板,下面我们创建这个基类模板web/templates/web/base.html,内容如下:
<!DOCTYPE html>
<html lang="zh-CN">
<head>
    <meta charset="UTF-8">
    <meta http-equiv="X-UA-Compatible" content="IE=edge">
    <meta name="viewport" content="width=device-width, initial-scale=1, maximum-scale=1, user-scalable=no">
    <link rel="stylesheet" href="//cdn.bootcss.com/bootstrap/3.3.5/css/bootstrap.min.css">
    <link rel="stylesheet" href="//cdn.bootcss.com/bootstrap/3.3.5/css/bootstrap-theme.min.css">
    <link rel="stylesheet" href="http://netdna.bootstrapcdn.com/font-awesome/4.0.3/css/font-awesome.css">
    <script src="//cdn.bootcss.com/jquery/1.11.3/jquery.min.js"></script>
    <script src="//cdn.bootcss.com/bootstrap/3.3.5/js/bootstrap.min.js"></script>
    <title>{% block title %}lcsays - 关注大数据技术{% endblock title %}</title>
    {% block head %}
    {% endblock head %}
</head>
<body>
<div class="row bg-primary" style="margin-right: 0">
    <div class="col-sm-1 col-xs-1"></div>
    <div class="col-sm-2 col-xs-11">
        <h1><a href="" style="text-decoration: none;color: white;">lcsays</a></h1>
    </div>
    <div class="col-sm-6"></div>
</div>
{% block body %}
{% endblock body %}
<div class="row" style="margin-right: 0">
    <div class="col-sm-2"></div>
    <div class="col-sm-8 col-xs-12 text-center" style="color: #959595;margin-bottom: 10px;">
        Copyright ? <a href="">shareditor.com</a> | 京ICP备13047771号 | shareditor.com^_^gmail.com
    </div>
</div>
</body>
</html>
这里面有一些叫做block的代码块,它的作用是声明可重写的部分,下面你就会看到这个代码块是怎么在子模板中使用的。下面我们重新修改web/templates/web/index.html:
{% extends "web/base.html" %}
{% block title %}
{% endblock %}
{% block body %}
{% endblock %}
这里我们只是做了继承,并没有重写,打开网页看到如下的效果:

下面我们来完善首页的部分
在{% block body %}块
中添加如下代码:
    <div class="row jumbotron" style="margin-right: 0">
        <div class="col-md-1 col-xs-1"></div>
        <div class="col-md-10 col-xs-10"><h1>Welcome Big Data ITors!</h1></div>
        <div class="col-md-1 col-xs-1"></div>
    </div>
重新打开网页看到如下效果:

动态数据展示
下面我们来从数据获取tag数据,并展示到首页里。修改web/views.py的index函数,把tag数据取出来并传到模板中,如下:
def index(request):
    tags = Tag.objects.all()
    return render(request, 'web/index.html', {'tags': tags})
修改web/templates/web/index.html:
{% extends "web/base.html" %}
{% block title %}
{% endblock %}
{% block body %}
    <div class="row jumbotron" style="margin-right: 0">
        <div class="col-md-1 col-xs-1"></div>
        <div class="col-md-10 col-xs-10"><h1>Welcome Big Data ITors!</h1></div>
        <div class="col-md-1 col-xs-1"></div>
    </div>
    <div class="row" style="margin-right: 0">
        <div class="col-sm-1 col-xs-1"></div>
        {% for tag in tags %}
            <div class="col-sm-2 col-xs-12">
                <div class="thumbnail">
                    <img src="{{ tag.image }}" alt="tag">
                    <div class="caption">
                        <h3>{{ tag }}({{ tag.blogpost_set.count }})</h3>
                        <p>
                            {% for blogpost in tag.blogpost_set.all %}
                                {{ blogpost.title }}
                            {% endfor %}
                        </p>
                        <h5>更多>>></h5>
                    </div>
                </div>
            </div>
        {% endfor %}
        <div class="col-sm-1 col-xs-1"></div>
    </div>
{% endblock %}
看下效果如何了:
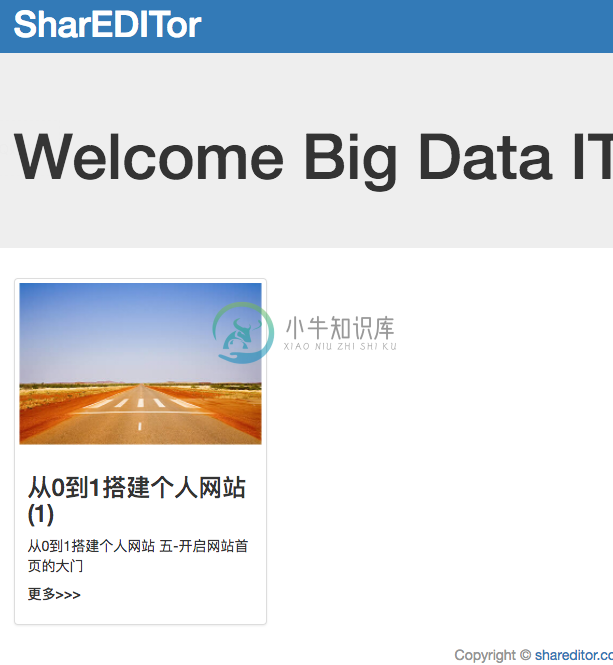
渐渐高大上了有木有
不过在这里其实有一些步骤我省略了,需要你自己去发觉,比如说为Tag添加image属性
展示最新文章
为了用户能找到最新的文章(其实是为了SEO),我们在所有页面的底部显示最新发表的文章,这需要我们修改基类模板了,首先在views.py中透传latest_blog_posts变量,如下:
def index(request):
    tags = Tag.objects.all()
    latest_blog_posts = BlogPost.objects.order_by('create_time')[0:5]
    return render(request, 'web/index.html', {'tags': tags, 'latest_blog_posts': latest_blog_posts})
然后修改web/templates/web/base.html,在body中添加如下代码:
<div class="row navbar navbar-inverse" style="margin:0">
    <div class="row" style="margin:0">
        <div class="col-sm-1 col-xs-1"></div>
        <div class="col-sm-5 col-xs-5">
            <h4 style="color: #FFFFFF; border-bottom: 1px solid #695d69; padding-bottom: 10px; margin-top: 30px;">最新文章</h4>
            {% for blogpost in latest_blog_posts %}
                <div class="row" style="margin: 10px; margin-left: 0; overflow:hidden;text-overflow:ellipsis;white-space:nowrap;">
                    <span style="color: #959595;">({{ blogpost.create_time|date:"Y-m-d" }})</span>
                    <a title="{{ blogpost }}" style="color: #959595;">{{ blogpost }}</a>
                </div>
            {% endfor %}
        </div>
        <div class="col-sm-1 col-xs-1"></div>
    </div>
</div>
效果如下:
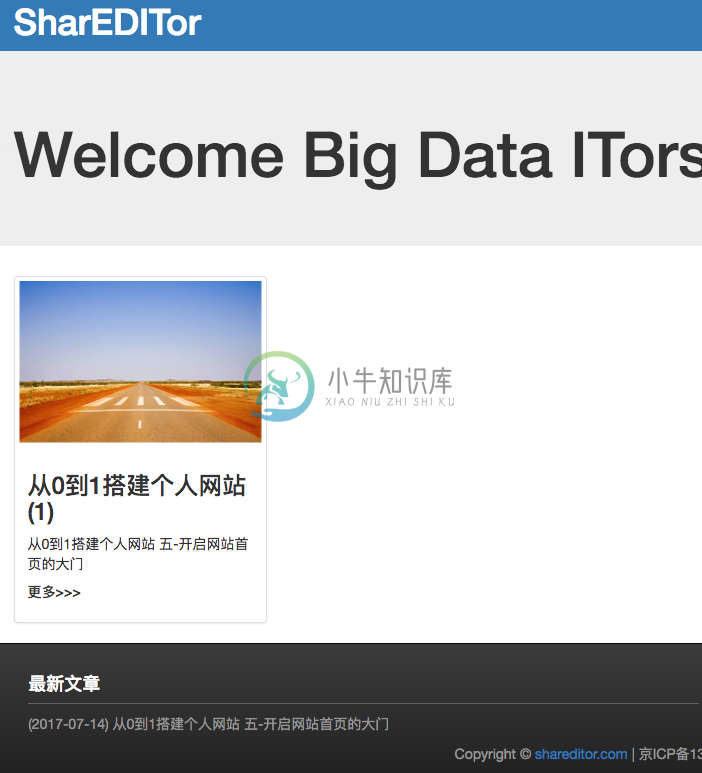
现在我们的首页初见雏形了,剩下的就是充实数据啦。今天到此为止,下一节我们继续完善其他页面。