A detailed tutorial covering the code in this repository: Turning design mockups into code with deep learning.
Plug: I write about learning Machine learning online and independent research
The neural network is built in three iterations. Starting with a Hello World version, followed by the main neural network layers, and ending by training it to generalize.
The models are based on Tony Beltramelli's pix2code, and inspired by Airbnb's sketching interfaces, and Harvard's im2markup.
Note: only the Bootstrap version can generalize on new design mock-ups. It uses 16 domain-specific tokens which are translated into HTML/CSS. It has a 97% accuracy. The best model uses a GRU instead of an LSTM. This version can be trained on a few GPUs. The raw HTML version has potential to generalize, but is still unproven and requires a significant amount of GPUs to train. The current model is also trained on a homogeneous and small dataset, thus it's hard to tell how well it behaves on more complex layouts.
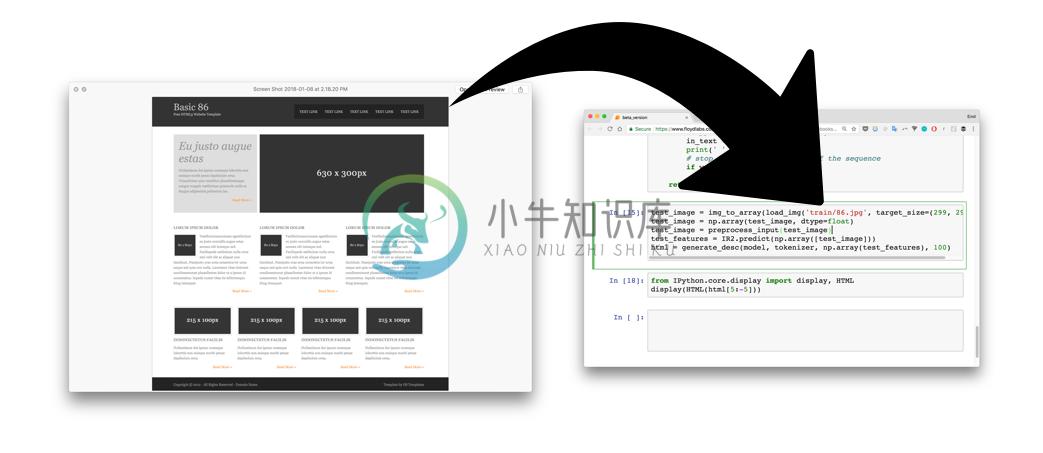
A quick overview of the process:
1) Give a design image to the trained neural network
2) The neural network converts the image into HTML markup
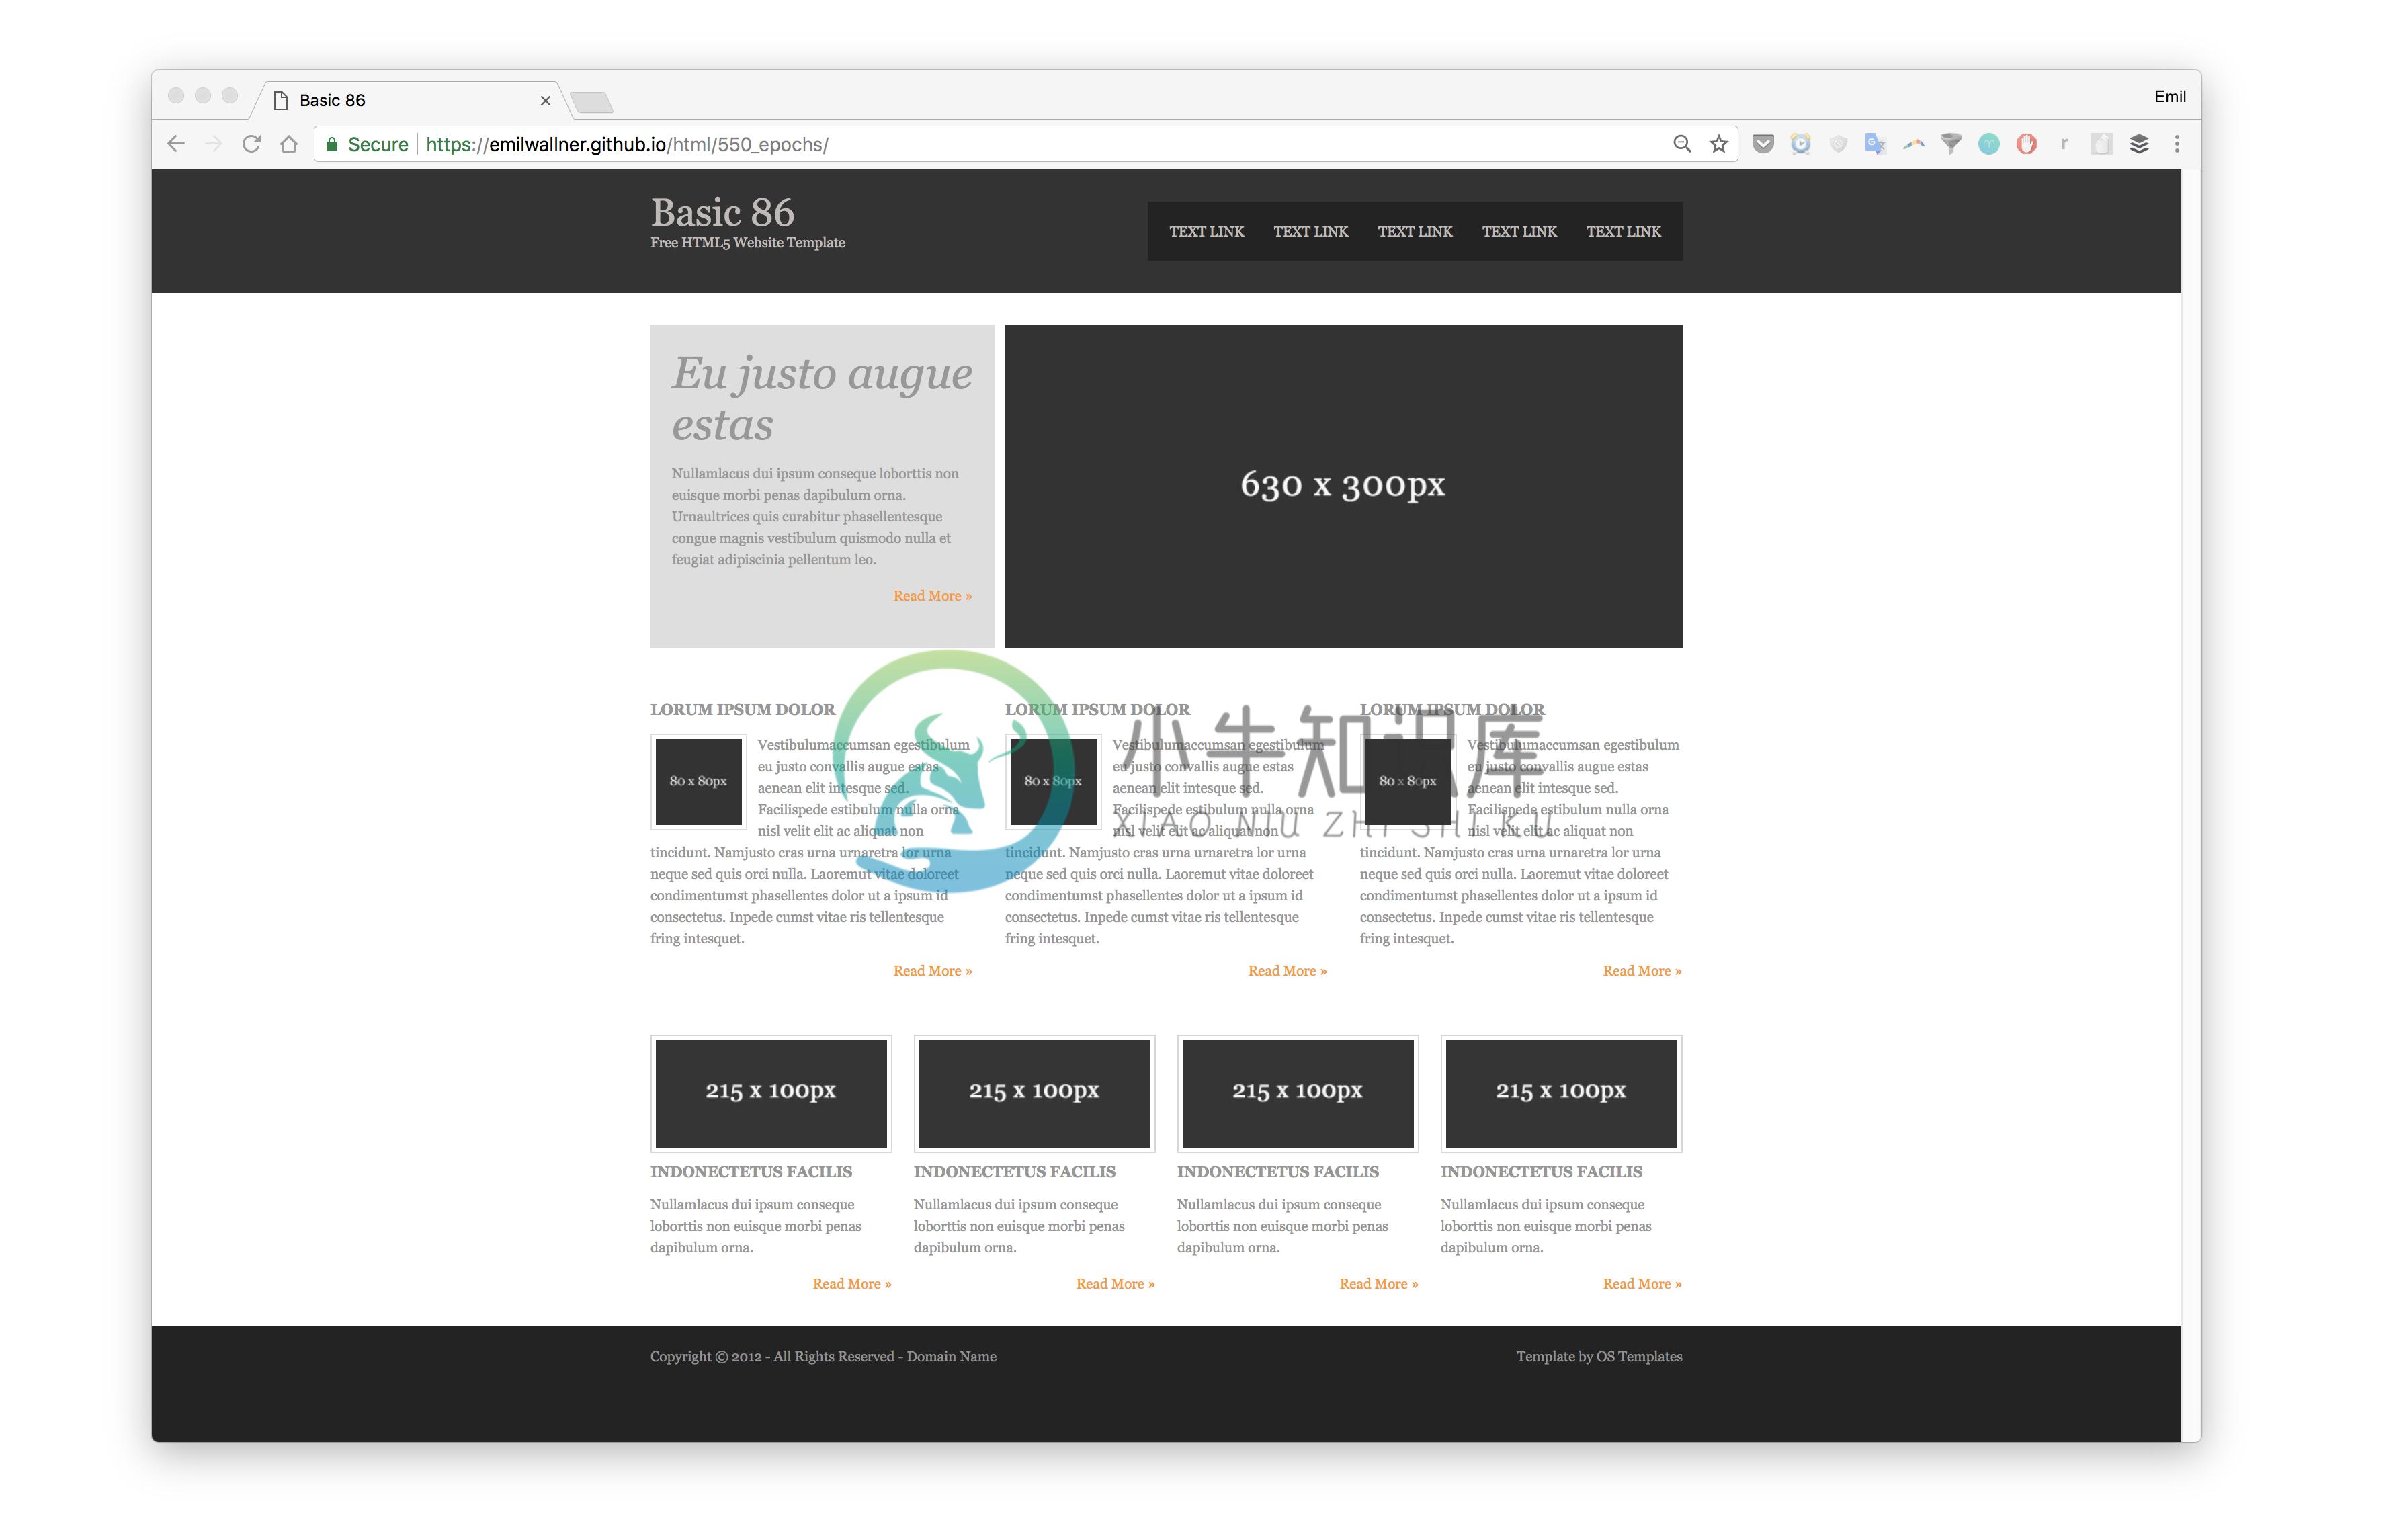
3) Rendered output
Installation
FloydHub
Click this button to open a Workspace on FloydHub where you will find the same environment and dataset used for the Bootstrap version. You can also find the trained models for testing.
Local
pip install keras tensorflow pillow h5py jupyter
git clone https://github.com/emilwallner/Screenshot-to-code.git
cd Screenshot-to-code/
jupyter notebook
Go do the desired notebook, files that end with '.ipynb'. To run the model, go to the menu then click on Cell > Run all
The final version, the Bootstrap version, is prepared with a small set to test run the model. If you want to try it with all the data, you need to download the data here: https://www.floydhub.com/emilwallner/datasets/imagetocode, and specify the correct dir_name.
Folder structure
|  |-Bootstrap                           #The Bootstrap version
  |  |  |-compiler                         #A compiler to turn the tokens to HTML/CSS (by pix2code)
  |  |  |-resources
  |  |  |  |-eval_light                    #10 test images and markup
  |  |-Hello_world                         #The Hello World version
  |  |-HTML                                #The HTML version
  |  |  |-Resources_for_index_file         #CSS,images and scripts to test index.html file
  |  |  |-html                             #HTML files to train it on
  |  |  |-images                           #Screenshots for training
  |-readme_images                          #Images for the readme page
Hello World
HTML
Bootstrap
Model weights
Acknowledgments
- Thanks to IBM for donating computing power through their PowerAI platform
- The code is largely influenced by Tony Beltramelli's pix2code paper. Code Paper
- The structure and some of the functions are from Jason Brownlee's excellent tutorial
-
C#代码分析 $code = @' using System; using System.Runtime.InteropServices; using System.Drawing; using System.Drawing.Imaging; namespace ScreenShotDemo { /// <summary> /// Provides functions to
-
Xcode经常用但是有些不太常用的也就没多少人注意,今天发现安卓有视图边距设置的功能,因此就看了下ios是否有此功能,调研了下,我们的是xcode开发工具自带的,安卓的是手机自带的,做下笔记 http://www.cocoachina.com/ios/20151204/14480.html Pause : 暂停 会 切换成继续 Continue to Current Line:走到你光标选
-
selenium+testNg报 unhandled inspector error: {"code":-32000,"message":"Cannot navigate to invalid URL"} 如提示所述:是网址无效,开头少了https/http 以前怎么没发现还有这个校验? @BeforeTest public void before() { driver = this.in
-
原因之一:driver.get(url)中的url格式问题 解决方法:driver.get(str(url)),把url转换为字符串
-
查看linux版本 yum -y install redhat-lsb (base) [root@nlu-ca-1 firefox]# lsb_release -a LSB Version: :core-4.1-amd64:core-4.1-noarch:cxx-4.1-amd64:cxx-4.1-noarch:desktop-4.1-amd64:desktop-4.1-noarch:lan
-
目前,自动化前端开发的最大阻碍是计算能力。但已有人使用目前的深度学习算法以及合成训练数据,来探索人工智能自动构建前端的方法。 Screenshot-to-code-in-Keras 是 Emil Wallner 实现的一个可根据设计草图生成基本 HTML 和 CSS 网站的神经网络。以下是该过程的简要概述: 1)给训练好的神经网络提供设计图像 2)神经网络将图片转化为 HTML 标记语言 3)渲
-
gnome-screenshot 是一款 GNOME桌面下的截图软件
-
Webpage Screenshot这个扩展不管是从功能上还是易用性上都非常不错,可以调整截屏的大小,而且是目前我所知道的唯一一个可以截取整个网页的截 屏扩展,当然也可以截取可见部分。同时在截屏之前可以对大小进行调整,支持多国语言界面,开发者Amina是中国人。另外,改扩展已经通过了Softpedia 网站的100% CLEAN认可,推荐有需要的同学安装此扩展。
-
Android Screenshot Library (ASL) 可以让你通过编程的方式抓取Android设备的屏幕,不需要root权限。ASL使用的是一个在后台运行的本地服务。这个服务通过Android Debug Bridge(ADB)在设备启动的时候启动。
-
iOS-Screenshot-Automator 用来为批量创建屏幕截图,根据你定义的每个语言和每种设备。 示例代码: #import "iOS-Screenshot-Automator/Helper.js"test("Login Test", loginTest);test("Route Test", routeDetailsTest);...function loginTest(target,
-
Android-screenshot-lib 是一个用于在 Android 应用中集成截屏功能的开发包。 该框架使用ddmlib捕获设备中的屏幕截图,并解决了有关使用ddmlib捕获屏幕截图的一些问题: ddmlib图像捕获速度很慢,每个图像大约600ms + 如果设备屏幕正在更新,则捕获的图像可能会显示部分更新的帧缓冲区 在设置的开发环境端(即执行Maven构建的机器)调用ddmlib-您的应用


