Dubbo 配置
优质
小牛编辑
135浏览
2023-12-01
Dubbo 配置
Dubbo 是阿里巴巴内部的服务化治理的框架,目前已经开源了,我们在服务化中使用它作为我们的分布式服务框架,Dubbo 框架基于 Spring 进行使用。 这一章节,我将带领大家用一个例子使用感受一下 Dubbo 框架的使用。
首先,Dubbo 框架中的服务全部注册在 Zookeeper 中,所以我们首先需要 在本机上安装配置 Zookeeper。
安装配置 Zookeeper
将 钉盘 - 网聚宝开发指南-资源 - Common 下载的 zookeeper-3.4.9.tar.gz 下载压缩包解压
在 conf 目录下 将
zoo_simple.cfg拷贝一份 成zoo.cfg- 在
zoo.cfg中 修改 dataDir 为 你电脑上 的目录(/Users/kevin/WorkApps/zookeeper-3.4.9/data) - 在
zoo.cfg中添加dataLogDir=/Users/kevin/WorkApps/zookeeper-3.4.9/log,保存退出。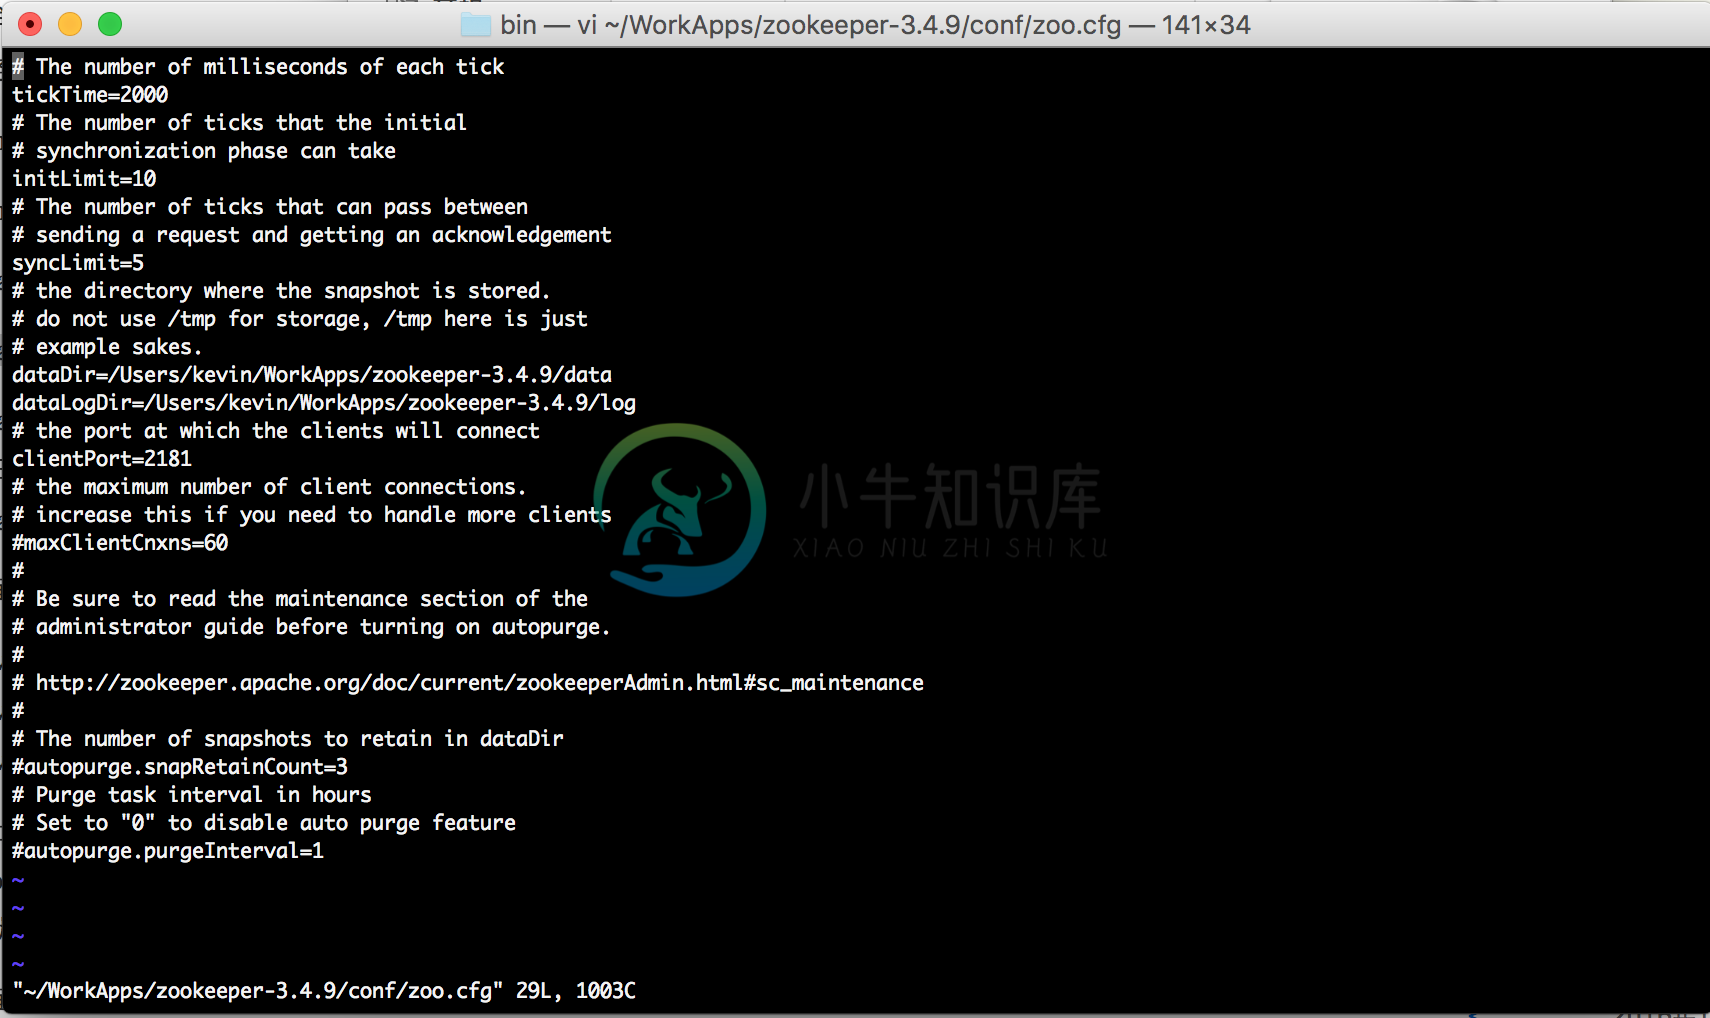
- Mac 通过 进入 解压包下的 bin 目录
sh zkServer.sh start
- PC 直接 双击 zkServer.cmd 开启 zooKeeper。
Dubbo 框架实例
Dubbo 框架 完整的运行与调用 需要三个工程的配合使用
- 服务提供者:用于提供服务。
- 服务消费者:用于消费服务。
- 服务API:是开发过程中介于服务提供者和消费者之间的桥梁。
服务API 工程的创建
首先,我们需要建立服务的API,这个就是简单的jar包工程,里面包含了服务当中需要使用到的接口,然后将此工程打包上传至 maven 私服。
- 使用IDEA 的Maven 工程模板中的quickstart模板生成一个初始化工程。
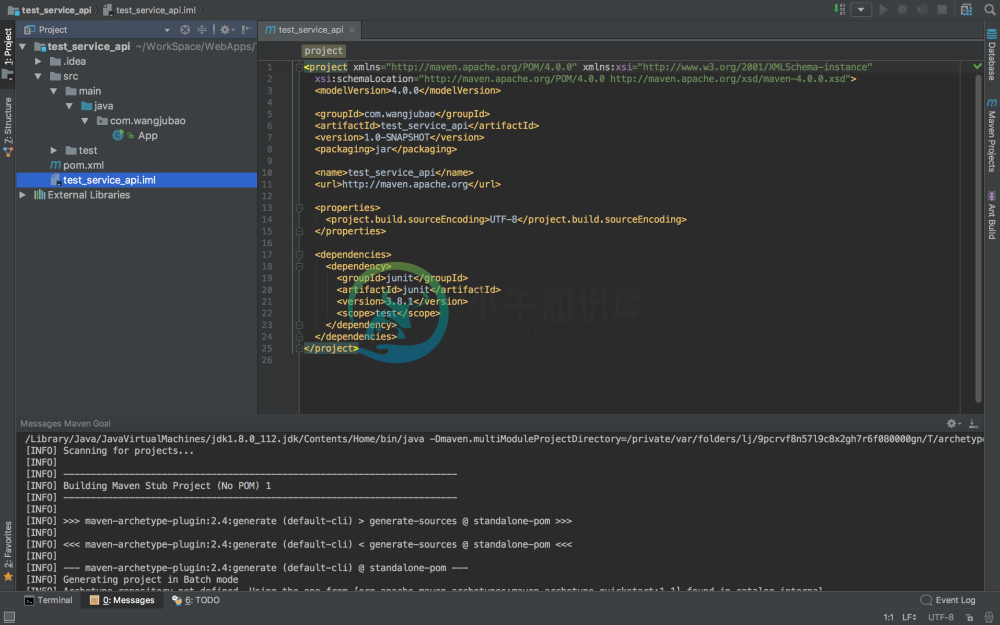
- 删除掉生成的App 主类和测试目录。
- 在com.wangjubao 下新建 包
service_api,并新建接口类TestServiceApi。 - 在 接口类
TestServiceApi中,定义服务提供者中需要的两个接口。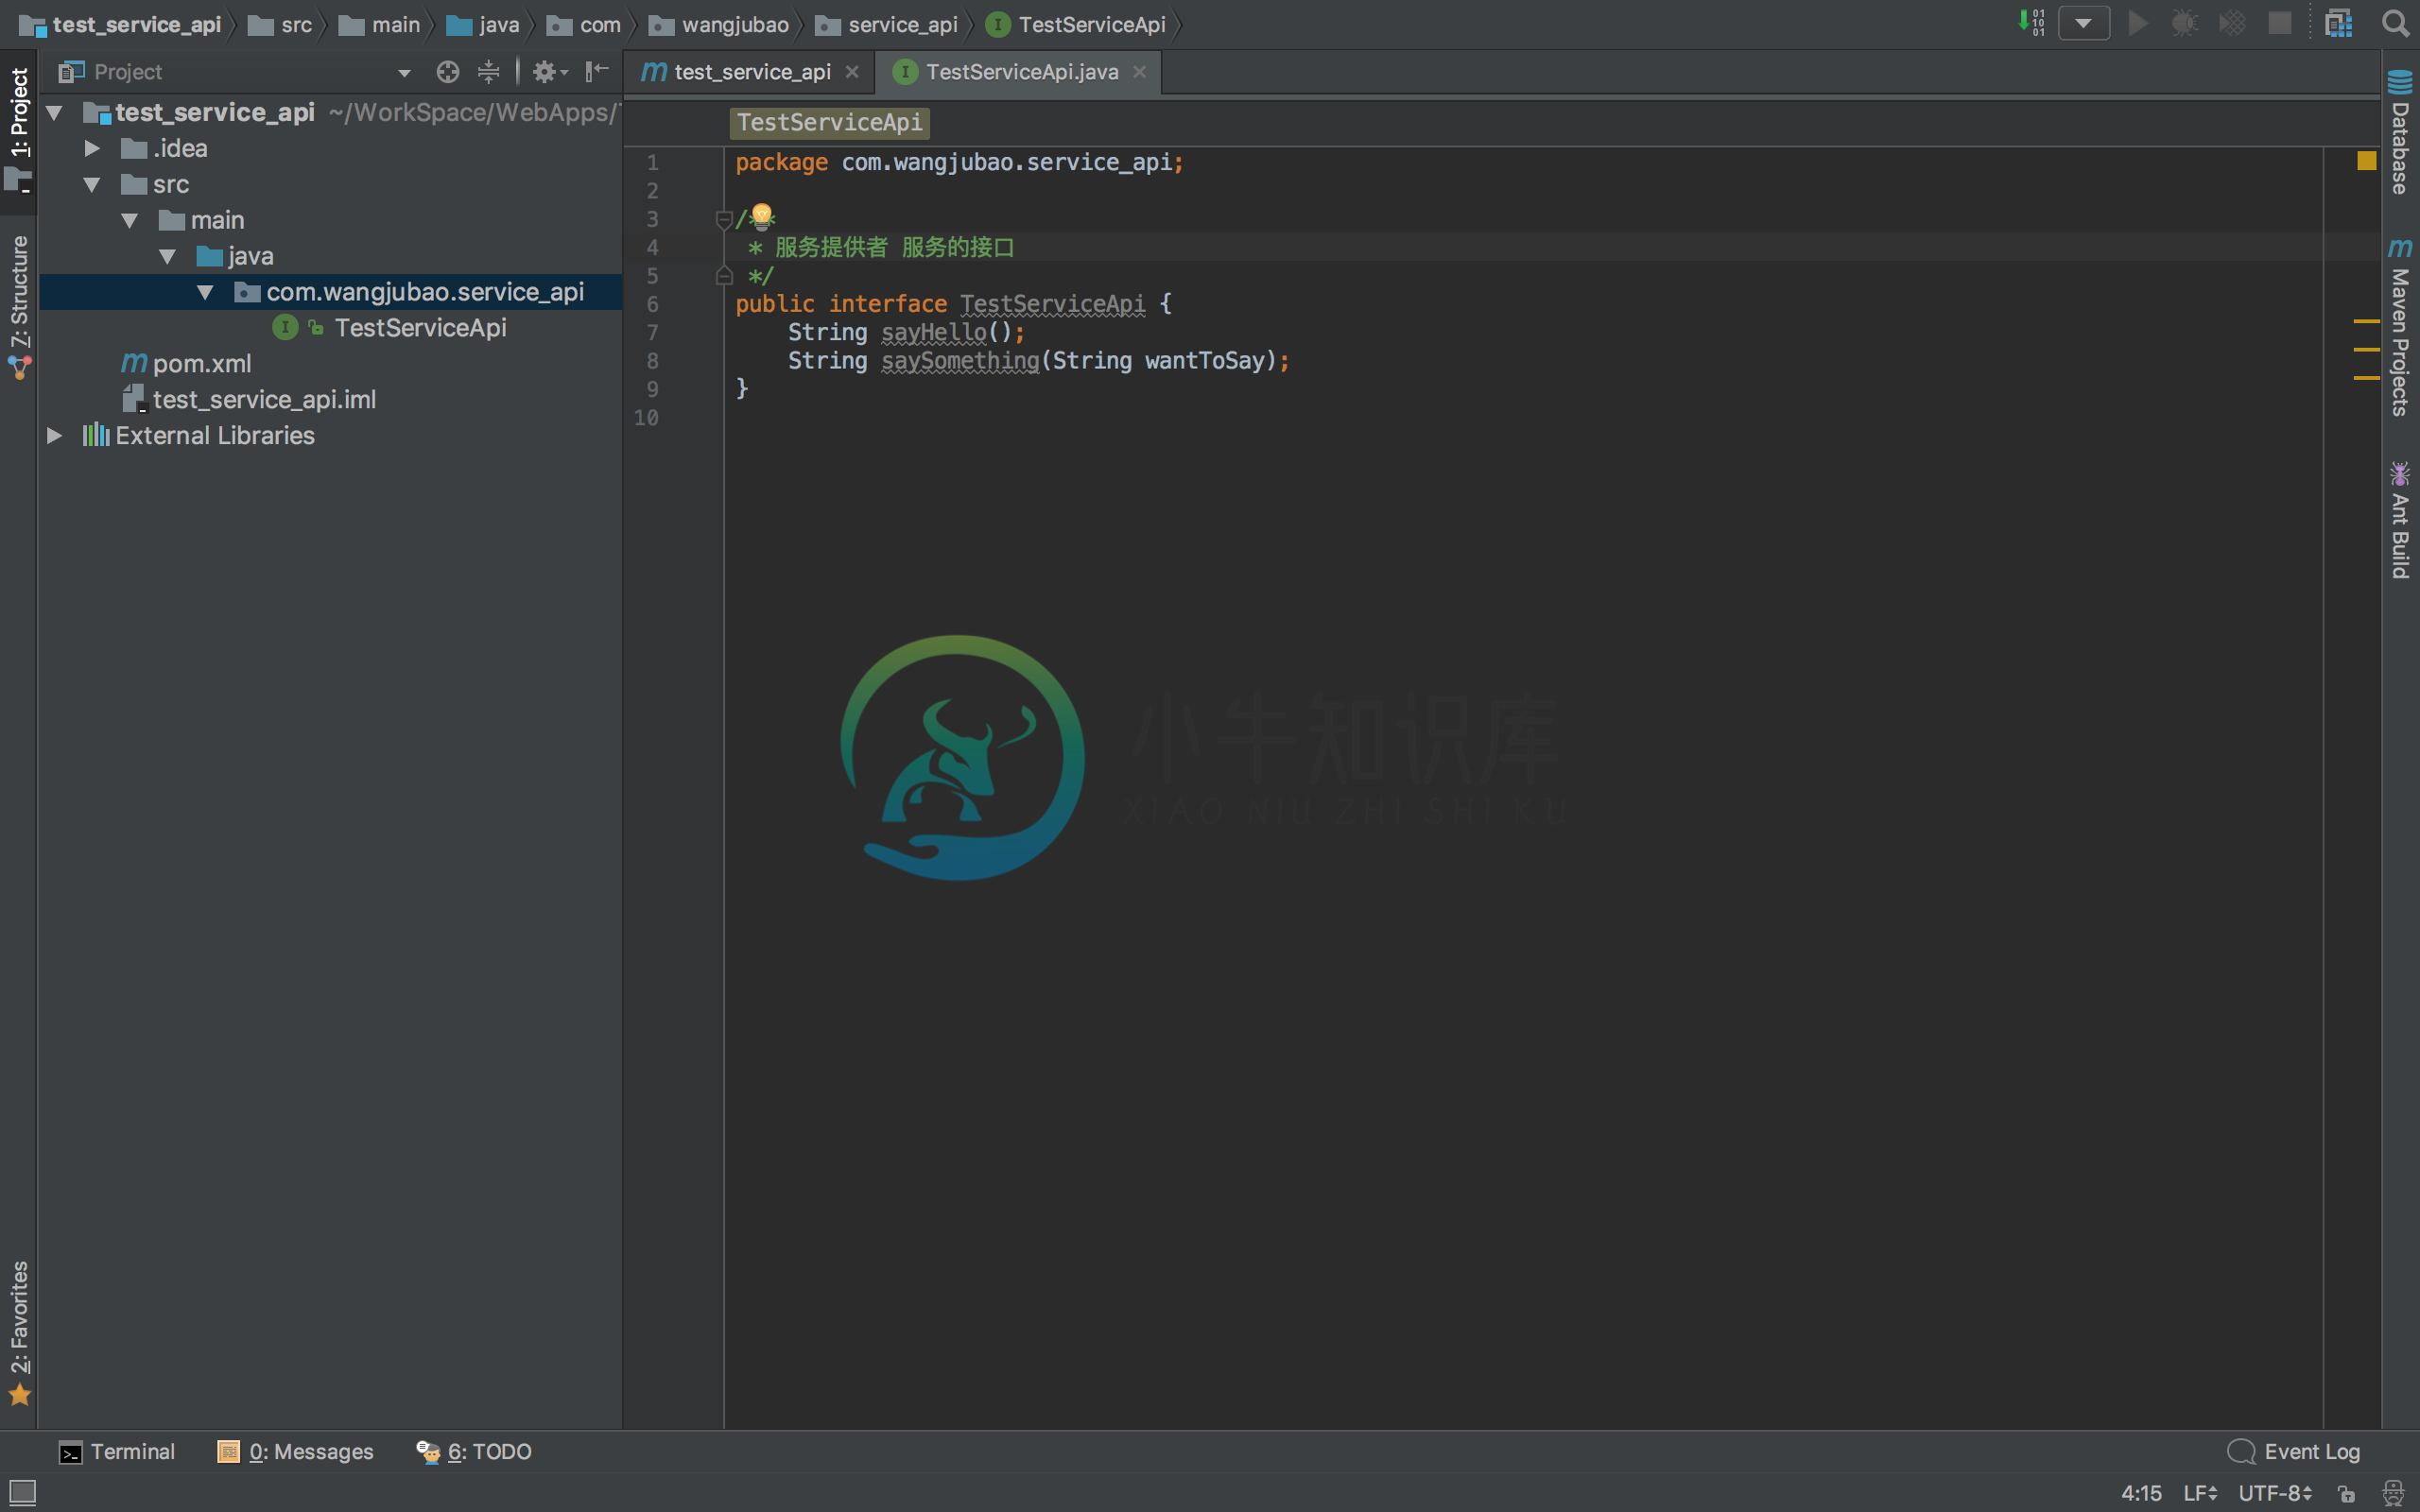
- 将此接口类 使用
mvn install打包装载进本地maven 库,留待调用。 - 将此接口类 使用
mvn deploy打包发布至 我司 maven 私服中央库,留待调用。(注:如果 提交被拒绝,请找 魔力鸟 开账户,填写至 maven/conf/setting.xml)
服务提供者创建
- 使用IDEA 的Maven 工程模板中的webapp模板生成一个初始化工程。
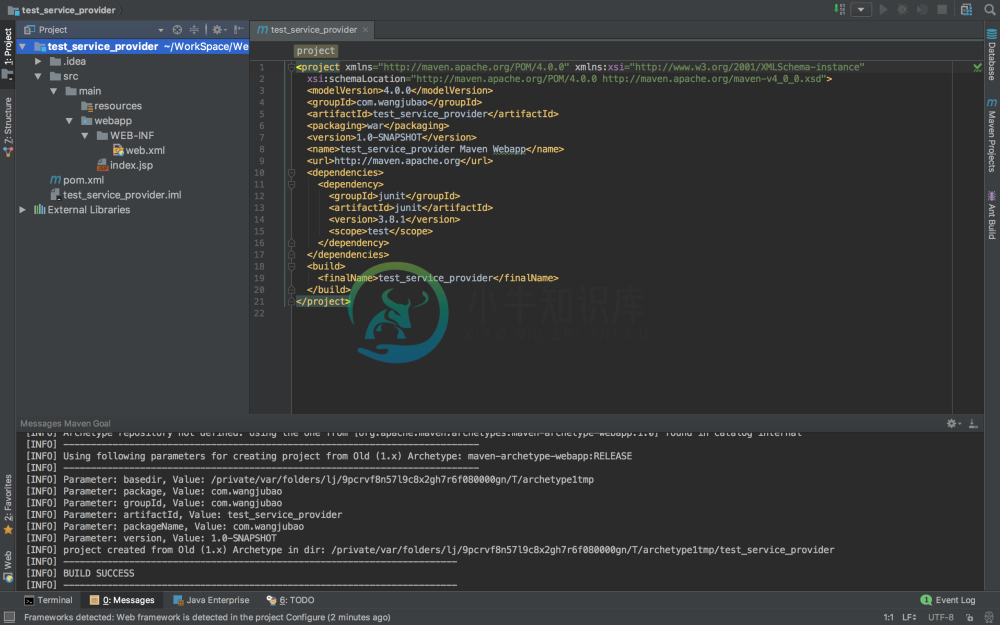
pom.xml 中增加如下依赖和属性。
 <properties>
     <project.build.sourceEncoding>UTF-8</project.build.sourceEncoding>
     <org.springframework.version>4.3.4.RELEASE</org.springframework.version>
     <maven.compiler.encoding>UTF-8</maven.compiler.encoding>
     <project.build.sourceEncoding>UTF-8</project.build.sourceEncoding>
   </properties>

   <dependencies>
     <dependency>
       <groupId>junit</groupId>
       <artifactId>junit</artifactId>
       <version>3.8.1</version>
       <scope>test</scope>
     </dependency>

     <dependency>
       <groupId>com.wangjubao</groupId>
       <artifactId>test_service_api</artifactId>
       <version>1.0-SNAPSHOT</version>
     </dependency>
        <dependency>
          <groupId>javax.servlet</groupId>
          <artifactId>javax.servlet-api</artifactId>
          <version>3.1.0</version>
        </dependency>

        <dependency>
          <groupId>org.springframework</groupId>
          <artifactId>spring-context</artifactId>
          <version>${org.springframework.version}</version>
        </dependency>
        <dependency>
          <groupId>org.springframework</groupId>
          <artifactId>spring-context-support</artifactId>
          <version>${org.springframework.version}</version>
        </dependency>
        <dependency>
          <groupId>org.springframework</groupId>
          <artifactId>spring-web</artifactId>
          <version>${org.springframework.version}</version>
        </dependency>
        <dependency>
          <groupId>org.springframework</groupId>
          <artifactId>spring-webmvc</artifactId>
          <version>${org.springframework.version}</version>
        </dependency>

        <dependency>
          <groupId>com.alibaba</groupId>
          <artifactId>dubbo</artifactId>
          <version>2.5.3</version>
          <exclusions>
            <exclusion>
              <artifactId>spring</artifactId>
              <groupId>org.springframework</groupId>
            </exclusion>
          </exclusions>
        </dependency>
        <dependency>
          <groupId>org.apache.zookeeper</groupId>
          <artifactId>zookeeper</artifactId>
          <version>3.4.8</version>
          <exclusions>
            <exclusion>
              <groupId>log4j</groupId>
              <artifactId>log4j</artifactId>
            </exclusion>
          </exclusions>
        </dependency>
        <dependency>
          <groupId>log4j</groupId>
          <artifactId>log4j</artifactId>
          <version>1.2.16</version>
        </dependency>
        <dependency>
          <groupId>com.github.sgroschupf</groupId>
          <artifactId>zkclient</artifactId>
          <version>0.1</version>
        </dependency>
      </dependencies>
- 新建 src/main/java 文件夹,并将其作为Sources Root。
- 在其下 新建
com.wangjubao.test_service.impl包,并新建类 TestServiceProviderImpl 类。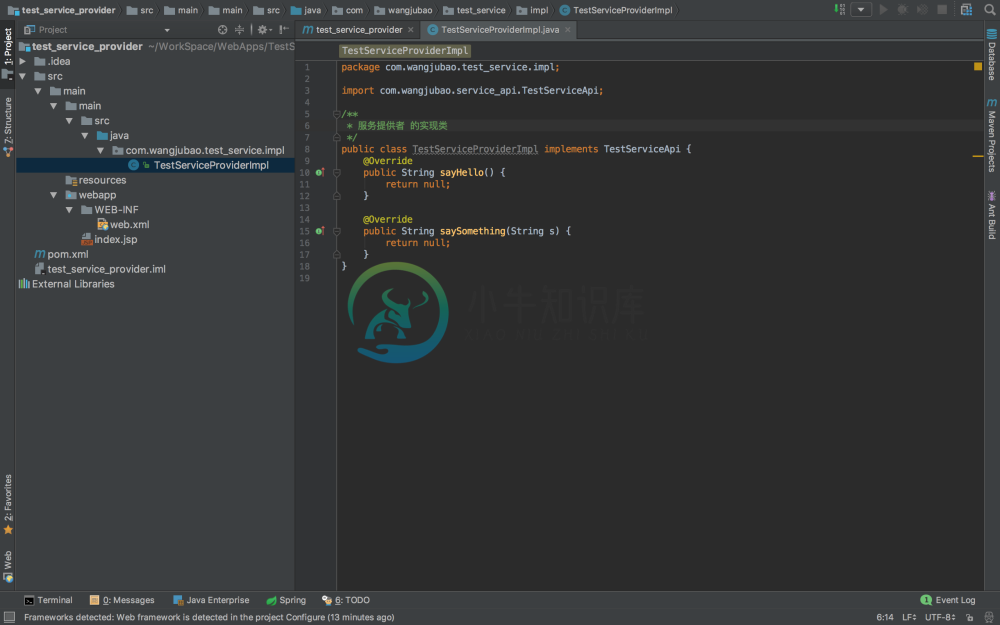
- 在resources 文件夹下新建
service_context.xml文件。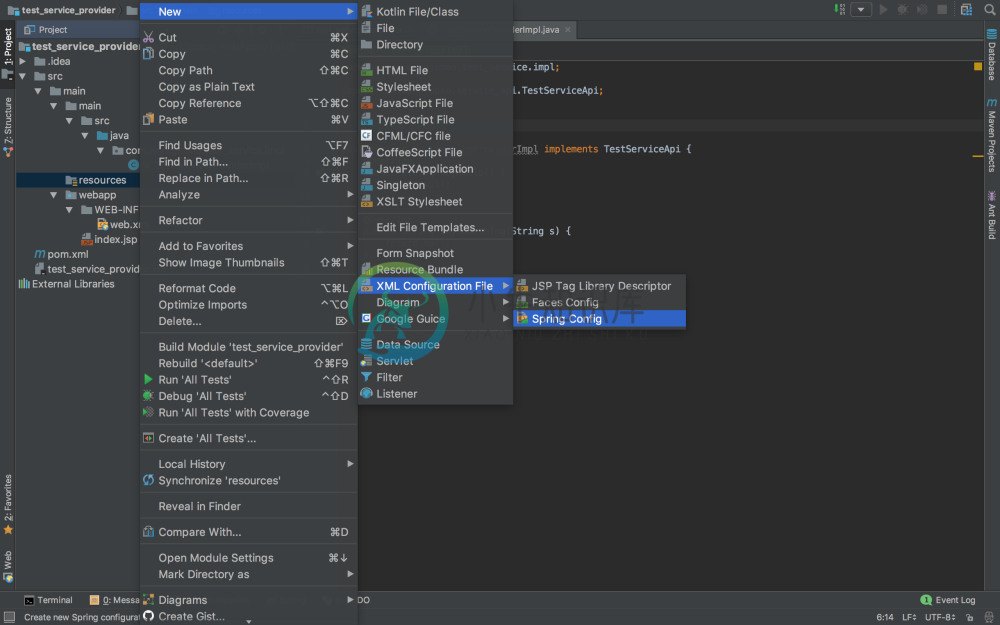
修改
service_context.xml文件。<?xml version="1.0" encoding="UTF-8"?> <beans xmlns="http://www.springframework.org/schema/beans" xmlns:xsi="http://www.w3.org/2001/XMLSchema-instance" xmlns:mvc="http://www.springframework.org/schema/mvc" xmlns:dubbo="http://code.alibabatech.com/schema/dubbo" xsi:schemaLocation="http://www.springframework.org/schema/beans http://www.springframework.org/schema/beans/spring-beans.xsd http://www.springframework.org/schema/mvc http://www.springframework.org/schema/mvc/spring-mvc.xsd http://code.alibabatech.com/schema/dubbo http://code.alibabatech.com/schema/dubbo/dubbo.xsd"> <mvc:annotation-driven > <!-- 消息转换器 --> <mvc:message-converters register-defaults="true"> <bean class="org.springframework.http.converter.StringHttpMessageConverter"> <property name="supportedMediaTypes" value="text/html;charset=UTF-8"/> </bean> </mvc:message-converters> </mvc:annotation-driven> <mvc:resources mapping="/resources/**" location="/resources/"/> </beans>同样,在resources 文件夹下新建
service_provider.xml文件,并修改。<?xml version="1.0" encoding="UTF-8"?> <beans xmlns="http://www.springframework.org/schema/beans" xmlns:xsi="http://www.w3.org/2001/XMLSchema-instance" xmlns:dubbo="http://code.alibabatech.com/schema/dubbo" xsi:schemaLocation="http://www.springframework.org/schema/beans http://www.springframework.org/schema/beans/spring-beans.xsd http://code.alibabatech.com/schema/dubbo http://code.alibabatech.com/schema/dubbo/dubbo.xsd"> <!-- 提供方应用信息,用于计算依赖关系 --> <dubbo:application name="test_provider" /> <!-- 使用zookeeper注册中心暴露服务地址 --> <dubbo:registry address="zookeeper://127.0.0.1:2181" /> <!-- 用dubbo协议在20880端口暴露服务 --> <dubbo:protocol name="dubbo" /> <!-- 声明需要暴露的服务接口 --> <dubbo:service interface="com.wangjubao.service_api.TestServiceApi" ref="testService" /> <!-- 具体的实现bean --> <bean id="testService" class="com.wangjubao.test_service.impl.TestServiceProviderImpl" /> </beans>修改 web.xml 文件。
 <!DOCTYPE web-app PUBLIC
  "-//Sun Microsystems, Inc.//DTD Web Application 2.3//EN"
  "http://java.sun.com/dtd/web-app_2_3.dtd" >

 <web-app>
   <display-name>Archetype Created Web Application</display-name>

   <context-param>
     <param-name>contextConfigLocation</param-name>
     <param-value>
       classpath*:service_provider.xml
     </param-value>
   </context-param>

   <listener>
     <listener-class>org.springframework.web.context.ContextLoaderListener</listener-class>
   </listener>

   <servlet>
     <servlet-name>provider_servlet</servlet-name>
     <servlet-class>org.springframework.web.servlet.DispatcherServlet</servlet-class>
     <init-param>
       <param-name>contextConfigLocation</param-name>
       <param-value>classpath*:service_context.xml</param-value>
     </init-param>
     <load-on-startup>1</load-on-startup>
   </servlet>
   <servlet-mapping>
     <servlet-name>provider_servlet</servlet-name>
     <url-pattern>/</url-pattern>
   </servlet-mapping>

 </web-app>
在 运行中 配置 Tomcat 服务器,接口 修改一下,我们这里修改为了2999.
- 点击运行,如无报错,并且 展示 index.jsp 则当前步骤则为成功。
服务消费者创建
- 创建通过模板初始化工程-pom.xml 添加依赖 - 创建 Root Sources 文件夹 请参照 【服务提供者创建】前3步。
在
com.wangjubao. test_service.consumer下TestConsumerImpl类。package com.wangjubao.test_service.consumer; import com.wangjubao.service_api.TestServiceApi; import org.springframework.beans.factory.annotation.Autowired; import org.springframework.stereotype.Controller; import org.springframework.web.bind.annotation.RequestMapping; import org.springframework.web.bind.annotation.ResponseBody; /** * 服务消费者 */ @Controller public class TestConsumerImpl { @Autowired private TestServiceApi testServiceApi; @RequestMapping("/test") @ResponseBody public String sayHelloDobbo(){ String str = testServiceApi.sayHello(); return str; } @RequestMapping("/testHelloWangjubao") @ResponseBody public String sayHelloWangjubao(){ String str = testServiceApi.saySomething("kevin,hello wangjubao!"); return str; } }依然是resourecs 文件夹下 创建
service_context.xml,并修改。、<?xml version="1.0" encoding="UTF-8"?> <beans xmlns="http://www.springframework.org/schema/beans" xmlns:xsi="http://www.w3.org/2001/XMLSchema-instance" xmlns:mvc="http://www.springframework.org/schema/mvc" xmlns:context="http://www.springframework.org/schema/context" xsi:schemaLocation="http://www.springframework.org/schema/beans http://www.springframework.org/schema/beans/spring-beans.xsd http://www.springframework.org/schema/mvc http://www.springframework.org/schema/mvc/spring-mvc.xsd http://www.springframework.org/schema/context http://www.springframework.org/schema/context/spring-context.xsd"> <mvc:annotation-driven > <!-- 消息转换器 --> <mvc:message-converters register-defaults="true"> <bean class="org.springframework.http.converter.StringHttpMessageConverter"> <property name="supportedMediaTypes" value="text/html;charset=UTF-8"/> </bean> </mvc:message-converters> </mvc:annotation-driven> <!-- 静态资源 --> <mvc:resources mapping="/resources/**" location="/resources/"/> <context:component-scan base-package="com.wangjubao.test_service"/> </beans>resourecs 文件夹下继续创建
service_consumer.xml,并修改。<?xml version="1.0" encoding="UTF-8"?> <beans xmlns="http://www.springframework.org/schema/beans" xmlns:xsi="http://www.w3.org/2001/XMLSchema-instance" xmlns:dubbo="http://code.alibabatech.com/schema/dubbo" xsi:schemaLocation="http://www.springframework.org/schema/beans http://www.springframework.org/schema/beans/spring-beans.xsd http://code.alibabatech.com/schema/dubbo http://code.alibabatech.com/schema/dubbo/dubbo.xsd"> <!-- 提供方应用信息,用于计算依赖关系 --> <dubbo:application name="test_consumer" /> <!-- 使用zookeeper注册中心暴露服务地址 --> <dubbo:registry address="zookeeper://127.0.0.1:2181" /> <!-- 声明需要暴露的服务接口 --> <dubbo:reference interface="com.wangjubao.service_api.TestServiceApi" id="testServiceApi" check="false" /> </beans>修改 web.xml 文件。
<!DOCTYPE web-app PUBLIC "-//Sun Microsystems, Inc.//DTD Web Application 2.3//EN" "http://java.sun.com/dtd/web-app_2_3.dtd" > <web-app> <display-name>Archetype Created Web Application</display-name> <context-param> <param-name>contextConfigLocation</param-name> <param-value> classpath*:dubbo_consumer.xml </param-value> </context-param> <listener> <listener-class>org.springframework.web.context.ContextLoaderListener</listener-class> </listener> <servlet> <servlet-name>appServlet</servlet-name> <servlet-class>org.springframework.web.servlet.DispatcherServlet</servlet-class> <init-param> <param-name>contextConfigLocation</param-name> <param-value>classpath*:service_context.xml</param-value> </init-param> <load-on-startup>1</load-on-startup> </servlet> <servlet-mapping> <servlet-name>appServlet</servlet-name> <url-pattern>/</url-pattern> </servlet-mapping> </web-app>- 在 运行中 配置 Tomcat 服务器,把 界面中HTTP port 和 JMX prot修改一下,以免冲突。
- 点击运行,如无报错,并且 展示 index.jsp 则当前步骤则为成功。
- 在 地址栏 中分别输入 http://localhost:2998/testHelloWangjubao 和 http://localhost:2998/test ,展现你传入 方法的文字 即为成功。


查看服务运行状态
- 在本地Tomcat 中 webapps 文件夹下 拷入 钉盘 - 网聚宝开发指南-资源 - Common 中的 dubbo-admin-2.5.4-SNAPSHOT.war
- 修改端口号 不为 8080,命令行开启 tomcat。
- 浏览器地址栏中输入 localhost:8090/dubbo-admin-2.5.4-SNAPSHOT,输入用户名和密码,即可看到dubbo 控制台首页。
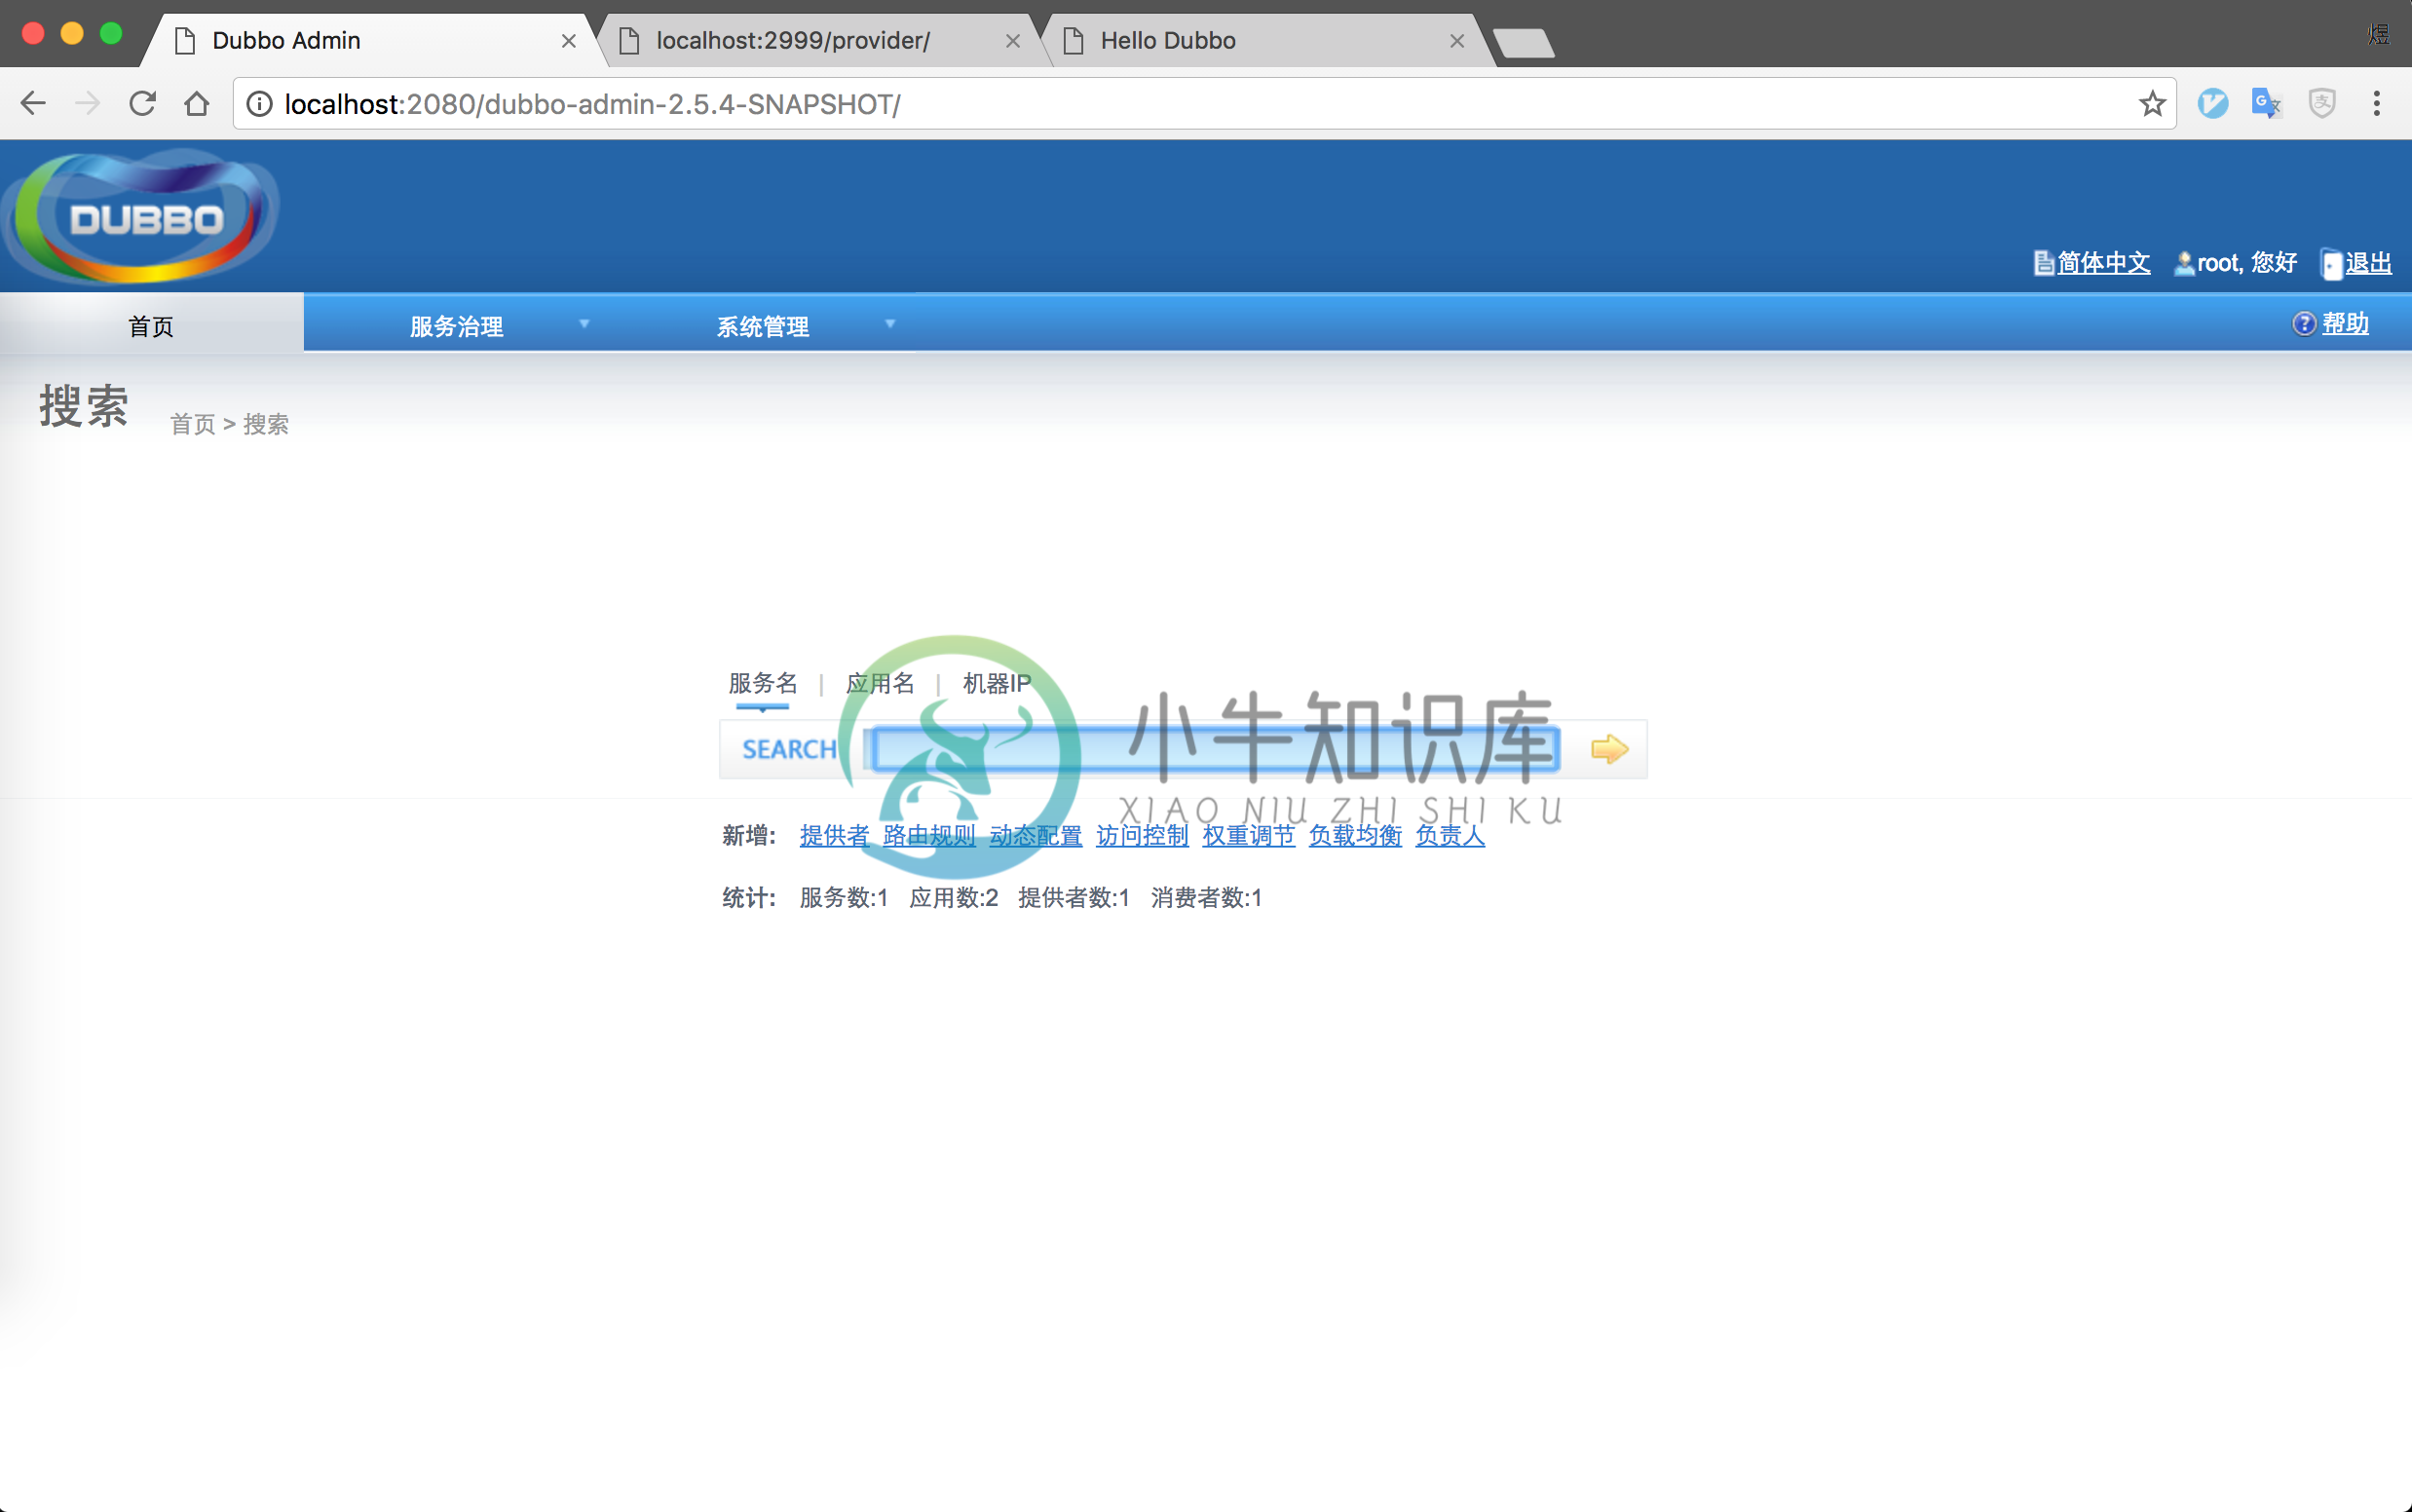
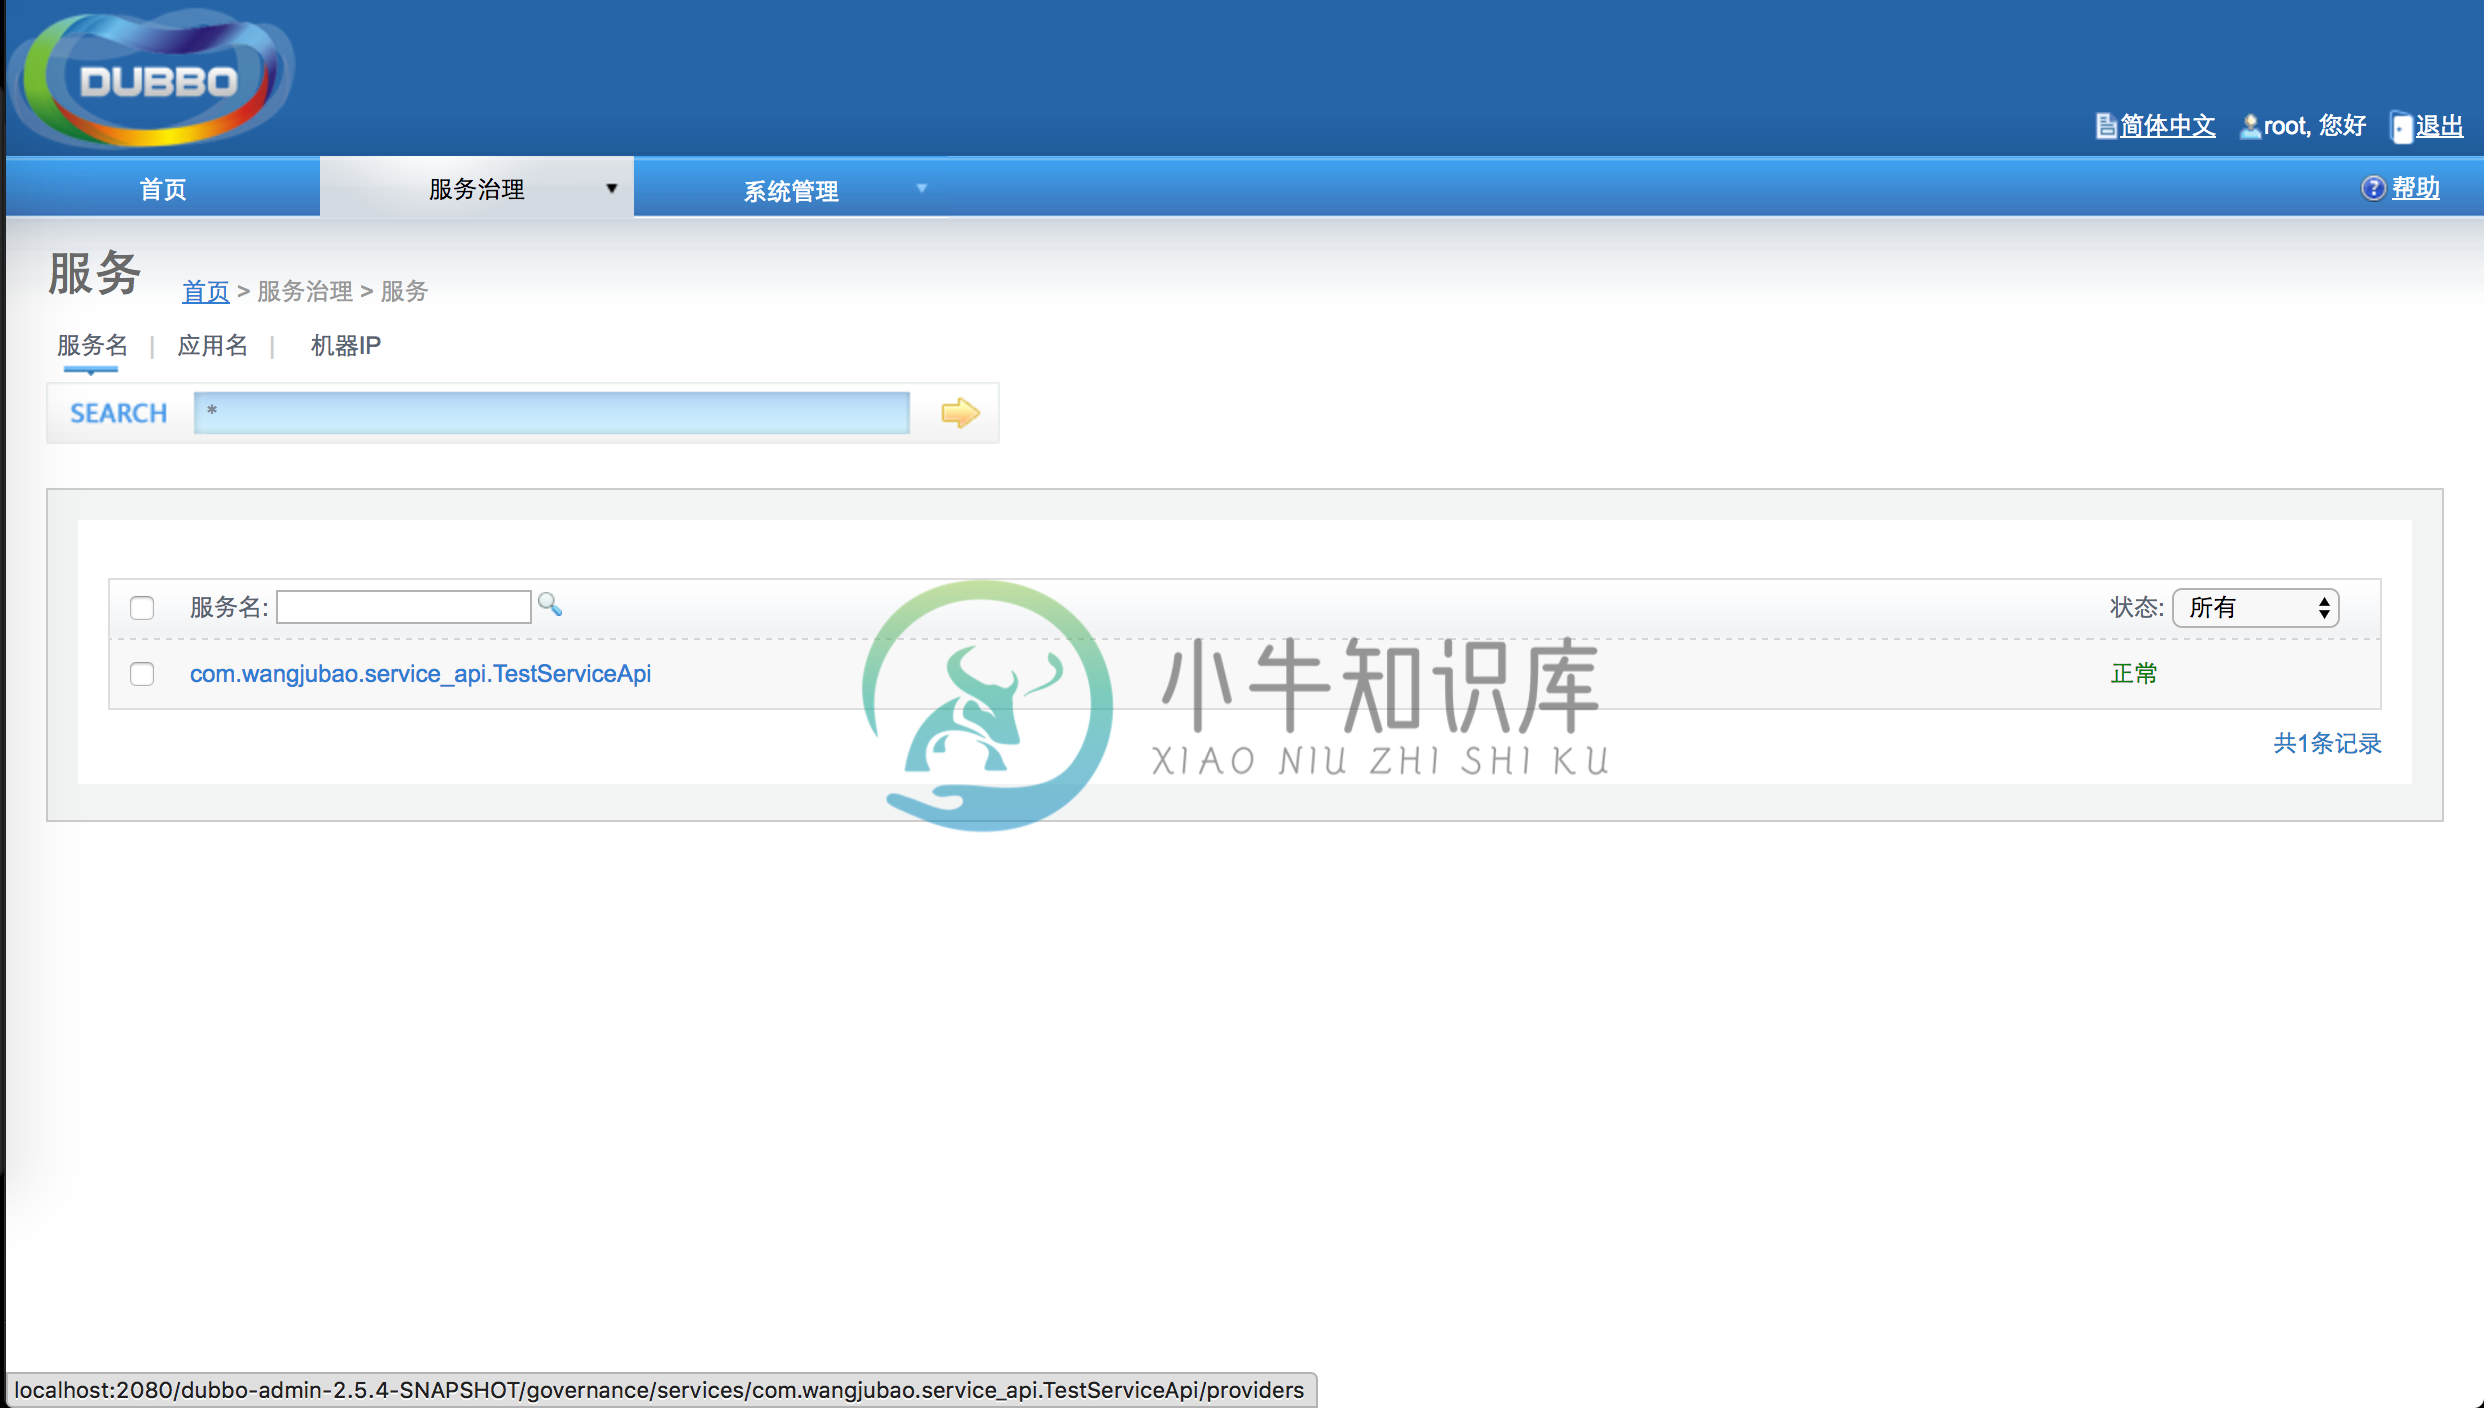
- 点击 菜单栏中的服务治理 - 服务 , 进入服务列表 界面,查看刚刚的服务 状态是否正常启动。
