              ██╗  ██╗  ████████╗███████╗██████╗ ███╗   ███╗██╗███╗   ██╗ █████╗ ██╗
              ╚██╗██╔╝  ╚══██╔══╝██╔════╝██╔══██╗████╗ ████║██║████╗  ██║██╔══██╗██║
               ╚███╔╝█████╗██║   █████╗  ██████╔╝██╔████╔██║██║██╔██╗ ██║███████║██║
               ██╔██╗╚════╝██║   ██╔══╝  ██╔══██╗██║╚██╔╝██║██║██║╚██╗██║██╔══██║██║
              ██╔╝ ██╗     ██║   ███████╗██║  ██║██║ ╚═╝ ██║██║██║ ╚████║██║  ██║███████╗
              ╚═╝  ╚═╝     ╚═╝   ╚══════╝╚═╝  ╚═╝╚═╝     ╚═╝╚═╝╚═╝  ╚═══╝╚═╝  ╚═╝╚══════╝
An xterm based Atom plugin for providing terminals inside your Atom workspace!
❤️
A fork of atom.io/packages/atom-xterm
atom.io packages x-terminal
Updates
- Updated dependencies
- xterm v4 introduced new plugins
- faster performance with webgl
- Themes
- Easily change terminal colors in settings
- Font Family
- Change font family in settings
- PlatformIO IDE API
- Works with packages that consume the
platformioIDETerminalservice
- Works with packages that consume the
Atom Feature Request for a Built in Terminal
If you're reading this and you would rather see Atom have a built-in terminalby default, please go over to the built-in terminal feature request threadhere, give it a thumbs up, andgive an explanation as to why you need a built-in terminal in Atom by default.
Installation
Go to https://atom.io/packages/x-terminal and click install, or search forthe x-terminal package via Atom's package manager. It can also be installedvia command-line with the apm command.
apm install x-terminal
Opening Terminals
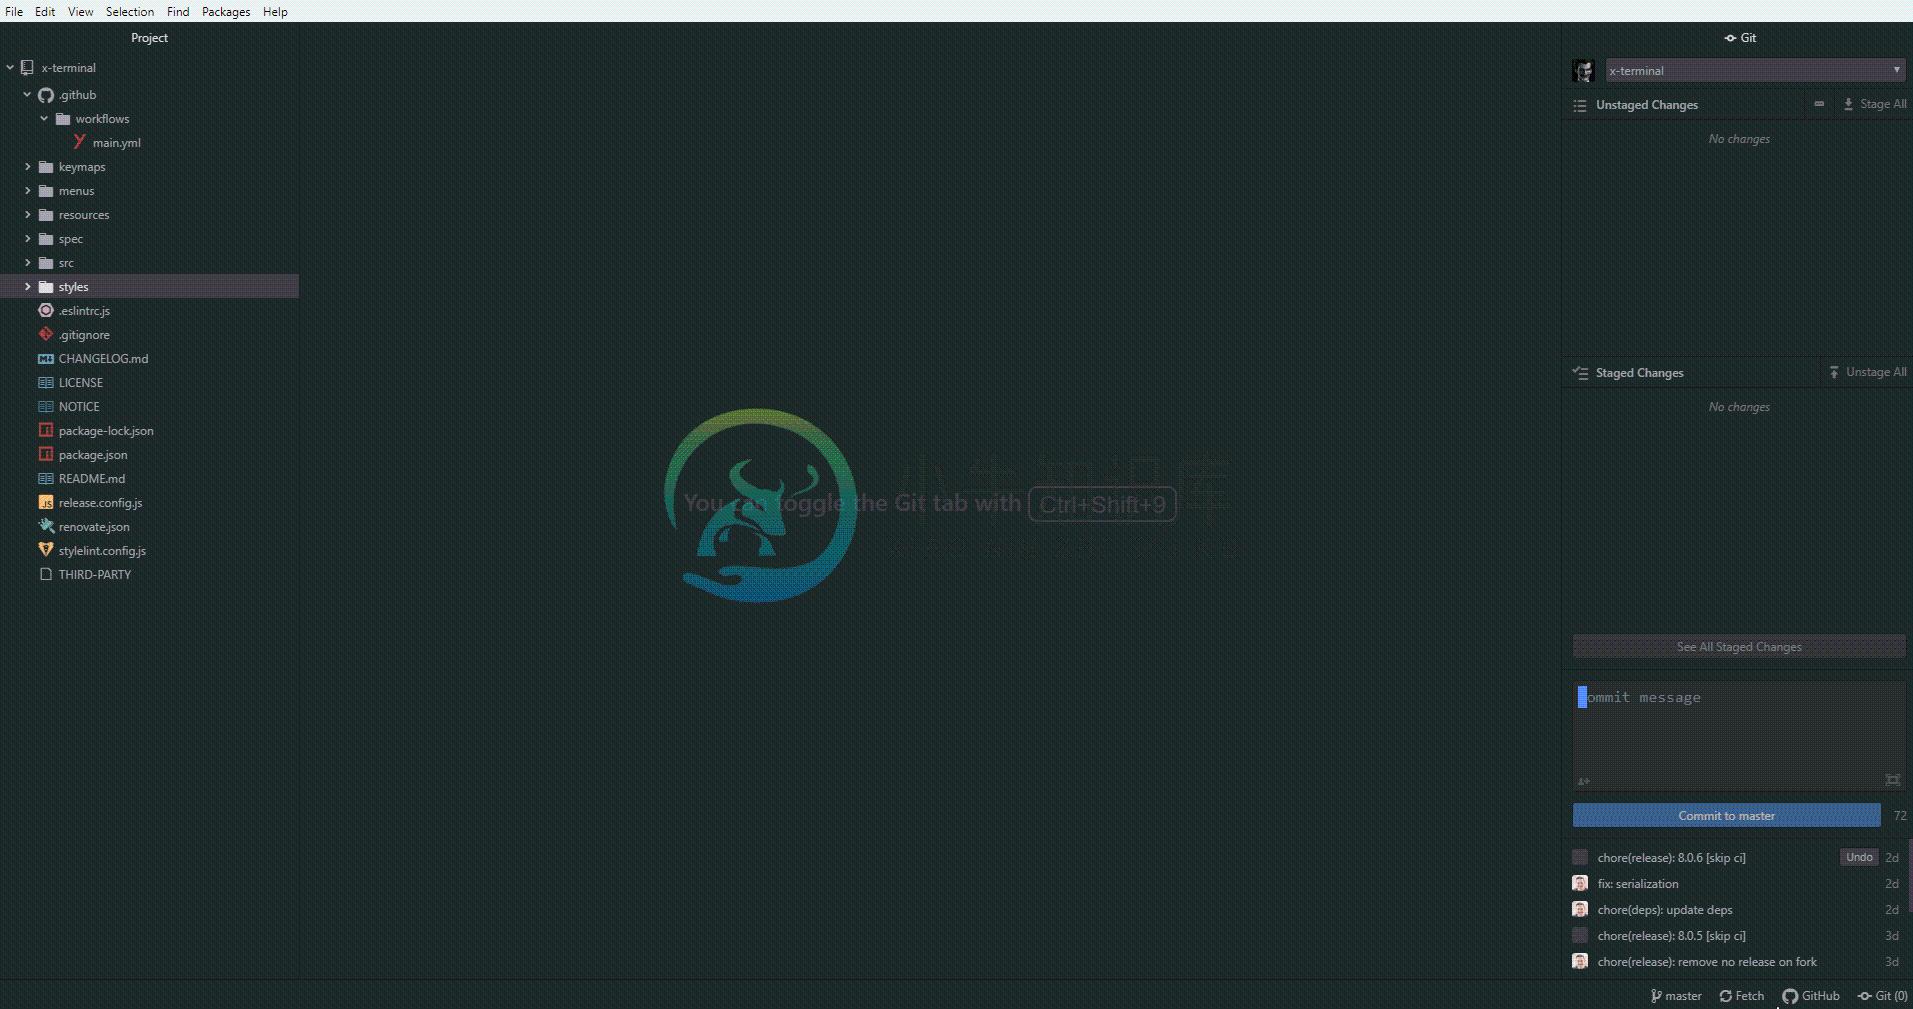
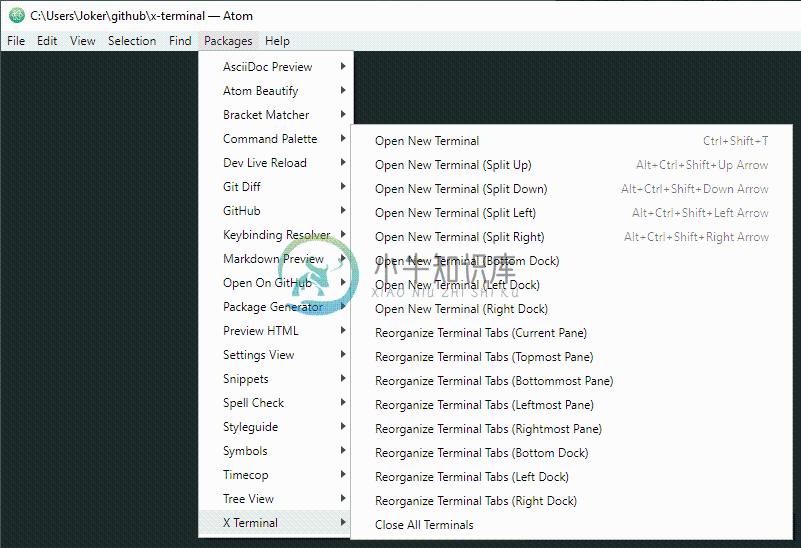
To open terminals, you can open them through the menu or through the available key bindings.
See the available key bindings for the x-terminal package.
There's also menu items available for opening terminals via right clicking on atext editor or on a terminal.
Finally, terminal tabs are automatically reopened at the spot you placed themwhen you last exited Atom.
Active Terminal
The active terminal is the terminal that will be used when sending commands tothe terminal with commands like x-terminal:insert-selected-text andx-terminal:run-selected-text
The active terminal will always have an astrix (*) in front of the title.By default when a terminal is hidden it becomes inactive and the last usedvisible terminal will become active. If there are no visible terminals none areactive.
The Allow Hidden Terminal To Stay Active setting will change thedefault behavior and keep a terminal that is hidden active until anotherterminal is focused.
Organizing Terminals
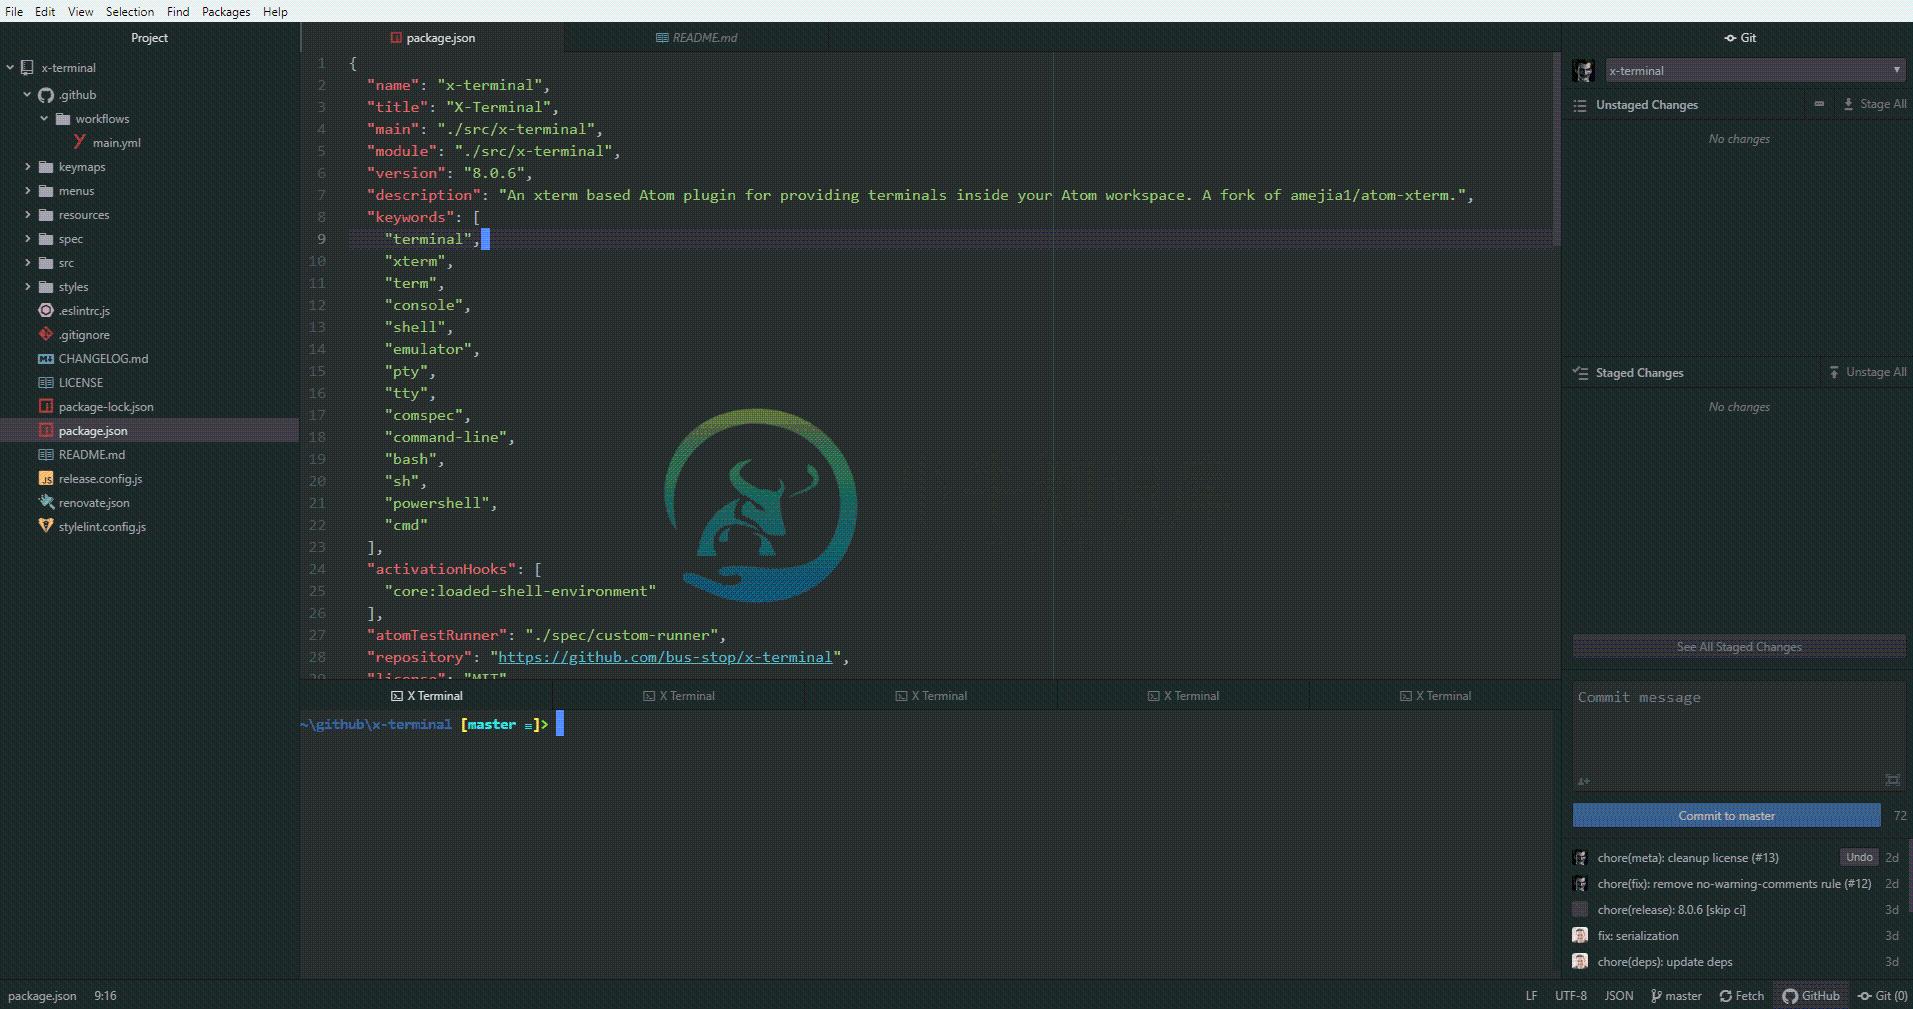
To quickly organize your terminal tabs, simply use the main menu. You can alsofind menu items by right-clicking on a terminal to organize your terminals.
And of course, there's the old fashion way of just moving the tabs where youwant them. Feel free to place your terminal tabs anywhere in your workspace toinclude any of the docks.
Profiles
The x-terminal package supports saving and loading profiles. What this allowsyou to do is save commonly used commands and settings for later use.
Notifications
The x-terminal package provides notifications about terminal process exitsuccesses and failures. Notifications will appear in Atom's own notificationmanager as well as on the terminal tab triggering the notification.
Success
Failure
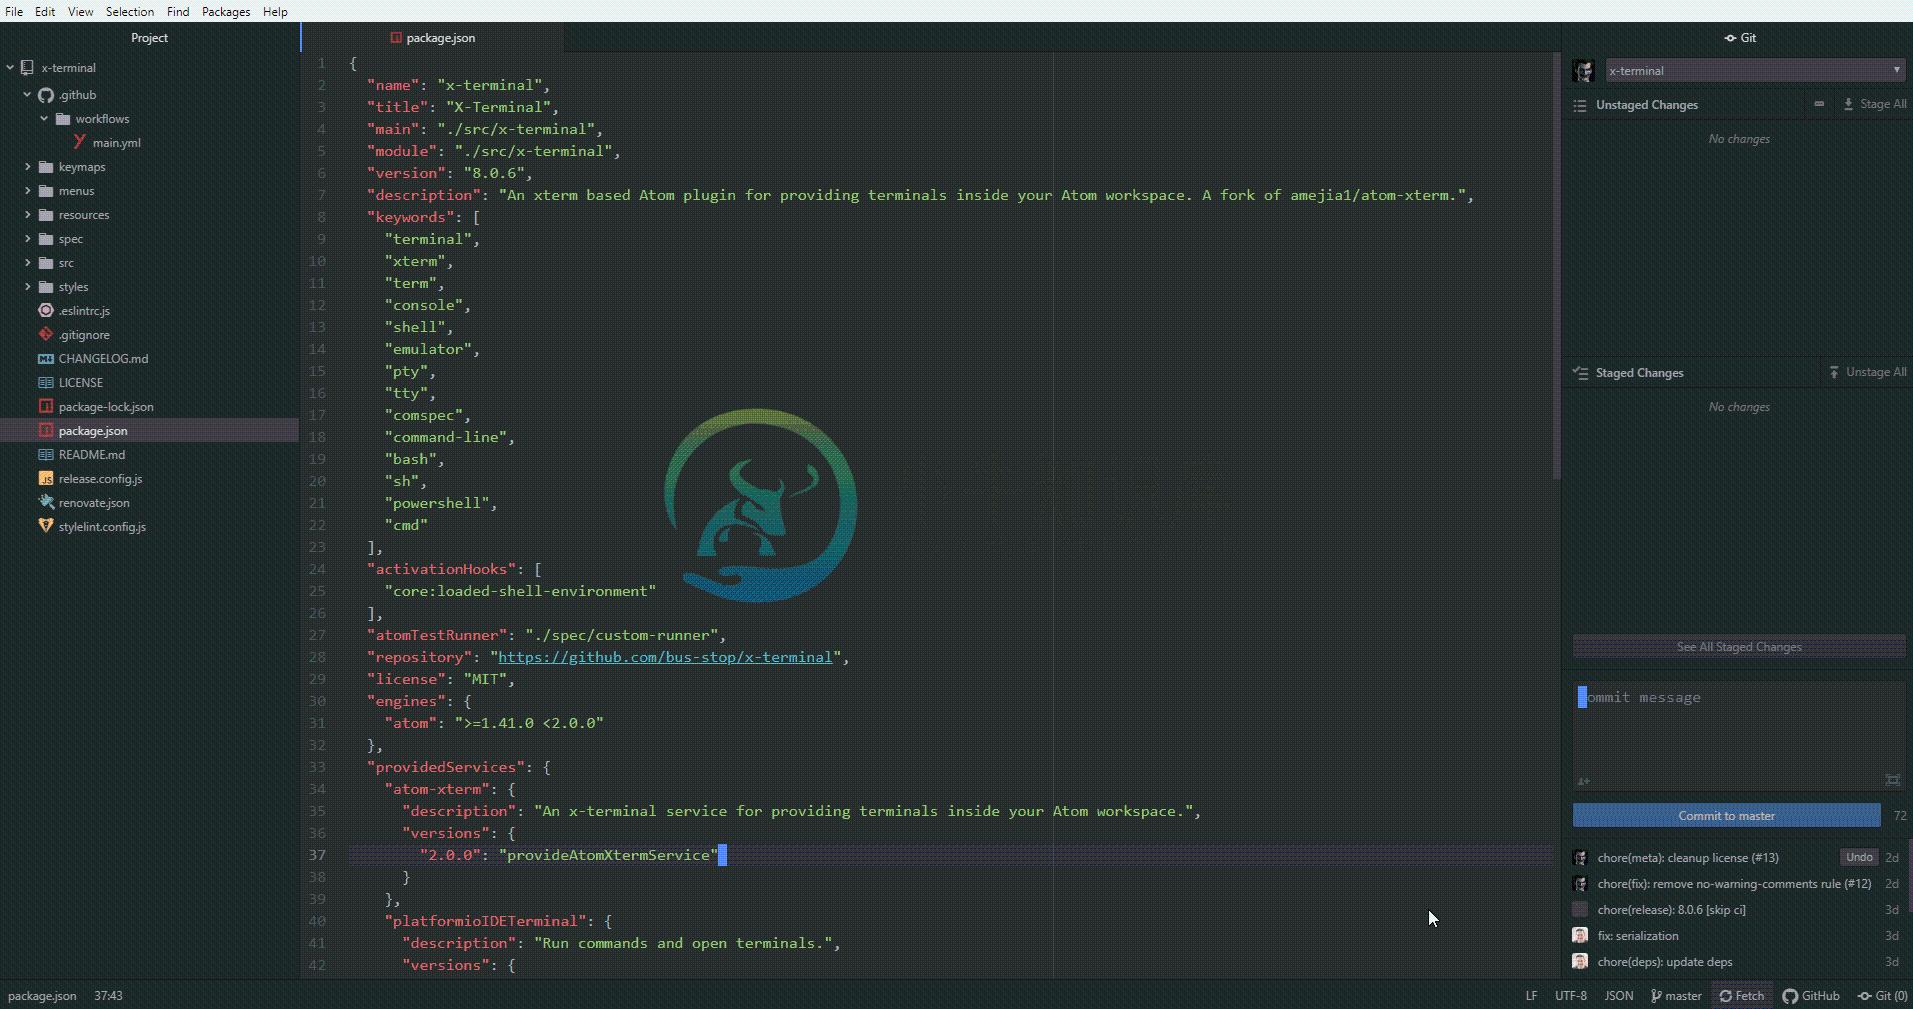
There are also activity notifications for terminal tabs not in focus.
Services
For plugin writers, the x-terminal package supports three services, terminal, atom-xterm, and platformioIDETerminal, whichcan be used to easily open terminals. These methods are provided using Atom's servicesAPI.
To use a service, add a consumer method to consume the service, orrather a JavaScript object that provides methods to open terminals and run commands.
'terminal' service v1.0.0
The terminal service provides an object with updateProcessEnv, run, getTerminalViews, and open methods.
As an example on how to use the provided run() method, yourpackage.json should have the following.
{
  "consumedServices": {
    "terminal": {
      "versions": {
        "^1.0.0": "consumeTerminalService"
      }
    }
  }
}
Your package's main module should then define a consumeTerminalServicemethod, for example.
import { Disposable } from 'atom'

export default {
  terminalService: null,

  consumeTerminalService (terminalService) {
    this.terminalService = terminalService
    return new Disposable(() => {
      this.terminalService = null
    })
  },

  // . . .
}
Once the service is consumed, use the run() method that is providedby the service, for example.
// Launch `somecommand --foo --bar --baz` in a terminal.
this.terminalService.run([
   'somecommand --foo --bar --baz'
])
'atom-xterm' service v2.0.0
The atom-xterm service provides theopenTerminal() method. The openTerminal() method behaves just like Atom'sopen()method except that the first argument must be a JSON object describing theterminal profile that should be opened. Docs about this JSON object can befound here.
As an example on how to use the provided openTerminal() method, yourpackage.json should have the following.
{
  "consumedServices": {
    "atom-xterm": {
      "versions": {
        "^2.0.0": "consumeAtomXtermService"
      }
    }
  }
}
Your package's main module should then define a consumeAtomXtermServicemethod, for example.
import { Disposable } from 'atom'

export default {
  atomXtermService: null,

  consumeAtomXtermService (atomXtermService) {
    this.atomXtermService = atomXtermService
    return new Disposable(() => {
      this.atomXtermService = null
    })
  },

  // . . .
}
Once the service is consumed, use the openTerminal() method that is providedby the service, for example.
// Launch `somecommand --foo --bar --baz` in a terminal.
this.atomXtermService.openTerminal({
  command: 'somecommand',
  args: [
    '--foo',
    '--bar',
    '--baz'
  ]
})
'platformioIDETerminal' service v1.1.0
The platformioIDETerminal service provides an object with updateProcessEnv, run, getTerminalViews, and open methods.
As an example on how to use the provided run() method, yourpackage.json should have the following.
{
  "consumedServices": {
    "platformioIDETerminal": {
      "versions": {
        "^1.1.0": "consumePlatformioIDETerminalService"
      }
    }
  }
}
Your package's main module should then define a consumePlatformioIDETerminalServicemethod, for example.
import { Disposable } from 'atom'

export default {
  platformioIDETerminalService: null,

  consumePlatformioIDETerminalService (platformioIDETerminalService) {
    this.platformioIDETerminalService = platformioIDETerminalService
    return new Disposable(() => {
      this.platformioIDETerminalService = null
    })
  },

  // . . .
}
Once the service is consumed, use the run() method that is providedby the service, for example.
// Launch `somecommand --foo --bar --baz` in a terminal.
this.platformioIDETerminalService.run([
   'somecommand --foo --bar --baz'
])
Development
Want to help develop x-terminal? Here's how to quickly get setup.
First use the apm command to clone thex-terminal repo.
apm develop x-terminal
This should clone the x-terminal package into the $HOME/github/x-terminaldirectory. Go into this directory and install its dependencies.
cd $HOME/github/x-terminal
npm install
You shouldn't need to rebuild any node-ptysince they are pre-compiled, however in the event they aren't available,you can rebuild them with:
apm rebuild
Finally, open this directory in Atom's dev mode and hack away.
atom --dev
There's a test suite available for automated testing of the x-terminal package.Simply go to View > Developer > Run Package Specs in Atom's main menu oruse the hotkey. You can run the full test suite (which includes running linttools) via command-line by running npm run test inside the x-terminaldirectory.
Various lint tools are being used to keep the code "beautified". To run onlythe lint tools, simply run npm run lint.
Pull Requests
Whenever you're ready to submit a pull request, be sure to submit itagainst a fork of the main x-terminal repomaster branch that you'll own. Fork the repo using Github and make note of thenew git URL. Set this new git URL as the URL for the origin remote in youralready cloned git repo is follows.
git remote set-url origin ${NEW_GIT_URL}
Ensure your new changes passes the test suite by running npm run test.Afterwards, push your changes to your repo and then use Github to submit a newpull request.
xterm.js
The terminals that users interact with in this package is made possible withmajor help from the xterm.js library. Assuch, often times it's necessary to make changes to xterm.js in order to fixsome bug or implement new features.
If you want to work on xterm.js for the benefit of a bug fix or feature to besupported in x-terminal, here's how you can quickly get setup.
First make a fork of xterm.js. Next,clone your newly created fork as follows.
git clone ${YOUR_XTERMJS_FORK} ${HOME}/github/xterm.js
Go into your newly cloned repo for xterm.js.
cd ${HOME}/github/xterm.js
Install all needed dependencies.
npm install
Build xterm.js.
npm run build
Ensure the test suite passes.
npm run test
npm run lint
Add a global link for xterm.js to your system.
npm link
Inside your x-terminal directory, link against the global xterm link.
cd ${HOME}/github/x-terminal
npm link xterm
Finally, perform a rebuild with the apm programinside the x-terminal directory.
apm rebuild
You're all set for developing xterm.js. Hack away in your xterm.js directory,run npm run build, then reload your Atom window to see the changes to yourterminals.
Credits and Legal
Click for copyright and license info about this package.
Feedback
Need to submit a bug report? Have a new feature you want to see implemented inx-terminal? Please feel free to submit them through the appropriateissue template.
For bug reports, please provide images or demos showing your issues if you can.
-
查看 在终端里输入ls就可以查看文件和文件夹,但隐藏的文件就无法查看,使用ls -a即可。 在访达中可以通过同时按住“ Command + Shift + . ”三个按键,即可查看当下文件夹中的隐藏文件。若想恢复隐藏文件的话再次按“ Command + Shift + . ”,即可恢复文件的隐藏状态。 创建目录 命令:mkdir 使用说明:输入命令随后空格再输入目录名即可。 案例:创建一个test
-
终端上的一些指令 最近在使用服务器跑一些深度学习的算法,在连接服务器,配环境,设别名alias等等过程中,往往需要和终端进行交互,(博主这里使用的是xshell,不确定其他终端是不是一样的指令,后续可能会去查询一下)这里记录一些用到过的指令。(有些过于常规的可能没写到,多多包涵) 查看显卡(包括可以查看cuda版本): nvidia-smi 查询anaconda下的包: conda list 查看
-
获得管理员权限:sudo -s 启动svn服务器:svnserve -d 进入sqlite3微型数据库:sqlite
-
Macbook中常用的terminal命令 MacBook 的terminal特别好用的工具!可以用来跑程序、管理文档、查找文件、远程登录服务器等…在此整理和记录一些Mac中ternimal常用的的命令,方便之后查阅。 查看目录下的文件 查看目录下的文件,但是不显示隐藏文件 ls 查看目录下的所有文件,包括隐藏文件 ls -a 显示文件和目录的详细信息,包括权限、文件数目、归属者、大小、创建
-
学习自:https://www.ruanyifeng.com/blog/2019/10/tmux.html Tmux 是一个终端复用器(terminal multiplexer),非常有用,属于常用的开发工具。 使用前 场景1 小A:在使用Linux服务器时,经常会碰到一种情况,运行的程序需要运行几十分钟甚至几个小时,启动运行之后,因为某种原因我们可能会断开ssh,再打开这个窗口发现因为ssh断开
-
After looking around for how to make an alias for Mac OS X's terminal/shell I ended up cobbling together my solution from a variety of different (mostly unixy-linuxy) places. So in the name of good do
-
1 解决Mac终端中文件夹名和文件名颜色一样的问题 当我们在Mac终端中输入ls指令会发现,文件夹名和文件名都是一样的颜色,这和我们在Linux中有一点区别。那我们 第一步:创建用vim打开.bash_profile文件。依次输入以下指令: cd ~ touch .bash_profile vim .bash_profile 第二步:修改.bash_profile文件。按i进入插入模式,在文件末
-
笔者的简书(首发地址):http://www.jianshu.com/p/78fbaf22c357 无意间发现笔者的有道云笔记在曾几何时有一篇关于terminal命令的总结笔记。由于笔记记录内容实在太多,所以在这里简单整理了一些Mac下终端里常用且实用的命令方便日后查阅。 查看 在终端里输入ls就可以查看文件和文件夹,但隐藏的文件就无法查看,使用ls -a即可。 创建目录 命令:mkdir 使用说
-
问题原因:接单独写了一个export,要么在bashrc中,要么在bash_profile中,export写在单独的一行 具体打开bashrc 命令: gedit ~/.bashrc // 打开 source ~/.bashrc // 修改后,保存修改 情况一 原始: export PATH = "/opt/cuda/bin:$PATH" export LD_LIBRARY_PATH =
-
在我们当前的项目中,我们使用Java8,SpringBoot1.5.4。ApacheCamel 2.17.1版团队计划将Camel升级到3.4版。因为它支持Java8。我看到了camel文档,其中声明将从3.4中放弃对Java8的支持。X版本之后,但很难找到与camel 3.4一起使用所需的spring boot版本的兼容版本。我需要升级spring启动版本吗?如果是的话,会是哪个版本,或者在哪里
-
问题内容: 考虑以下示例: 我不确定Java语言规范中是否有一项规定要加载变量的先前值以便与右侧()进行比较,该变量应按照方括号内的顺序进行计算。 为什么第一个表达式求值,而第二个表达式求值?我本来希望先被评估,然后再与自身()比较并返回。 这个问题与Java表达式中子表达式的求值顺序不同,因为这里绝对不是“子表达式”。需要 加载 它以进行比较,而不是对其进行“评估”。这个问题是特定于Java的,
-
基于此,我认为我应该完全开始在中使用
-
这个问题与Java表达式中子表达式的求值顺序不同,因为在这里肯定不是“子表达式”。需要加载它进行比较,而不是“求值”。这个问题是特定于Java的,表达式来自一个真实的项目,而不是通常为棘手的面试问题而设计的牵强附会的不切实际的构造。它应该是比较和替换习语的一行替换 它比x86 CMPXCHG指令还要简单,因此在Java中应该使用更短的表达式。
-
问题内容: 我已经对Java中的x * x或Math.pow(x,2)更快进行了一些测试。我原本以为简单的x * x会更快一些,但是事实证明它的速度差不多相等。有人可以启发我吗,那怎么可能? 问题答案: 就您所知,它完全是JITted(甚至已经在编译时)了。由于没有真实的上下文,此类微基准很少会提供非常有用的结果。 绝对不是一个彼此优先的理由,因为现实世界中的代码很少有简单的操作作为性能热点。
-
以下Python3.x整数乘法的平均运算时间在1.66s到1.77s之间: 如果将替换为,则需要在和之间。怎么会呢? 另一方面,在Java中则相反:在Java中更快。Java测试链接:为什么在Java中2*(i*i)比2*i*i快? 我运行每个版本的程序10次,以下是结果。


