Chapter 13 WebCam Access with getUserMedia()
getUserMedia
Historically the only way to interact with local resources on the web is by uploading files. The only local devices you can really interact with are the mouse and keyboard. Fortunately, that isn't the case anymore. In the previous chapter we saw how to manipulate audio. In this chapter we will talk to the user's webcam.
First I want to stress that this is all highly highly alpha. The APIs for talking to local devices have changed many times and probably will change again before they become standard. In addition only desktop Chrome and Opera have any real support for talking to the webcam [Firefox? Safari?]. There is virtually no mobile support. Use this chapter as a way to see what is coming in the future and have fun playing around, but absolutely don't try to use this in any production code. That said, let's have some fun!
Access to local devices from a webpage have a long and checkered past. Traddtionally this was the providence only of native plugins like Flash and Java. The stituation has changed a lot in tne last year, though. The WebRTC group aims to enable Real Time Communications on the web. Think video chatting and live broadcasts of concerts. One of the components needed to make this vision real is access to the webcam. Today we can do this using navigator.getUserMedia().
I'm going to show you method that works in the latest Chrome beta (v21 as of July 13th, 2012). For a more robust solution see this article on HTML 5 Rocks. Also note that getUserMedia will not work from the local filesystem. You must run it through a local webserver.
First we need a video element in the page. This is where the webcam display will be.
<video autoplay></video>To access the webcam we must first see if support exists by looking for navigator.webkitGetUserMedia != null. If it does exist then we can request access. The options determine if we want audio, video, or both. As of this writing audio-only doesn't work in Chrome.
if(navigator.webkitGetUserMedia!=null) {
    var options = {
        video:true,
        audio:true
    };

    //request webcam access
    navigator.webkitGetUserMedia(options,
        function(stream) {
            //get the video tag
            var video = document.querySelector('video');
            //turn the stream into a magic URL
            video.src = window.webkitURL.createObjectURL(stream);
        },
        function(e) {
            console.log("error happened");
        }
    );
}
When the webkitGetUserMedia is called it will open a dialog to ask the user if our page can have access. If the user approves then then the first function will be called. If there is any problem then the error function will be called.
Now that we have the stream we can attach it to the video element in the page using a magic kind of url with webkitURL.createObjectURL(). Once hooked up the video element will show a live view of the webcam.
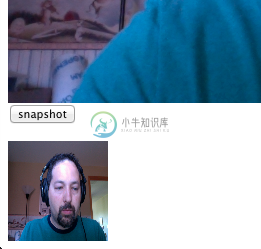
Here's what it looks like

screenshotsimple webcam
Taking a snapshot
So now that we have a live webcam stream what can we do with it? As it happens, the video element plays nicely with canvas. We can take a snapshot of the webcam by just drawing it into a 2D canvas element like this:
<form><input type='button' id='snapshot' value="snapshot"/></form>

<canvas id='canvas' width='100' height='100'></canvas>

<script language='javascript'>
document.getElementById('snapshot').onclick = function() {
    var video = document.querySelector('video');
    var canvas = document.getElementById('canvas');
    var ctx = canvas.getContext('2d');
    ctx.drawImage(video,0,0);
}
</script>
When the button is clicked it the event handler will grab the video element from the page and draw it to the canvas. We use the same drawImage() call that we would use with a static image. Because it is the same function we can manipulate it the same way we can with images. To stretch it change the drawImage call to look like this:
//draw video source resized to 100x100
    ctx.drawImage(video,0,0,100,100);
screenshotstretched snapshot
A snapshot from the live webcam, stretched with Canvas 2D
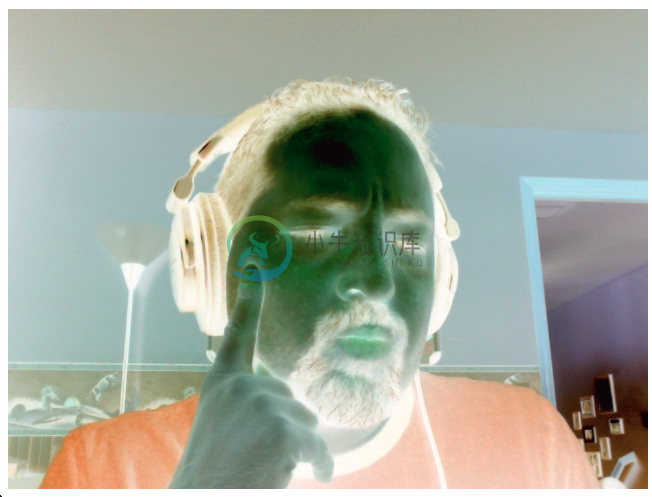
That's all there is to it. The webcam is just an image. We can modify it using some of the effects described in the pixel buffers chapter. The code below will invert the snapshot.
    var video = document.querySelector('video');
    var canvas = document.getElementById('canvas');
    var ctx = canvas.getContext('2d');
    ctx.drawImage(video,0,0);
    //get the canvas data
    var data = ctx.getImageData(0,0,canvas.width,canvas.height);
    //invert each pixel
    for(n=0; n<data.width*data.height; n++) {
        var index = n*4;
        data.data[index+0] = 255-data.data[index+0];
        data.data[index+1] = 255-data.data[index+1];
        data.data[index+2] = 255-data.data[index+2];
        //don't touch the alpha
    }

    //set the data back
ctx.putImageData(data,0,0); 
screenshotinverted snapshot
A snapshot from the live webcam, inverted with pixel manipulation
You could make this live by repeatedly capturing the video instead of just when the user pressed the button.
More Cool Hacks
What I've shown you is just the tip of the iceberg of what's possible. Here are a few more examples created by other talented developers.
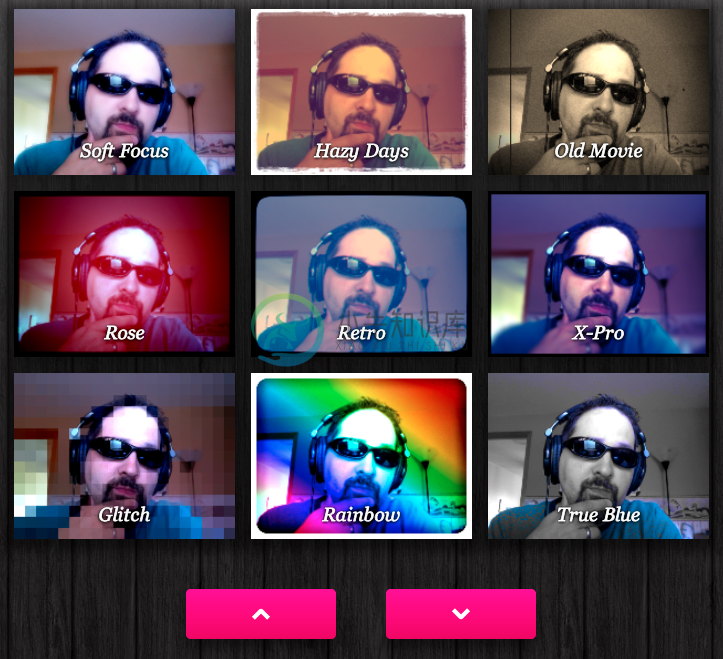
Neave.com's webcam toy does real time webcam pixel effects, similar to an Instagram filter.

A webcam toy with live effects
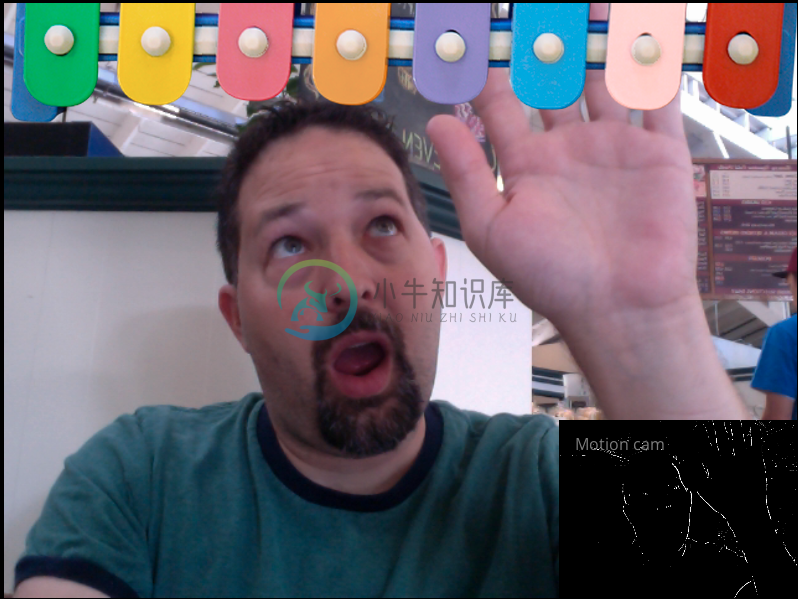
Soundstep.com created a xylophone that you control just by moving your hands in front of the webcam. Notice the motion detection viewer in the lower right hand corner.

link Soundstep's WebCam Xylophone
A xylophone controlled by moving your hands
microphone doesn't really work yet. you can't hook it up to the web audio stuff yet, but hopefully soon. there are filed bugs against chromium to get this to happen. hopefully by the end of the year, especially since it is required to really make webRTC work.

