Flask Black Dashboard
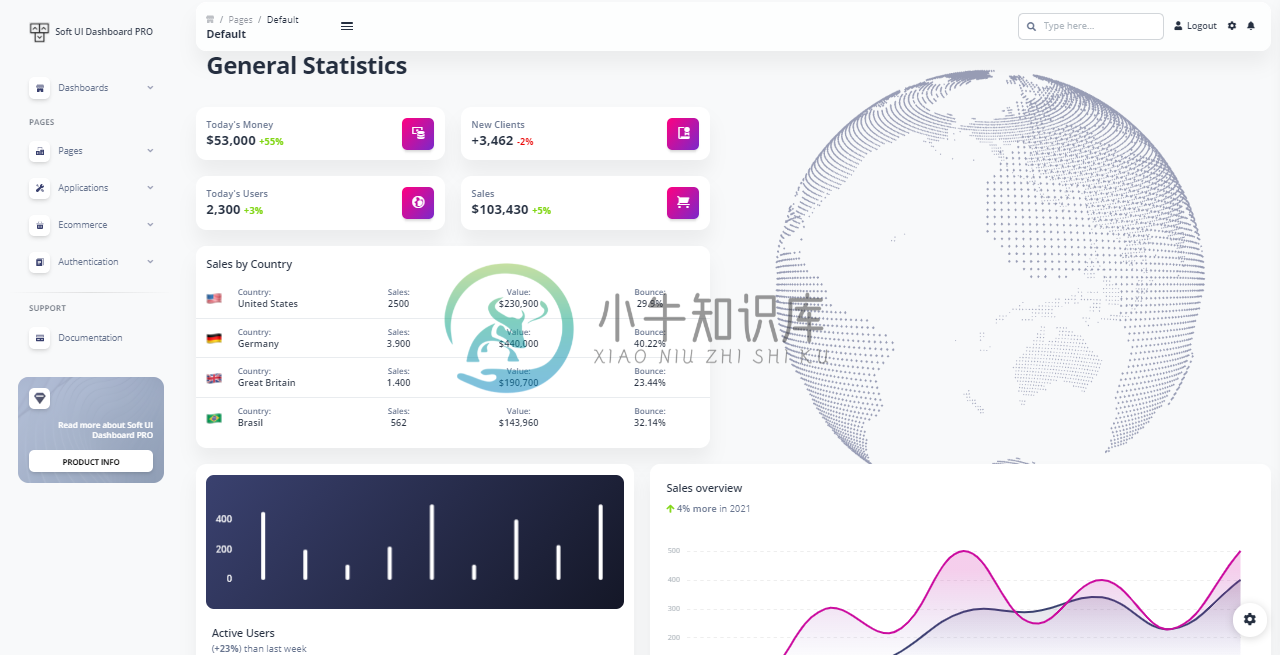
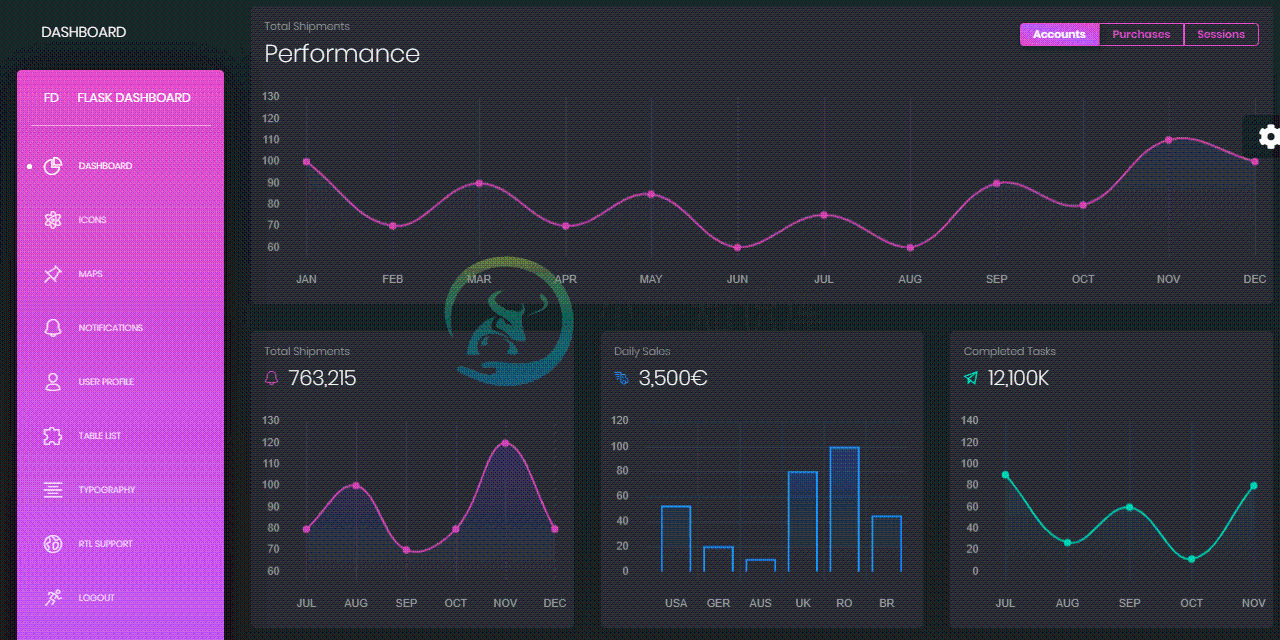
Flask Black Dashboard is an open-source Flask Dashboard generated by AppSeed on top of a modern dark-themed UI. Black Dashboard is a beautiful Bootstrap 4 Admin Dashboard with a huge number of components built to fit together and look amazing. It combines colors that are easy on the eye, spacious cards, beautiful typography, and graphics. For newcomers, Flask is a lightweight web application framework written in Python that provides a lightweight codebase and libraries that can be easily extended to complex projects.
Features
- DBMS: SQLite, PostgreSQL (production)
- DB Tools: SQLAlchemy ORM, Flask-Migrate (schema migrations)
- Modular design with Blueprints, simple codebase
- Session-Based authentication (via flask_login), Forms validation
- Deployment scripts: Docker, Gunicorn / Nginx, Heroku
- Support via Github and Discord.
Links
- Flask Dashboard Black - product page
- Flask Dashboard Black - LIVE deployment
- Flask Dashboard Black - product documentation
Want more? Go PRO!
PRO versions include Premium UI Kits, Lifetime updates and 24/7 LIVE Support (via Discord)
| Flask Datta PRO | Flask Soft PRO | Flask Volt PRO |
|---|---|---|
 |
How to use it
$ # Get the code
$ git clone https://github.com/app-generator/flask-black-dashboard.git
$ cd flask-black-dashboard
$
$ # Virtualenv modules installation (Unix based systems)
$ virtualenv env
$ source env/bin/activate
$
$ # Virtualenv modules installation (Windows based systems)
$ # virtualenv env
$ # .\env\Scripts\activate
$
$ # Install modules - SQLite Database
$ pip3 install -r requirements.txt
$
$ # OR with PostgreSQL connector
$ # pip install -r requirements-pgsql.txt
$
$ # Set the FLASK_APP environment variable
$ (Unix/Mac) export FLASK_APP=run.py
$ (Windows) set FLASK_APP=run.py
$ (Powershell) $env:FLASK_APP = ".\run.py"
$
$ # Set up the DEBUG environment
$ # (Unix/Mac) export FLASK_ENV=development
$ # (Windows) set FLASK_ENV=development
$ # (Powershell) $env:FLASK_ENV = "development"
$
$ # Start the application (development mode)
$ # --host=0.0.0.0 - expose the app on all network interfaces (default 127.0.0.1)
$ # --port=5000    - specify the app port (default 5000)
$ flask run --host=0.0.0.0 --port=5000
$
$ # Access the dashboard in browser: http://127.0.0.1:5000/
Note: To use the app, please access the registration page and create a new user. After authentication, the app will unlock the private pages.
Codebase structure
The project is coded using blueprints, app factory pattern, dual configuration profile (development and production) and an intuitive structure presented bellow:
Simplified version
< PROJECT ROOT >
   |
   |-- app/                      # Implements app logic
   |    |-- base/                # Base Blueprint - handles the authentication
   |    |-- home/                # Home Blueprint - serve UI Kit pages
   |    |
   |   __init__.py               # Initialize the app
   |
   |-- requirements.txt          # Development modules - SQLite storage
   |-- requirements-mysql.txt    # Production modules  - Mysql DMBS
   |-- requirements-pqsql.txt    # Production modules  - PostgreSql DMBS
   |
   |-- .env                      # Inject Configuration via Environment
   |-- config.py                 # Set up the app
   |-- run.py                    # Start the app - WSGI gateway
   |
   |-- ************************************************************************
The bootstrap flow
run.pyloads the.envfile- Initialize the app using the specified profile: Debug or Production
- If env.DEBUG is set to True the SQLite storage is used
- If env.DEBUG is set to False the specified DB driver is used (MySql, PostgreSQL)
- Call the app factory method
create_appdefined in app/init.py - Redirect the guest users to Login page
- Unlock the pages served by home blueprint for authenticated users
App / Base Blueprint
The Base blueprint handles the authentication (routes and forms) and assets management. The structure is presented below:
< PROJECT ROOT >
   |
   |-- app/
   |    |-- home/                                # Home Blueprint - serve app pages (private area)
   |    |-- base/                                # Base Blueprint - handles the authentication
   |         |-- static/
   |         |    |-- <css, JS, images>          # CSS files, Javascripts files
   |         |
   |         |-- templates/                      # Templates used to render pages
   |              |
   |              |-- includes/                  #
   |              |    |-- navigation.html       # Top menu component
   |              |    |-- sidebar.html          # Sidebar component
   |              |    |-- footer.html           # App Footer
   |              |    |-- scripts.html          # Scripts common to all pages
   |              |
   |              |-- layouts/                   # Master pages
   |              |    |-- base-fullscreen.html  # Used by Authentication pages
   |              |    |-- base.html             # Used by common pages
   |              |
   |              |-- accounts/                  # Authentication pages
   |                   |-- login.html            # Login page
   |                   |-- register.html         # Registration page
   |
   |-- requirements.txt                          # Development modules - SQLite storage
   |-- requirements-mysql.txt                    # Production modules  - Mysql DMBS
   |-- requirements-pqsql.txt                    # Production modules  - PostgreSql DMBS
   |
   |-- .env                                      # Inject Configuration via Environment
   |-- config.py                                 # Set up the app
   |-- run.py                                    # Start the app - WSGI gateway
   |
   |-- ************************************************************************
App / Home Blueprint
The Home blueprint handles UI Kit pages for authenticated users. This is the private zone of the app - the structure is presented below:
< PROJECT ROOT >
   |
   |-- app/
   |    |-- base/                     # Base Blueprint - handles the authentication
   |    |-- home/                     # Home Blueprint - serve app pages (private area)
   |         |
   |         |-- templates/           # UI Kit Pages
   |              |
   |              |-- index.html      # Default page
   |              |-- page-404.html   # Error 404 - mandatory page
   |              |-- page-500.html   # Error 500 - mandatory page
   |              |-- page-403.html   # Error 403 - mandatory page
   |              |-- *.html          # All other HTML pages
   |
   |-- requirements.txt               # Development modules - SQLite storage
   |-- requirements-mysql.txt         # Production modules  - Mysql DMBS
   |-- requirements-pqsql.txt         # Production modules  - PostgreSql DMBS
   |
   |-- .env                           # Inject Configuration via Environment
   |-- config.py                      # Set up the app
   |-- run.py                         # Start the app - WSGI gateway
   |
   |-- ************************************************************************
Deployment
The app is provided with a basic configuration to be executed in Docker, Heroku, Gunicorn, and Waitress.
Docker execution
The application can be easily executed in a docker container. The steps:
Get the code
$ git clone https://github.com/app-generator/flask-black-dashboard.git
$ cd flask-black-dashboard
Start the app in Docker
$ sudo docker-compose pull && sudo docker-compose build && sudo docker-compose up -d
Visit http://localhost:5005 in your browser. The app should be up & running.
Heroku
Steps to deploy on Heroku
- Create a FREE account on Heroku platform
- Install the Heroku CLI that match your OS: Mac, Unix or Windows
- Open a terminal window and authenticate via
heroku logincommand - Clone the sources and push the project for LIVE deployment
$ # Clone the source code:
$ git clone https://github.com/app-generator/flask-black-dashboard.git
$ cd flask-black-dashboard
$
$ # Check Heroku CLI is installed
$ heroku -v
heroku/7.25.0 win32-x64 node-v12.13.0 # <-- All good
$
$ # Check Heroku CLI is installed
$ heroku login
$ # this commaond will open a browser window - click the login button (in browser)
$
$ # Create the Heroku project
$ heroku create
$
$ # Trigger the LIVE deploy
$ git push heroku master
$
$ # Open the LIVE app in browser
$ heroku open
Gunicorn
Gunicorn 'Green Unicorn' is a Python WSGI HTTP Server for UNIX.
Install using pip
$ pip install gunicorn
Start the app using gunicorn binary
$ gunicorn --bind 0.0.0.0:8001 run:app
Serving on http://localhost:8001
Visit http://localhost:8001 in your browser. The app should be up & running.
Waitress
Waitress (Gunicorn equivalent for Windows) is meant to be a production-quality pure-Python WSGI server with very acceptable performance. It has no dependencies except ones that live in the Python standard library.
Install using pip
$ pip install waitress
Start the app using waitress-serve
$ waitress-serve --port=8001 run:app
Serving on http://localhost:8001
Visit http://localhost:8001 in your browser. The app should be up & running.
Credits & Links
- Flask Framework - The offcial website
- Boilerplate Code - Index provided by AppSeed
- Boilerplate Code - Index published on Github
Flask Black Dashboard - Provided by AppSeed App Generator.
-
black-hole.js 用来向你展示太空中的黑洞的 JavaScript 库。 使用方法: <div id="canvas_placeholder"></div> <script src="https://code.jquery.com/jquery-1.11.2.min.js"></script> <script src="https://cdnjs.cloudflare.com/ajax/
-
Black Screen 是一个基于 Electron 的现代终端模拟器(和 shell),和其它终端模拟器不同的是,它应用了现今的用户界面。 技术 Electron TypeScript NodeJS ReactJS SASS 安装 注意:目前只支持 OS X ,未来计划使 Black Screen 可以在所有平台工作,虽然它也可以在 Linux 运行,但还不支持。 警告: Black Scre
-
Black 号称是不妥协的 Python 代码格式化工具。之所以成为“不妥协”是因为它检测到不符合规范的代码风格直接就帮你全部格式化好,根本不需要你确定,直接替你做好决定。而作为回报,Black 提供了快速的速度。 Black 通过产生最小的差异来更快地进行代码审查。 Black 的使用非常简单,安装成功后,和其他系统命令一样使用,只需在 black 命令后面指定需要格式化的文件或者目录即可。
-
地址 https://mirrors.ustc.edu.cn/blackarch/ 说明 Black Arch 软件源 简介 BlackArch 是一款基于 ArchLinux 的为渗透测试及安全研究人员开发的发行版,相当于 Arch 版的 BackTrack/Kali。 仓库地址:https://blackarch.org/blackarch/ 收录架构 i686, x86_64, ARM 相关
-
问题内容: 在官方的快速入门中,建议在使用单个 模块 时使用: 2. …如果您使用的是单个模块(如本例所示),则应使用,因为取决于它是作为应用程序启动还是作为模块导入,其名称将有所不同(与实际导入名称不同)。… 但是,在他们的API文档中,当我的应用程序为 软件包 时,建议进行硬编码: 因此,您在此处提供的内容很重要。如果使用单个模块,则始终为正确的值。但是,如果您使用的是包,通常建议在其中硬编码
-
在前面,我们介绍了 REST Web 服务,并使用 Flask 提供服务。这里,我们使用第三方库 Flask-RESTful,它使得在 Flask 中提供 REST 服务变得更加简单。 安装 使用 pip 安装: $ pip install flask-restful 使用 下面我们主要使用官方文档的例子进行说明。 Hello World 我们先来看一个简单的例子。 # -*- coding: u


