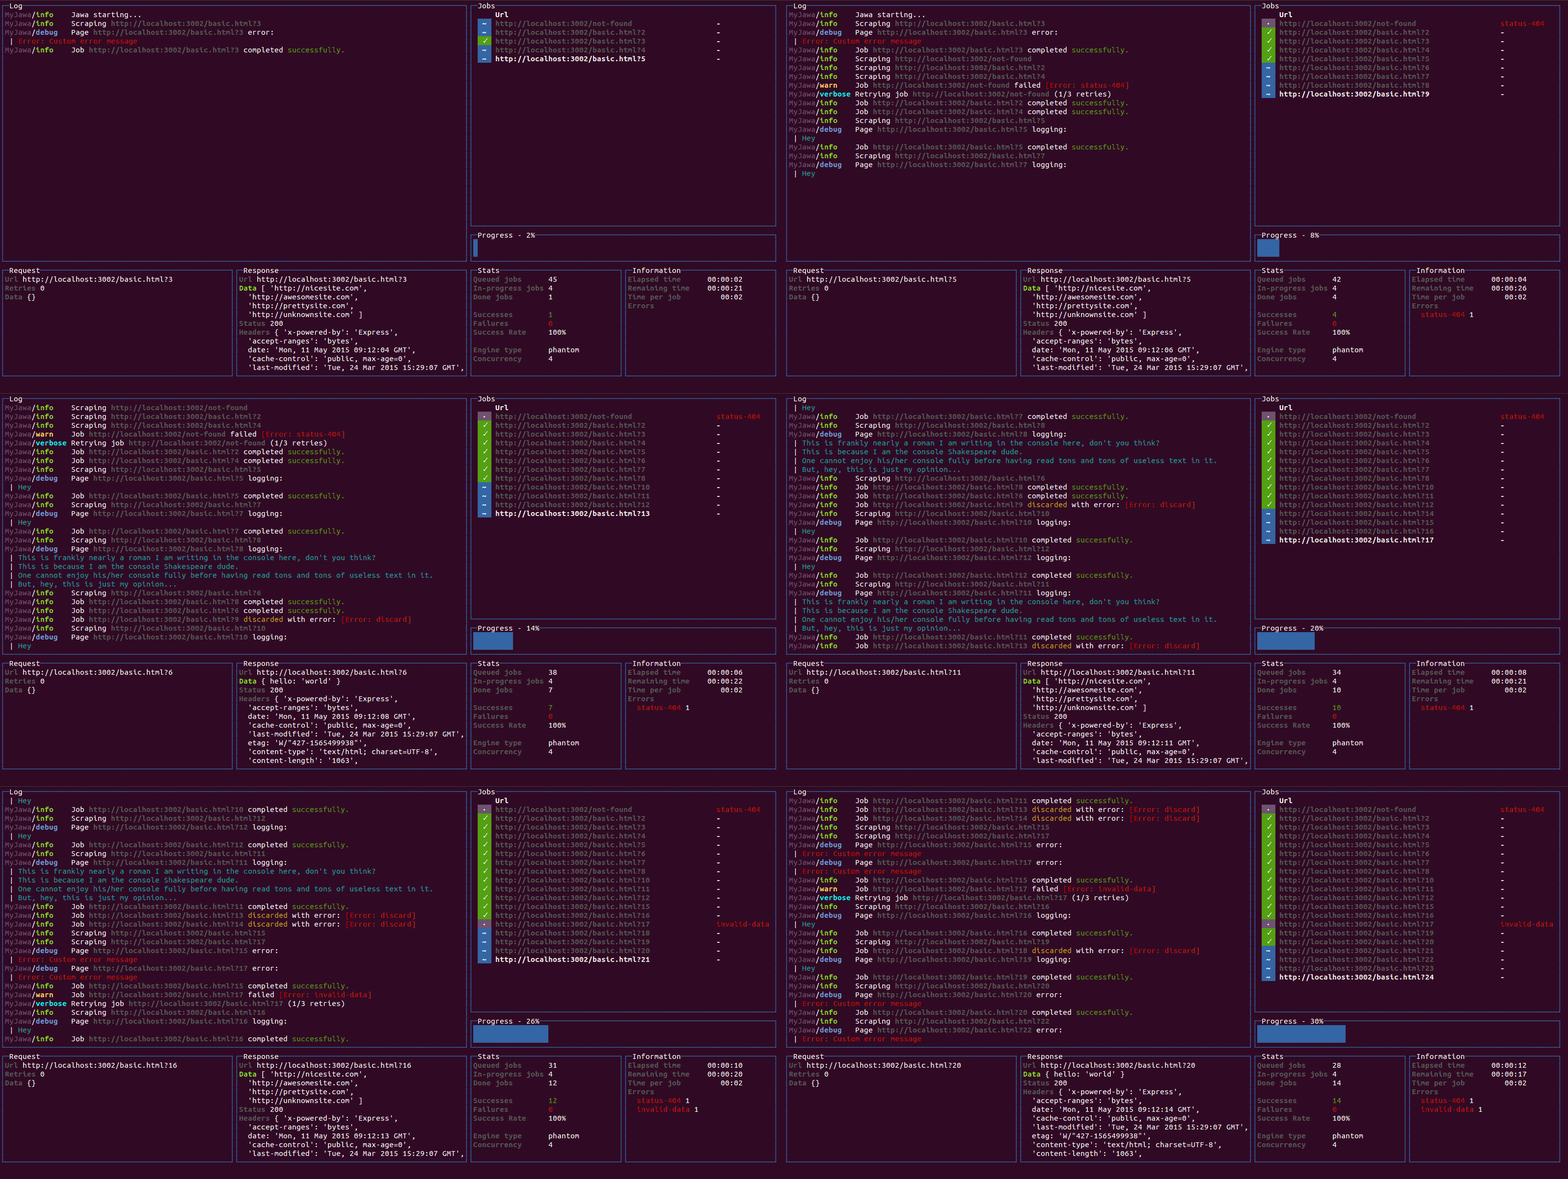
react-blessed
A React custom renderer for the blessed library.
This renderer should currently be considered as experimental, is subject to change and will only work with React's latest version (17.x.x, using Fiber).
Summary
Installation
You can install react-blessed through npm:
# Be sure to install react>=17.0.0 & blessed>=0.1.81 before
npm install blessed react

# Then just install `react-blessed`
npm install react-blessed
Demo
For a quick demo of what you could achieve with such a renderer you can clone this repository and check some of the examples:
git clone https://github.com/Yomguithereal/react-blessed
cd react-blessed
npm install

# To see which examples you can run:
npm run demo

# Then choose one to run:
npm run demo animation
Usage
Rendering a basic application
import React, {Component} from 'react';
import blessed from 'blessed';
import {render} from 'react-blessed';

// Rendering a simple centered box
class App extends Component {
  render() {
    return (
      <box top="center"
           left="center"
           width="50%"
           height="50%"
           border={{type: 'line'}}
           style={{border: {fg: 'blue'}}}>
        Hello World!
      </box>
    );
  }
}

// Creating our screen
const screen = blessed.screen({
  autoPadding: true,
  smartCSR: true,
  title: 'react-blessed hello world'
});

// Adding a way to quit the program
screen.key(['escape', 'q', 'C-c'], function(ch, key) {
  return process.exit(0);
});

// Rendering the React app using our screen
const component = render(<App />, screen);
Nodes & text nodes
Any of the blessed widgets can be rendered through react-blessed by using a lowercased tag title.
Text nodes, on the other hand, will be rendered by applying the setContent method with the given text on the parent node.
Refs
As with React's DOM renderer, react-blessed lets you handle the original blessed nodes, if you ever need them, through refs.
class CustomList extends Component {
  componentDidMount() {

    // Focus on the first box
    this.refs.first.focus();
  }

  render() {
    return (
      <element>
        <box ref="first">
          First box.
        </box>
        <box ref="second">
          Second box.
        </box>
      </element>
    );
  }
}
Events
Any blessed node event can be caught through a on-prefixed listener:
class Completion extends Component {
  constructor(props) {
    super(props);

    this.state = {progress: 0, color: 'blue'};

    const interval = setInterval(() => {
      if (this.state.progress >= 100)
        return clearInterval(interval);

      this.setState({progress: this.state.progress + 1});
    }, 50);
  }

  render() {
    const {progress} = this.state,
          label = `Progress - ${progress}%`;

    // See the `onComplete` prop
    return <progressbar label={label}
                        onComplete={() => this.setState({color: 'green'})}
                        filled={progress}
                        style={{bar: {bg: this.state.color}}} />;
  }
}
Classes
For convenience, react-blessed lets you handle classes looking like what react-native proposes.
Just pass object or an array of objects as the class of your components likewise:
// Let's say we want all our elements to have a fancy blue border
const stylesheet = {
  bordered: {
    border: {
      type: 'line'
    },
    style: {
      border: {
        fg: 'blue'
      }
    }
  }
};

class App extends Component {
  render() {
    return (
      <element>
        <box class={stylesheet.bordered}>
          First box.
        </box>
        <box class={stylesheet.bordered}>
          Second box.
        </box>
      </element>
    );
  }
}
You can of course combine classes (note that the given array of classes will be compacted):
// Let's say we want all our elements to have a fancy blue border
const stylesheet = {
  bordered: {
    border: {
      type: 'line'
    },
    style: {
      border: {
        fg: 'blue'
      }
    }
  },
  magentaBackground: {
    style: {
      bg: 'magenta'
    }
  }
};

class App extends Component {
  render() {

    // If this flag is false, then the class won't apply to the second box
    const backgroundForSecondBox = this.props.backgroundForSecondBox;

    return (
      <element>
        <box class={[stylesheet.bordered, stylesheet.magentaBackground]}>
          First box.
        </box>
        <box class={[
          stylesheet.bordered,
          backgroundForSecondBox && stylesheet.magentaBackground
        ]}>
          Second box.
        </box>
      </element>
    );
  }
}
Using blessed forks
Because blessed is not actively maintained in quite a while, you might want to use one of it's forks. To do that, import createBlessedRenderer function instead:
import React, {Component} from 'react';
import blessed from 'neo-blessed';
import {createBlessedRenderer} from 'react-blessed';

const render = createBlessedRenderer(blessed);
Using the devtools
react-blessed can be used along with React's own devtools for convenience. To do so, just install react-devtools in your project and all should work out of the box when running the Electron app, as soon as a react-blessed program is running on one of your shells.
Roadmap
- Full support (meaning every tags and options should be handled by the renderer).
react-blessed-contribto add some sugar over the blessed-contrib library (probably through full-fledged components).
Faq
<list/>: To enable interactions, addmouse={ true }and/orkeys={ true }
Contribution
Contributions are obviously welcome.
Be sure to add unit tests if relevant and pass them all before submitting your pull request.
# Installing the dev environment
git clone git@github.com:Yomguithereal/react-blessed.git
cd react-blessed
npm install

# Running the tests
npm test
License
MIT
-
首先react通过介绍新的声明式语法JSX来重新定义视图开发,优点其实官网就有,不过我可以简单说两句: 第一,学会了react以及这个JSX语法,你不光可以通过react写web;也可以通过react-native写ios或者android的应用;甚至可以通过react-blessed写terminal可视化应用;当然也可以通过react-native-desktop写桌面应用。因为JSX这种声明
-
问题内容: 我注意到可以这样导入: …或像这样: 第一个导入模块中的所有内容(请参阅:导入整个模块的内容) 第二个仅导入模块导出(请参阅:导入默认值) 似乎这两种方法是不同的,并且根本上是不兼容的。 为什么它们都起作用? 请参考源代码并解释该机制…我有兴趣了解其工作原理。 ES6常规模块信息回答了该问题。 我在问使模块像这样工作的机制。在这里,它似乎与源代码中的 “ hacky”导出机制有关,但尚
-
这篇快速上手指南会教你如何将TypeScript与React结合起来使用。 在最后,你将学到: 使用TypeScript和React创建工程 使用TSLint进行代码检查 使用Jest和Enzyme进行测试,以及 使用Redux管理状态 我们会使用create-react-app工具快速搭建工程环境。 这里假设你已经在使用Node.js和npm。 并且已经了解了React的基础知识。 我们之所以使
-
我已经改用react Native制作跨平台应用程序(虽然没有制作)。我只是想要一个答案,我的问题,反应和反应之间的区别。我在网上搜索了一下,但没有找到合适的答案。
-
问题内容: 与 哪个更好,为什么? 还是除了以后编写更少的代码外没有其他区别? 写作是否意味着只导入Component对象? 问题答案: 让您代替。它减少了React名称空间的键入和重复,这通常是一种理想的现代编码约定。 此外,Webpack 2和Rollup之类的工具会“摇晃”,这意味着任何未使用的导出都不会捆绑到您的最终代码中。使用/,您可以保证所有React的源代码都将被捆绑。使用,某些工具
-
本文向大家介绍react-native 启动React Native Packager,包括了react-native 启动React Native Packager的使用技巧和注意事项,需要的朋友参考一下 示例 在最新版本的React Native上,无需运行打包程序。它将自动运行。 默认情况下,这将在端口8081上启动服务器。要指定服务器所在的端口
-
我正在使用“React admin”创建一个管理界面(前端)。我正在使用spring boot作为我的REST API。我的React应用程序的url是:“http://localhost:3000”。我的spring boot API的url是:“http://localhost:8080”。 下面是CORS配置的spring boot代码,它在一个单独的类中,称为CORSCONFIG: 下面是
-
主要内容:React 实例React 支持一种非常特殊的属性 Ref ,你可以用来绑定到 render() 输出的任何组件上。 这个特殊的属性允许你引用 render() 返回的相应的支撑实例( backing instance )。这样就可以确保在任何时间总是拿到正确的实例。 使用方法 绑定一个 ref 属性到 render 的返回值上: 在其它代码中,通过 this.refs 获取支撑实例: 完整实例 你可以通过使用
-
主要内容:React 实例React 组件的数据可以通过 componentDidMount 方法中的 Ajax 来获取,当从服务端获取数据时可以将数据存储在 state 中,再用 this.setState 方法重新渲染 UI。 当使用异步加载数据时,在组件卸载前使用 componentWillUnmount 来取消未完成的请求。 以下实例演示了获取 Github 用户最新 gist 共享描述: React 实例 cla


