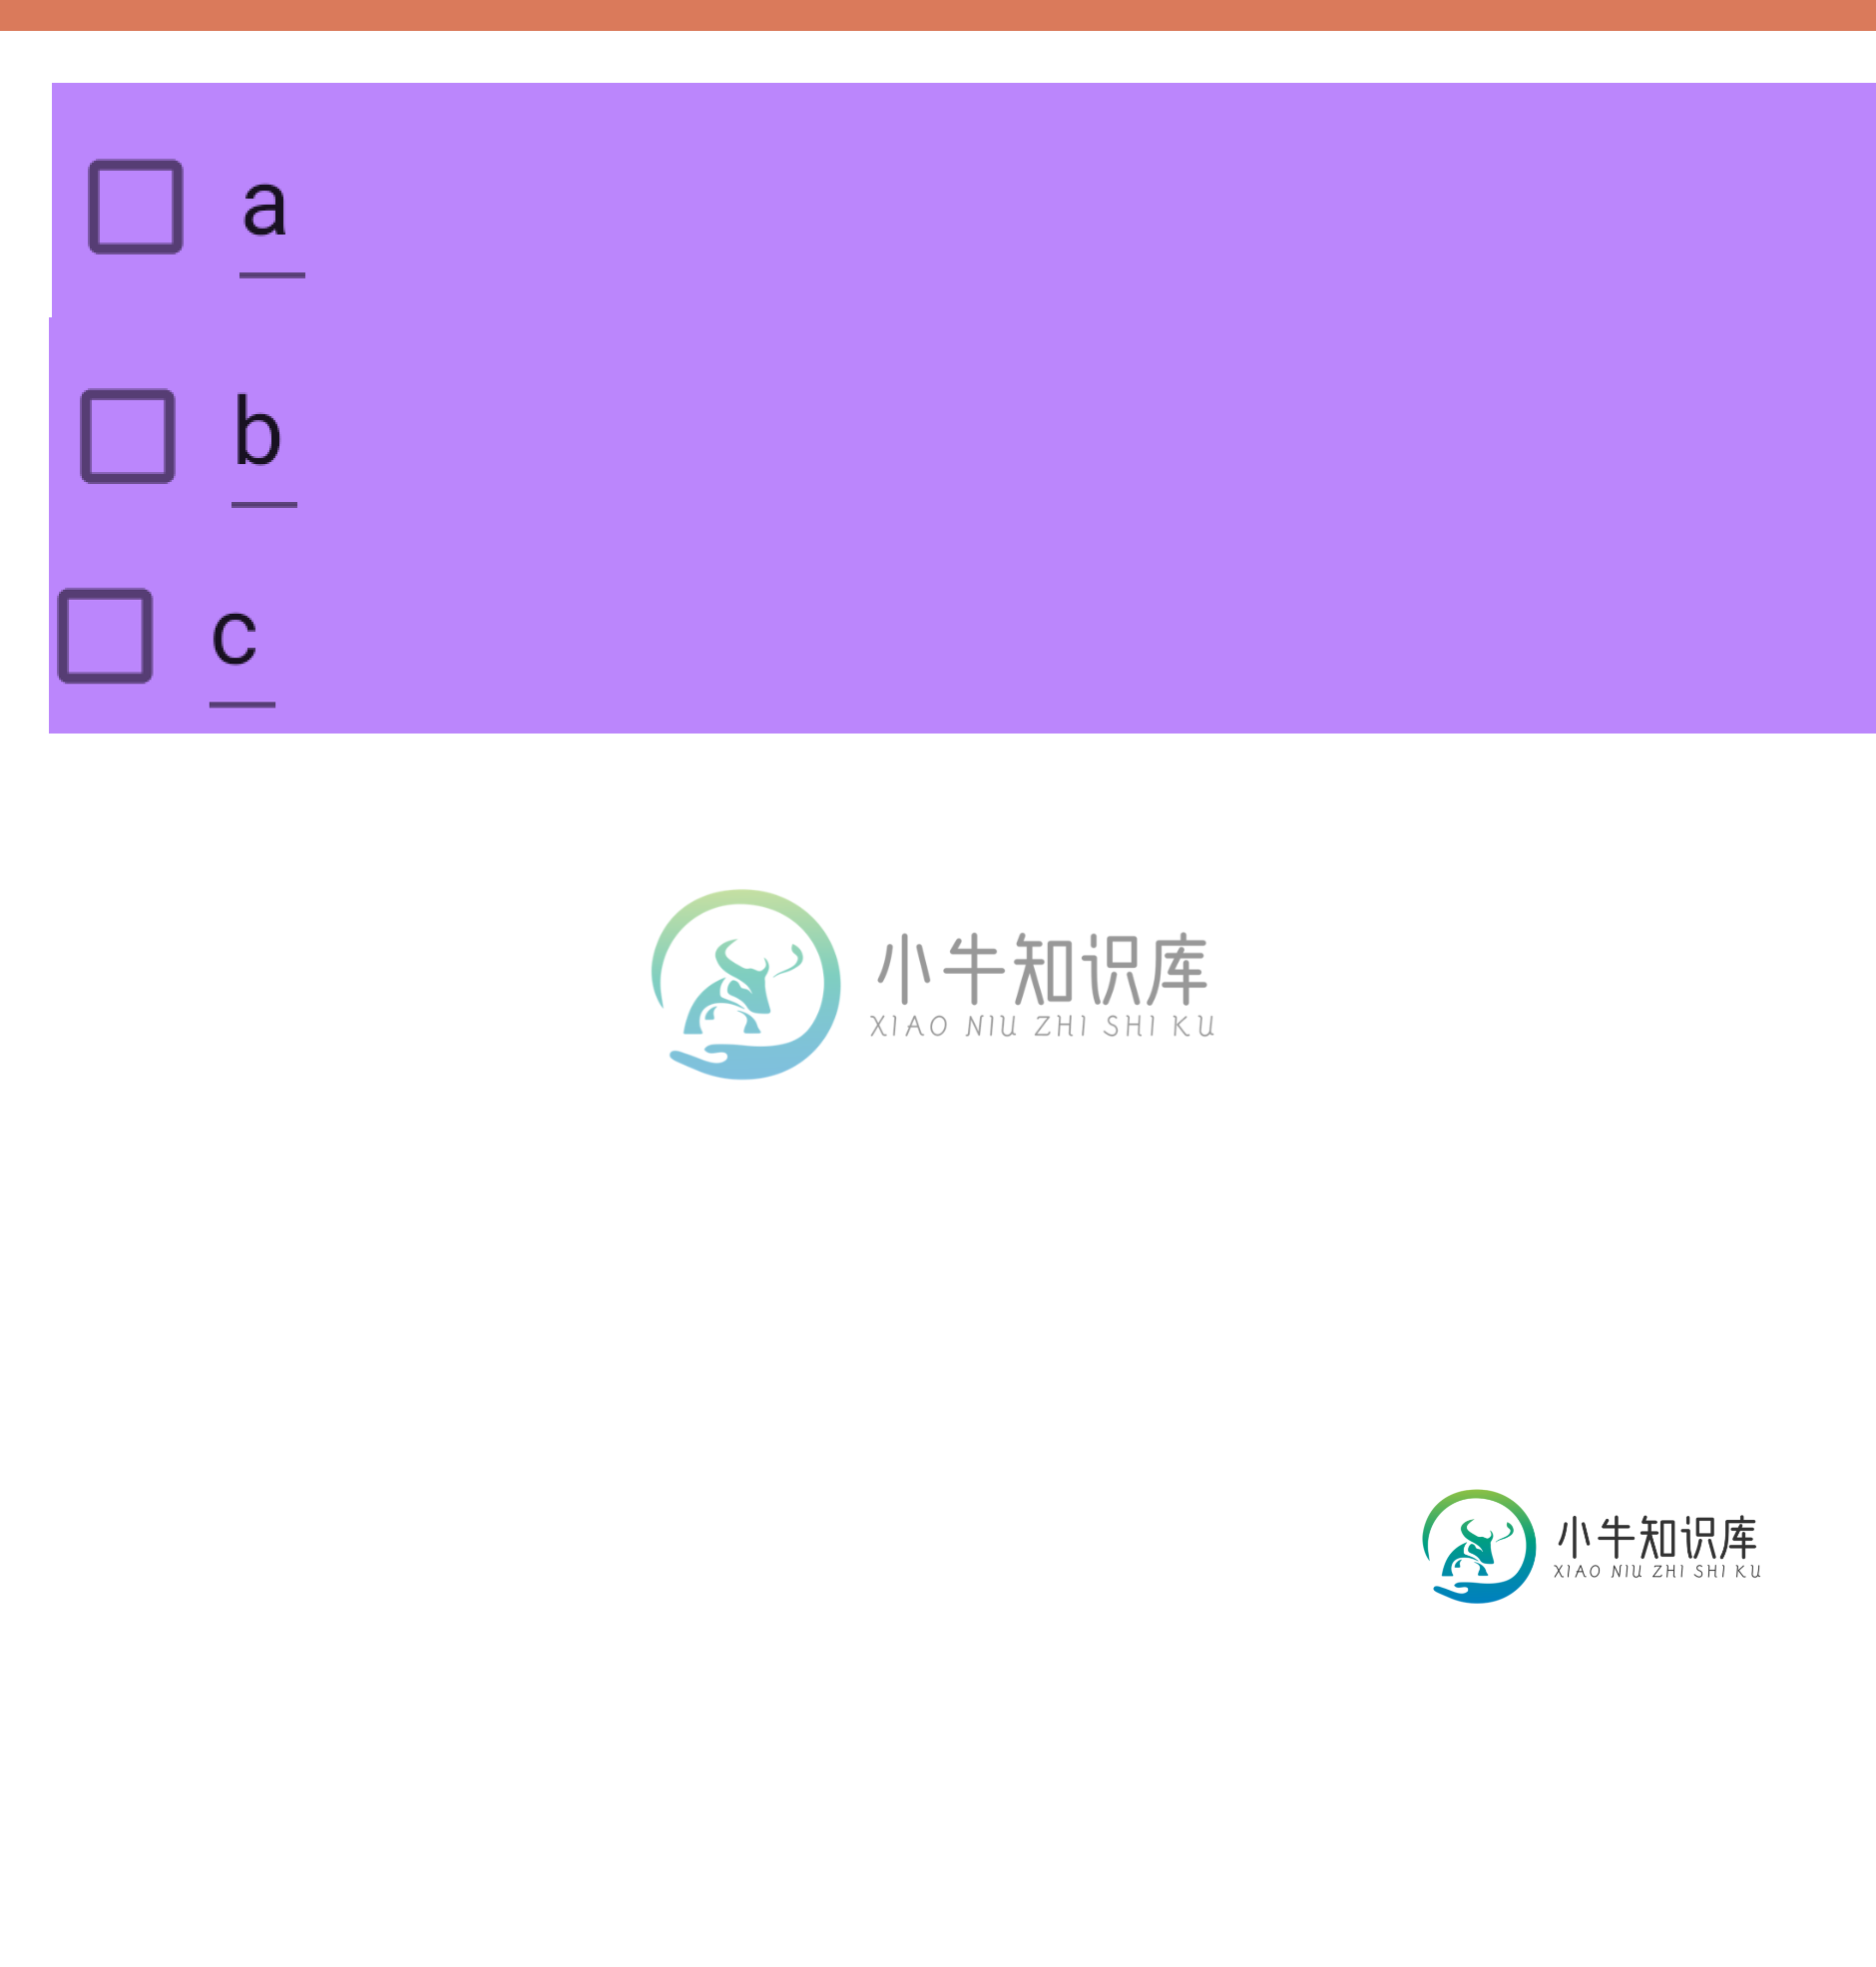
需要帮助在LinearLayout中动态定位两个视图
activity\u checklist\u详细信息。xml
    <?xml version="1.0" encoding="utf-8"?>
<androidx.constraintlayout.widget.ConstraintLayout xmlns:android="http://schemas.android.com/apk/res/android"
    xmlns:app="http://schemas.android.com/apk/res-auto"
    xmlns:tools="http://schemas.android.com/tools"
    android:layout_width="match_parent"
    android:orientation="vertical"
    android:layout_height="match_parent"
    tools:context=".ChecklistDetail">

    <include
        android:id="@+id/include4"
        layout="@layout/toolbar"/>

    <LinearLayout
        android:id="@+id/linear_layout"
        android:layout_width="match_parent"
        android:layout_height="wrap_content"
        android:background="@color/purple_200"
        android:layout_margin="10dp"
        app:layout_constraintEnd_toEndOf="parent"
        app:layout_constraintStart_toStartOf="parent"
        app:layout_constraintTop_toBottomOf="@+id/include4"
        android:orientation="horizontal">
    </LinearLayout>
</androidx.constraintlayout.widget.ConstraintLayout>
以下是ChecklistDetail活动
 public class ChecklistDetail extends AppCompatActivity {
    Toolbar toolbar;
    LinearLayout linearLayout;

    @Override
    protected void onCreate(Bundle savedInstanceState) {
        super.onCreate(savedInstanceState);
        setContentView(R.layout.activity_checklist_detail);

        toolbar= findViewById(R.id.tool_bar);
        setSupportActionBar(toolbar);
        linearLayout = findViewById(R.id.linear_layout);

        Intent intent = getIntent();
        int id = intent.getIntExtra("id",0);
        String status = intent.getStringExtra("status");
        String content = intent.getStringExtra("content");


        String[] statusSplit = status.split("\n");
        String[] contentSplit = content.split("\n");
        int i=0;
        for ( i = 0; i < contentSplit.length; i++) {

            final int j = i;

            CheckBox checkBox = new CheckBox(this);
            EditText editText = new EditText(this);

            boolean state;

            if(statusSplit[i].equals("1"))
                state=true;
            else
                state=false;


            editText.setText(contentSplit[i]);
            checkBox.setChecked(state);

            SpannableString spannableString = new SpannableString(editText.getText().toString());
            StrikethroughSpan strikethroughSpan = new StrikethroughSpan();
            spannableString.setSpan(strikethroughSpan,0, checkBox.getText().length(), Spanned.SPAN_EXCLUSIVE_EXCLUSIVE);
            if(checkBox.isChecked()) {
                editText.setText(spannableString);
            }

            linearLayout.addView(checkBox);
            linearLayout.addView(editText);


            checkBox.setOnCheckedChangeListener(new CompoundButton.OnCheckedChangeListener() {
                @Override
                public void onCheckedChanged(CompoundButton compoundButton, boolean b) {
                    SpannableString spannableString = new SpannableString(editText.getText().toString());
                    StrikethroughSpan strikethroughSpan = new StrikethroughSpan();
                    spannableString.setSpan(strikethroughSpan,0, editText.getText().length(), Spanned.SPAN_EXCLUSIVE_EXCLUSIVE);
                    if(checkBox.isChecked()) {
                        editText.setText(spannableString);
                    }
                    else {
                        editText.setText(contentSplit[j]);
                    }
                }
            });
        }
    }

    @Override
    public boolean onCreateOptionsMenu(Menu menu) {
        MenuInflater menuInflater = getMenuInflater();
        menuInflater.inflate(R.menu.edit_save_menu,menu);
        return true;
    }

    }

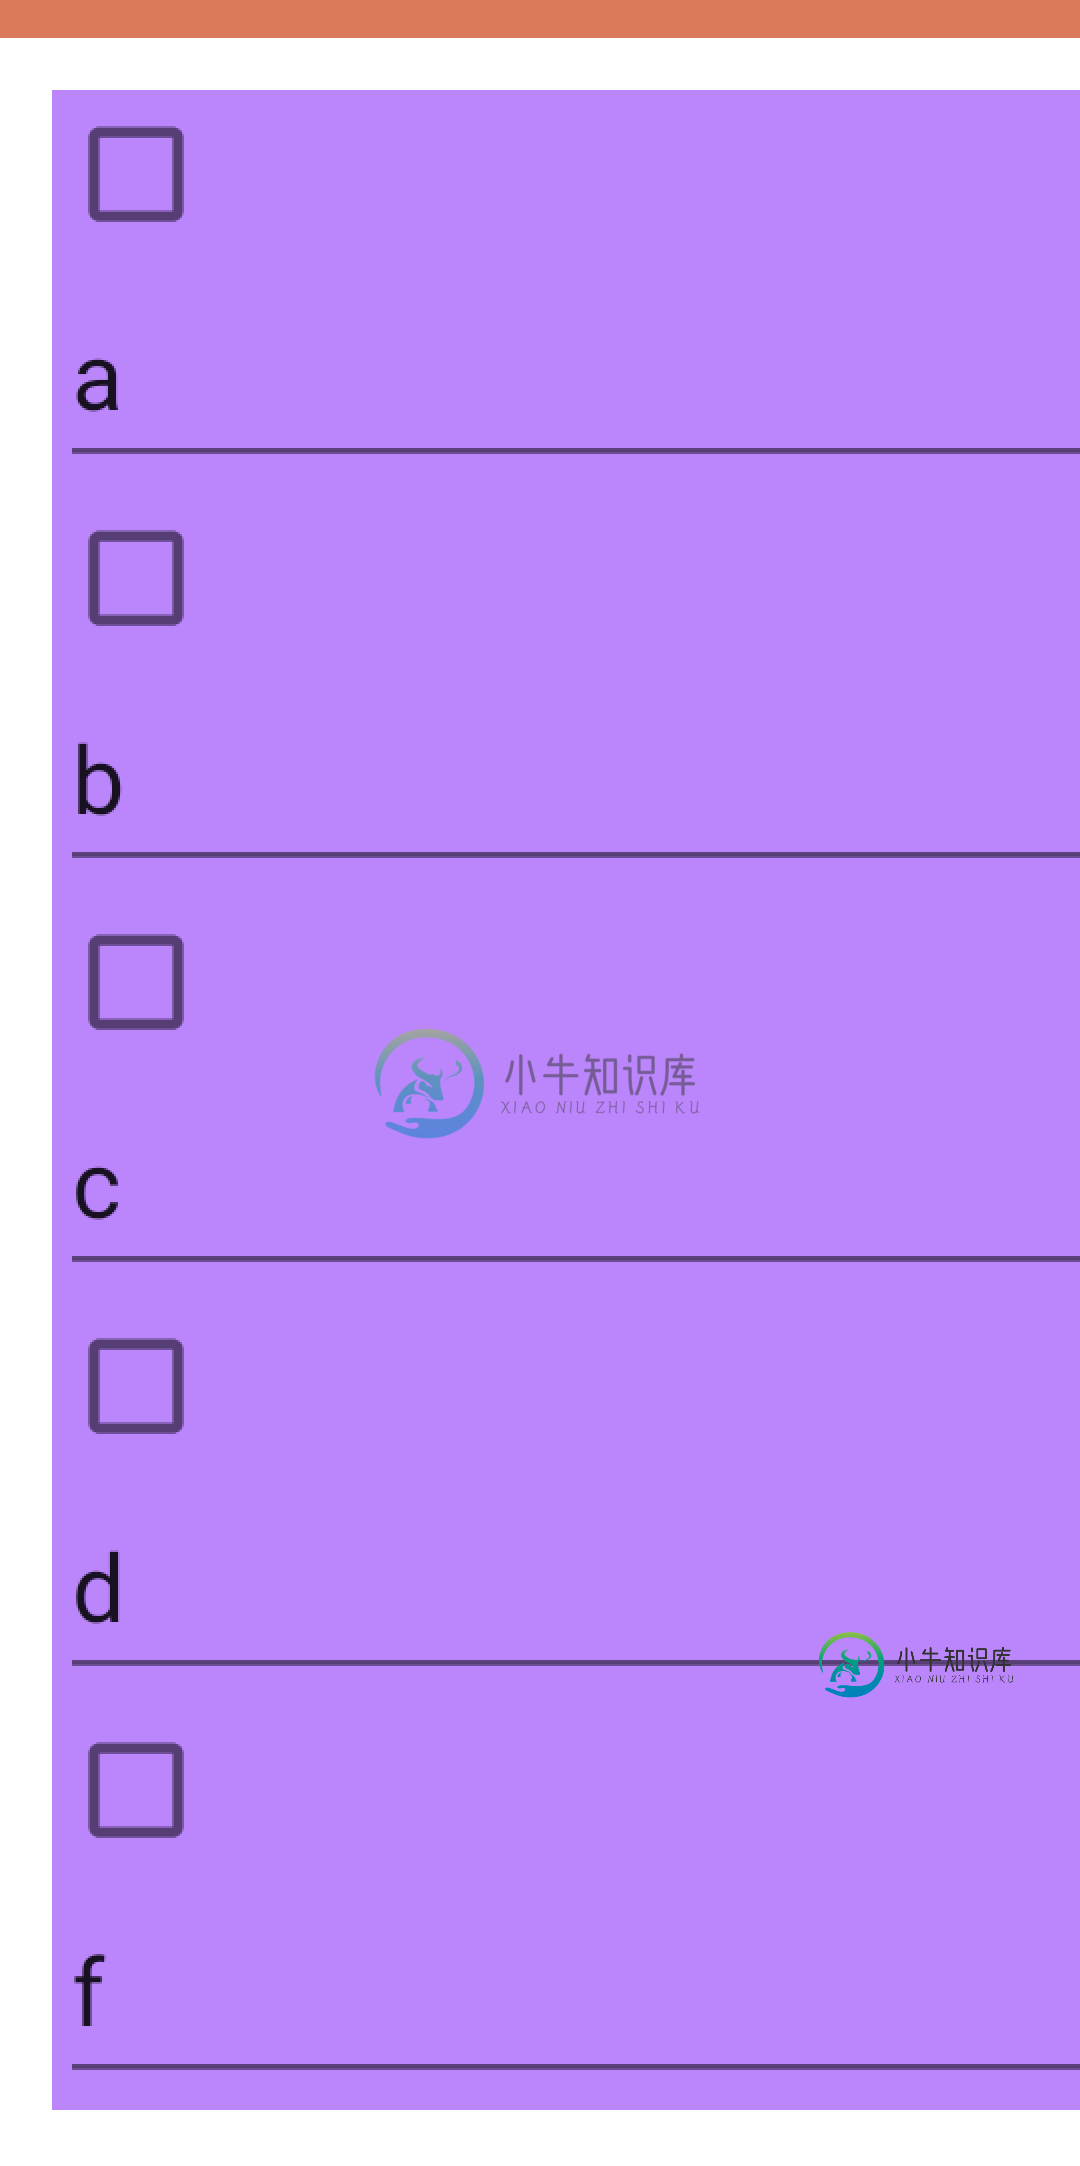
但对我来说什么都不管用。如果我将activity\u checklist\u detail中的布局更改为水平或垂直,我将得到下图。


注意:我知道使用RecyclerView是最好的选择,但这里我没有很多项目。提前谢谢。
共有1个答案
与其直接将视图添加到布局中,不如创建一个单独的布局并将其添加到线性布局中,如下所示
创建单独的布局文件
<?xml version="1.0" encoding="utf-8"?>
<LinearLayout xmlns:android="http://schemas.android.com/apk/res/android"
    android:layout_width="match_parent"
    android:layout_height="wrap_content"
    android:orientation="horizontal"
    >

  <CheckBox
      android:layout_width="wrap_content"
      android:layout_height="wrap_content"
      />

  <EditText
      android:id="@+id/edt_name"
      android:layout_width="wrap_content"
      android:layout_height="wrap_content"
      />
</LinearLayout>
像这样在线性布局中添加视图
class MainActivity : AppCompatActivity() {

  lateinit var binding: ActivityMainBinding

  override fun onCreate(savedInstanceState: Bundle?) {
    super.onCreate(savedInstanceState)
    binding = ActivityMainBinding.inflate(layoutInflater)
    setContentView(binding.root)

    for (i in 0..5) {
      val layoutBinding = TaskOneBinding.inflate(layoutInflater)
      layoutBinding.edtName.hint = "position $i"
      binding.linearLayout.addView(layoutBinding.root)
    }
  }
}
Java代码
public class TestActivity extends AppCompatActivity {

  ActivityMainBinding mainBinding;

  @Override
  protected void onCreate(Bundle savedInstanceState) {
    super.onCreate(savedInstanceState);
    mainBinding = ActivityMainBinding.inflate(getLayoutInflater());
    setContentView(mainBinding.getRoot());

    for (int i = 0; i < 5; i++) {
      TaskOneBinding taskOneBinding = TaskOneBinding.inflate(getLayoutInflater());
      taskOneBinding.edtName.setHint("position " + i);
      mainBinding.linearLayout.addView(taskOneBinding.getRoot());
    }
  }
}
输出
-
我已经从Godaddy购买了SSL,我的网站托管在AWS中。我想在AWS上设置SSL。我绑定使用证书管理器导入证书。它问了我三件事: 证书体*--在这里,我从Godaddy获得了。crt文件内容 证书私钥*--这里我仍然困惑需要输入什么。请帮我做这个 证书链--在这里我输入了sf_bundle-g2-g1.crt代码。 请帮助我启用AWS中的SSL。提前致谢
-
我正在为一款名为Counter-Strike:Global Avolution的游戏创建一个模拟程序,我一直在考虑如何在HBox中对某些图像进行动画化。游戏中有武器箱,里面装着各种不同稀有度的皮肤。点击“打开”按钮后,可能赢得的项目将开始在HBox中滚动。把它想象成命运之轮,它开始得很快,然后逐渐变慢,直到它停止在一个名字上,但在这种情况下,代替名字的是项目,而不是一个“轮子”,我有一个水平的HB
-
我想在java程序上运行一个用checkstyle实现的简单自定义检查。我遇到了下面的错误。 请原谅,尽管这个错误是有道理的,但我无法在修复上取得任何进展。我已经在帖子的末尾贴出了完整的错误。下面是自定义检查的实现。 checkstyle配置为 包结构为 Com.PuppyCrawl.Tools.CheckStyle.API.CheckStyleException:无法初始化模块TreeWalke
-
首先,我是C、C++、C#、Android和Swift的开发人员,但我绝对没有JavaScript、PHP或Web开发经验。 即只接受整数值的输入。 这是刀片代码:
-
然后,这需要转到数据库,该数据库向工作人员发送返回消息,告诉他们该成员已被添加。 只有工作人员在和系统通话,没有人。
-
问题内容: 我想我对使用Redis的所有命令都有很好的了解,但是我很难确定使用它的最佳方法。我正在设计一个客户通知系统,当他们的任何电路出现警报时,都会通过他们的首选方法(电子邮件,SNMP,Syslog)通知他们。 这样,我得到一个设备名称和一个端口。我需要将其与一个客户相关联,然后将该客户与一种交付方式相关联。使用关系数据库时,看起来可能像这样: (大大简化了示例)。 我可以看到如何使用列表哈

