git remote
优质
小牛编辑
133浏览
2023-12-01
现在我们准备好去为项目创建一个远程仓库。
用法
列出远程仓库:
git remote
详细显示:
git remote -v
添加远程仓库:
git remote add 名字 地址
删除远程仓库:
git remote rm 名字
重命名远程仓库:
git remote rename 旧名字 新名字
创建远程仓库
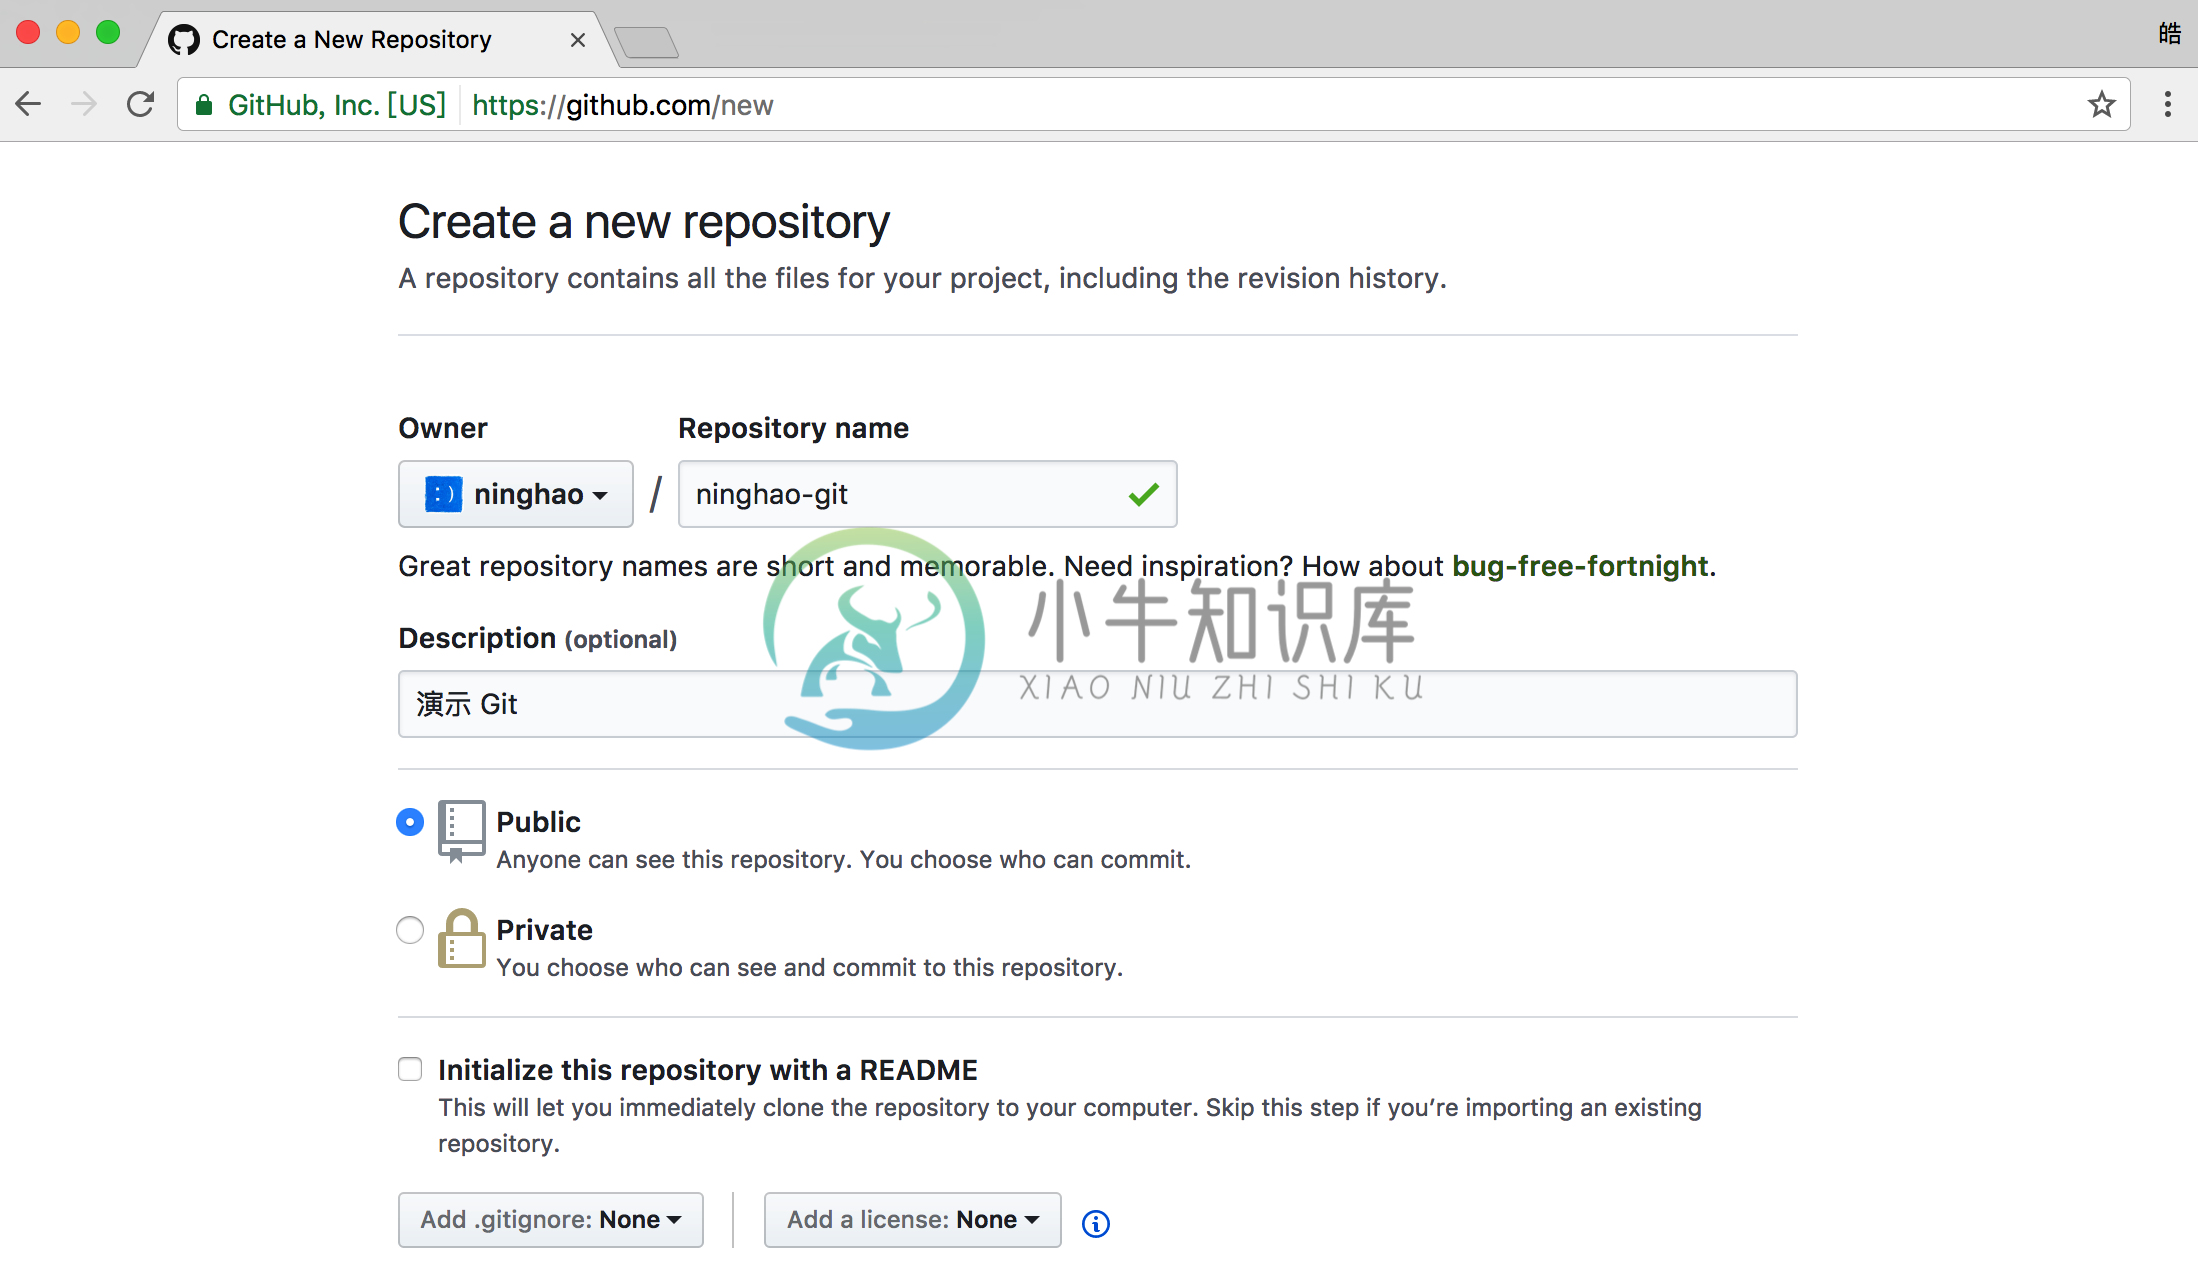
在一个远程仓库服务商那里为项目创建一个远程仓库。比如用你在 Github 申请的帐号,去创建一个仓库。https://github.com/new

输入 Repository name,仓库的名字,还有 Description,仓库的描述。选择仓库的类型,可以是 Public,公开,任何人都能看到你的仓库里的内容。也可以是 Private,私有,只有你,还有你允许的人才能看到仓库里的内容。

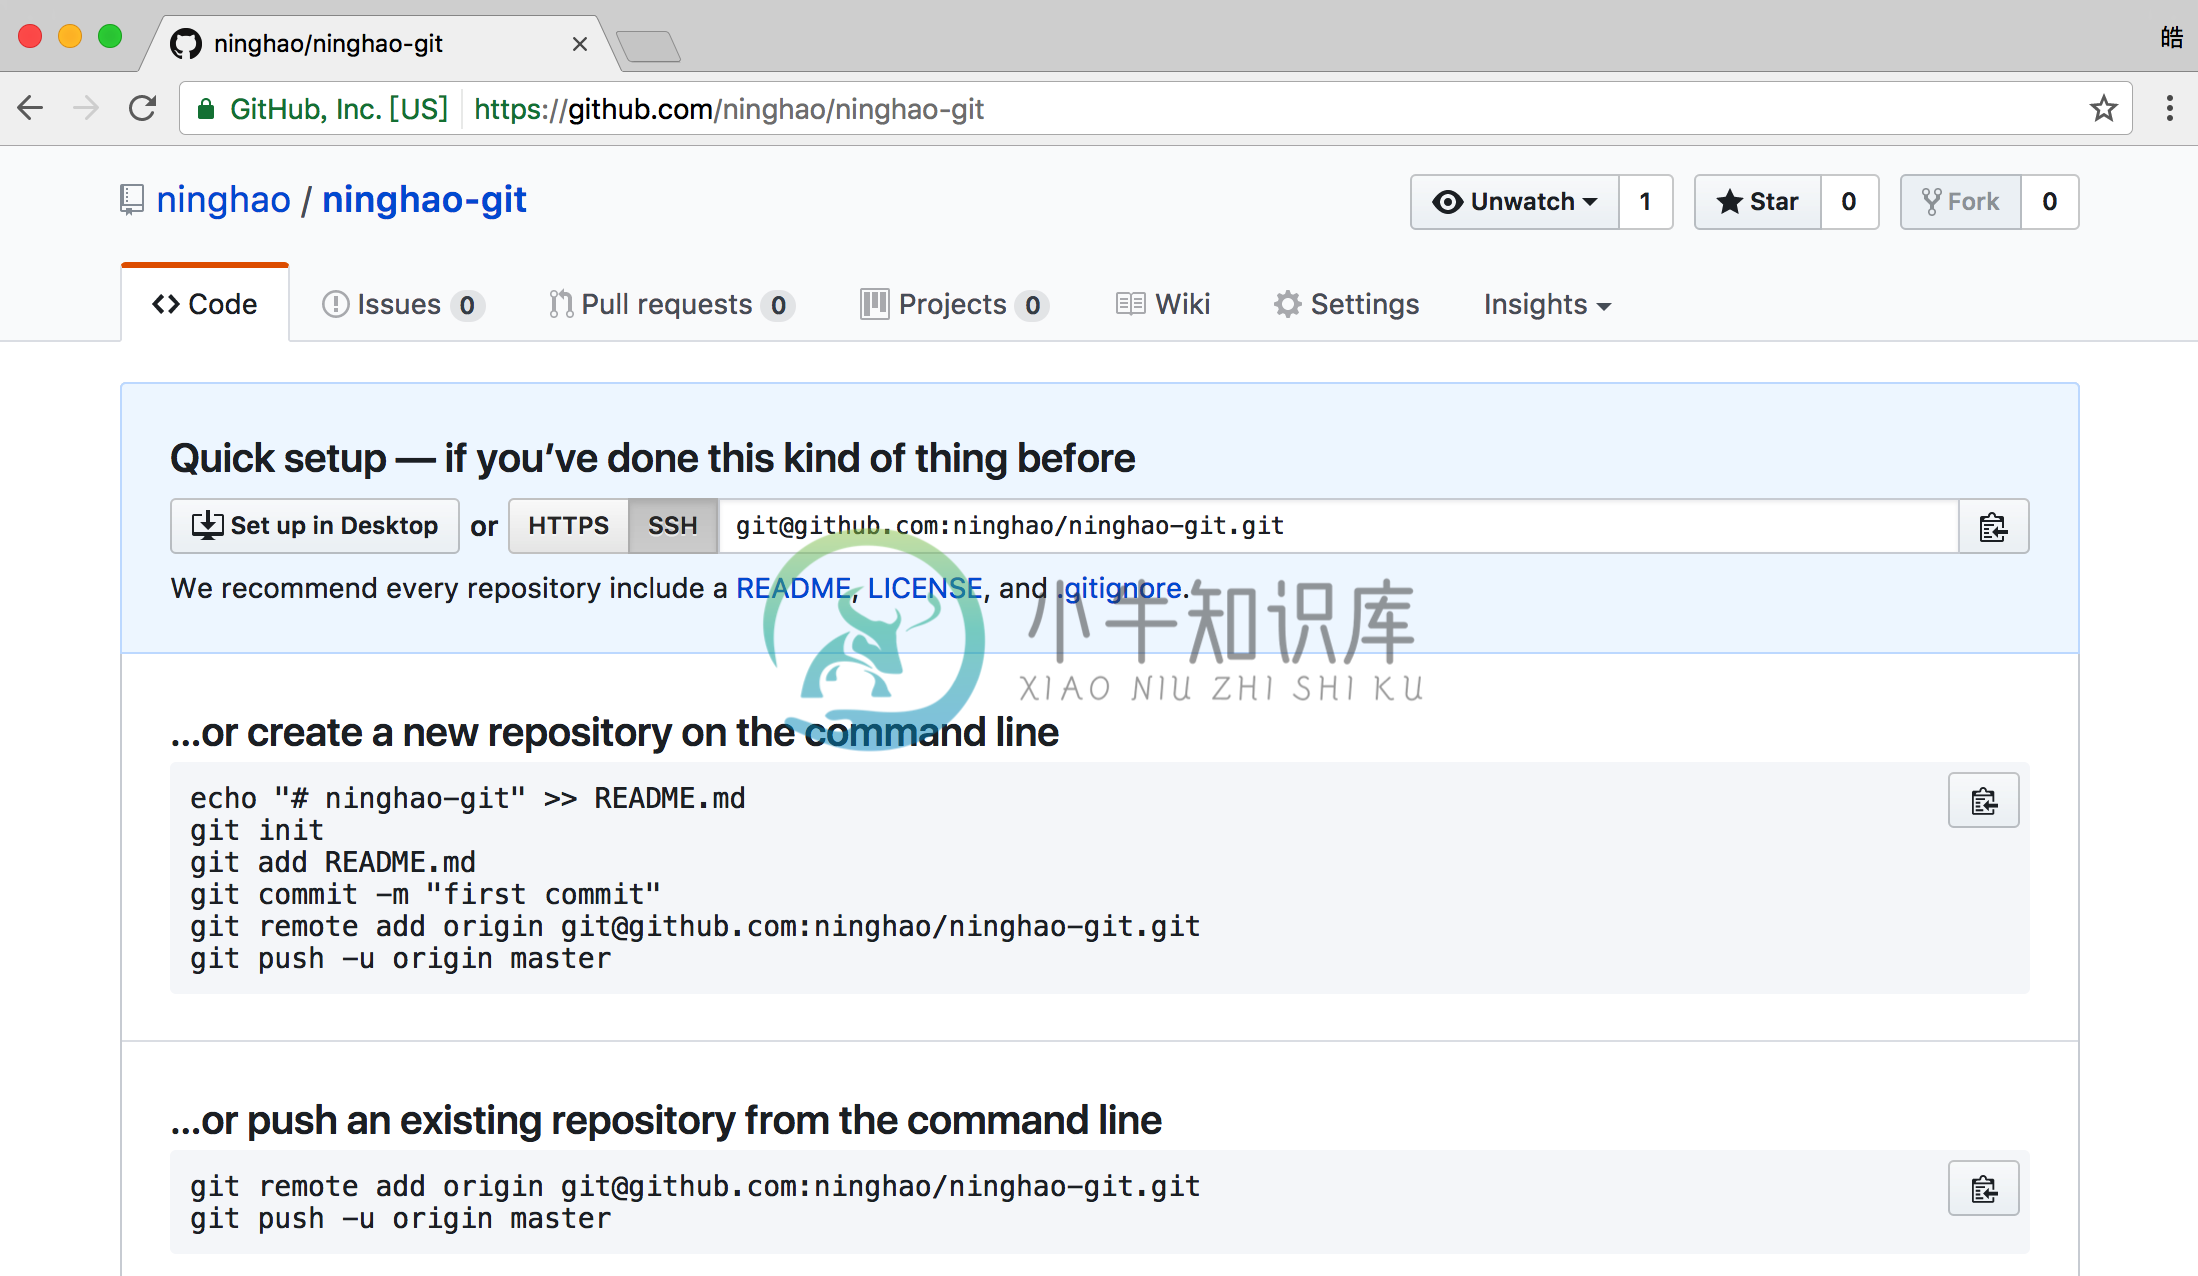
在创建仓库时我为仓库起的名字是 test-git,所以这个仓库的地址应该是:
https://github.com/xnip/test-git.git
或者 SSH 形式的仓库地址:
[email protected]:xnip/test-git.git
一般远程仓库都有两种地址,一种是 HTTPS,一种是 SSH。这两种地址使用的验证方法不一样,HTTPS 用的是用户名 + 密码的方式验证你的身份。SSH 会使用 ssh-key 作为验证身份的方法。
添加远程仓库
有了远程仓库以后,我们可以把它添加到本地项目里。执行:
git remote add origin [email protected]:xnip/test-git.git
添加远程仓库用的是 git remote add,origin 是我们给远程起的名字,它的地址是 [email protected]:xnip/test-git.git 。
查看远程仓库列表,执行:
git remote
返回:
origin
这个 origin 就是刚才我们为项目添加的远程仓库。用一个 -v 选项,可以更详细的显示远程仓库相关的信息,执行:
git remote -v
返回:
origin    [email protected]:xnip/test-git.git (fetch)
origin    [email protected]:xnip/test-git.git (push)
会告诉你 origin 这个仓库的地址。注意有 fetch(下载) 还有 push(上传) 用的地址。

