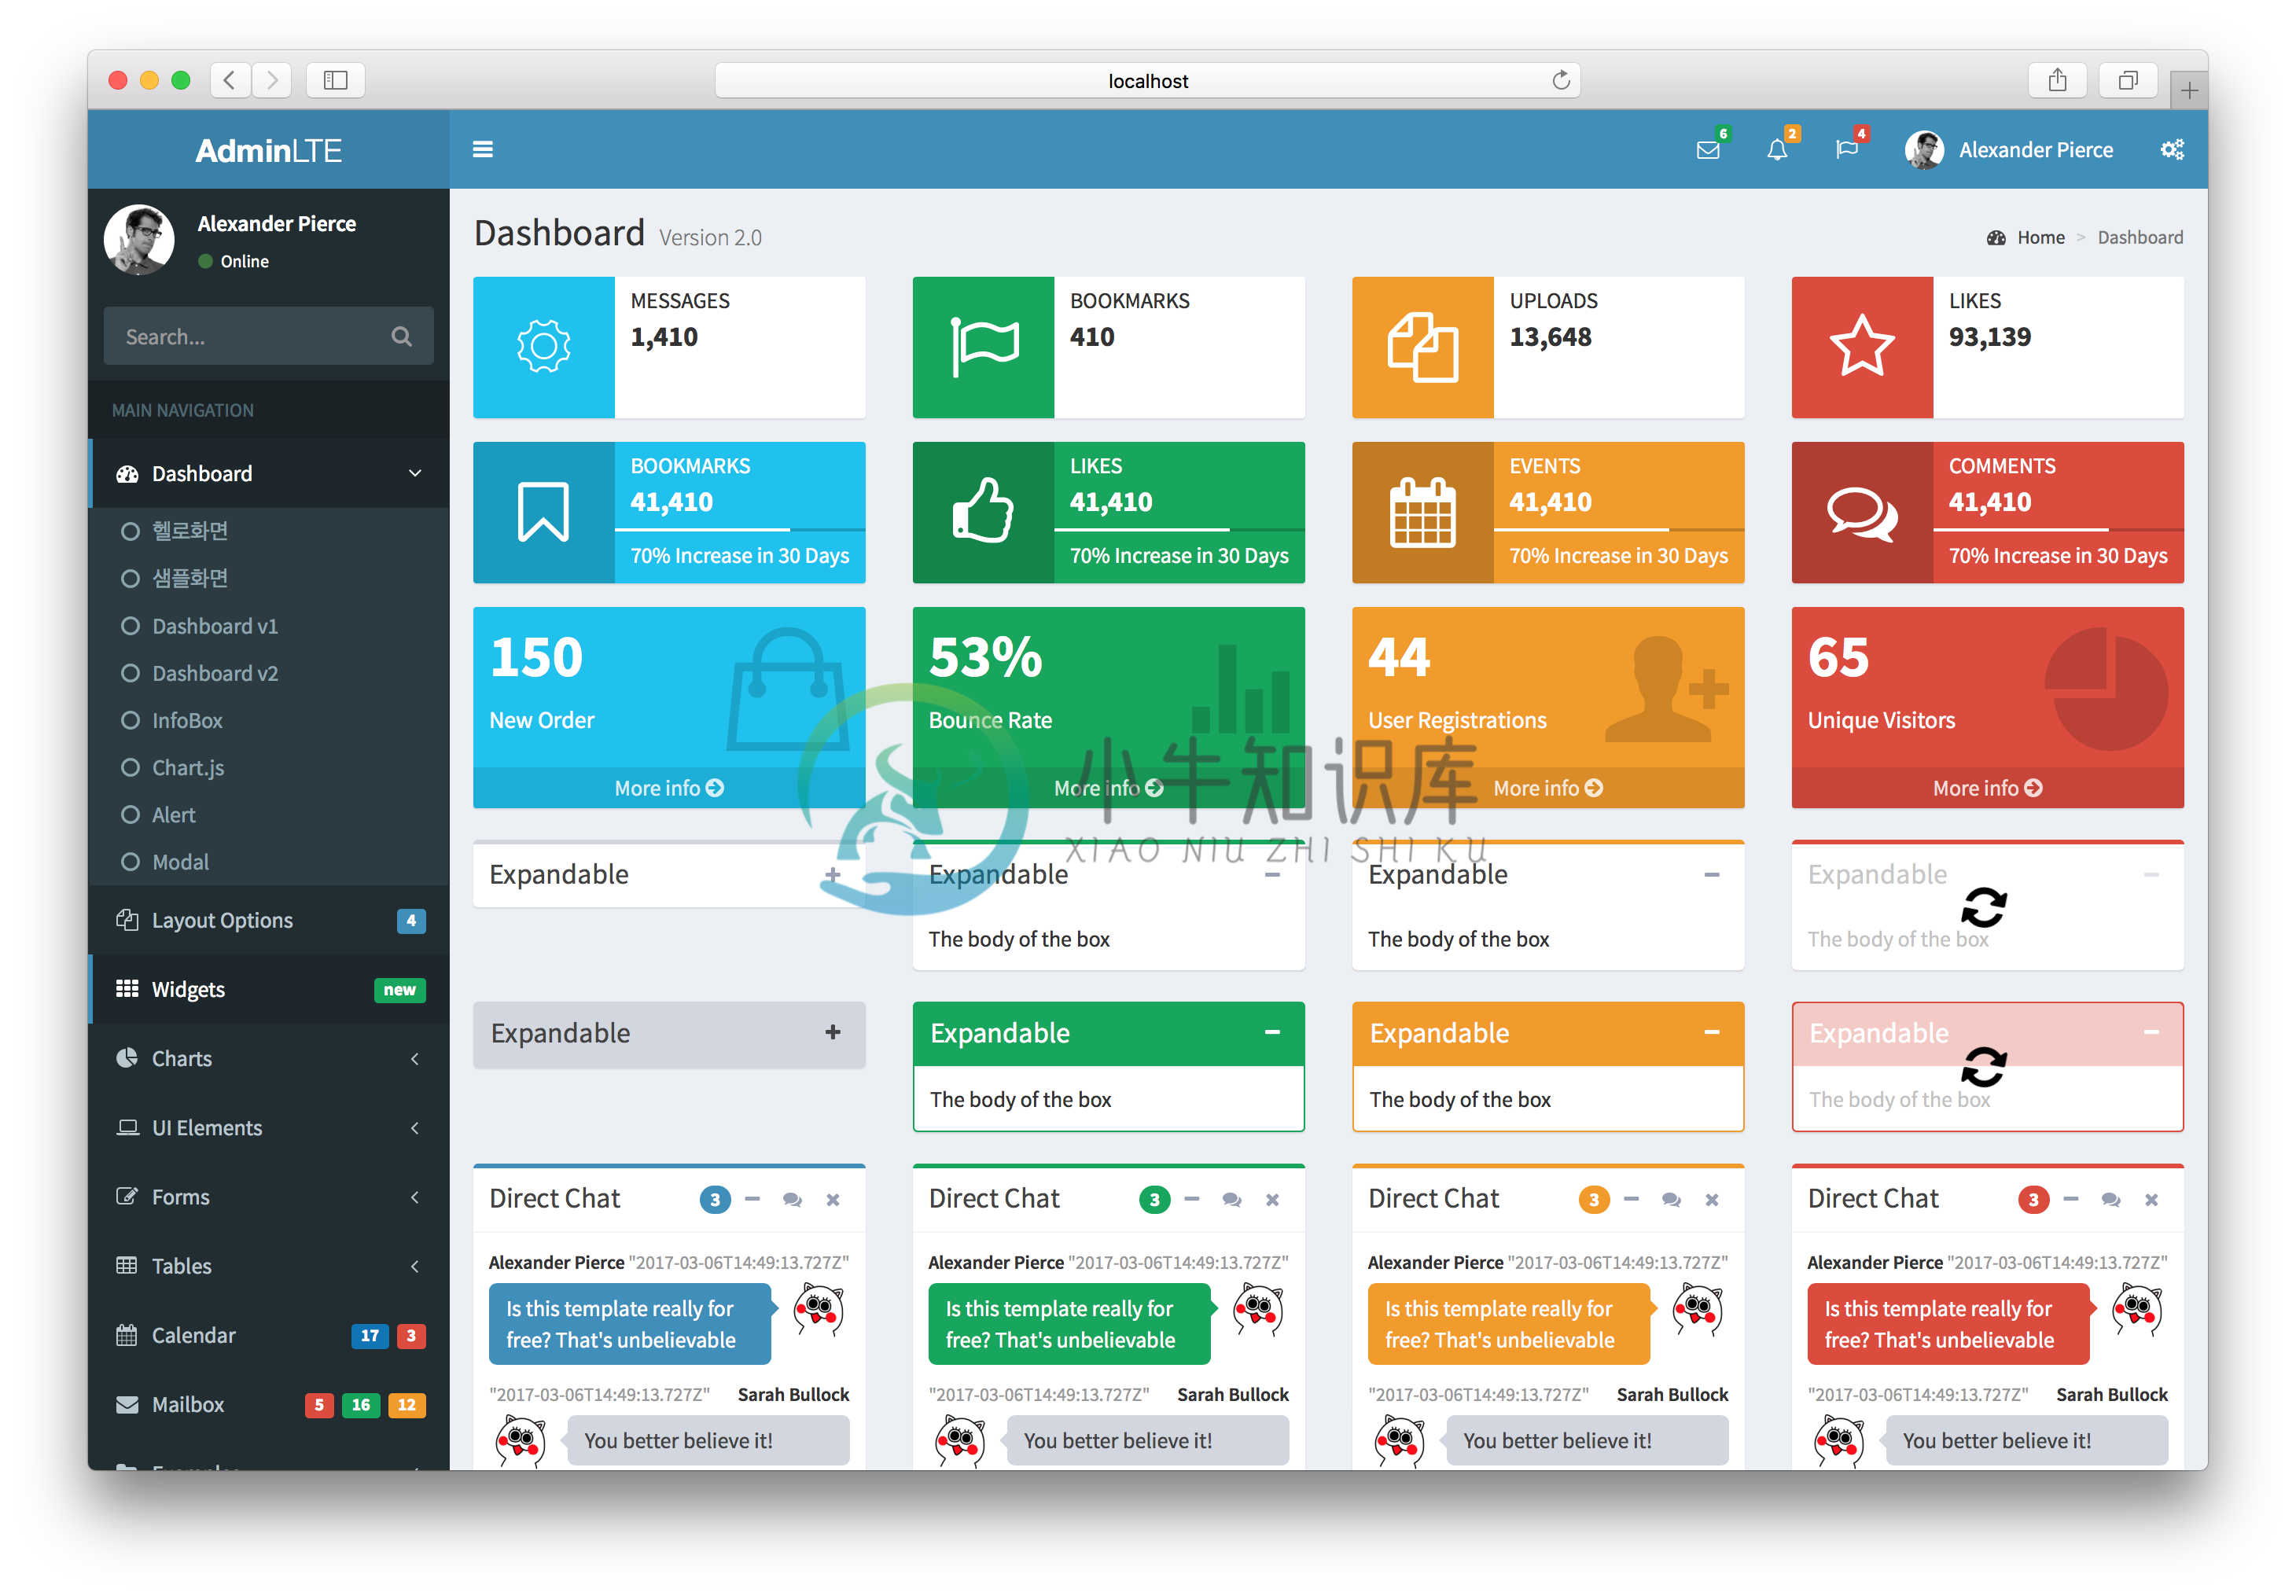
vue2-admin-lte (Demo)
AdminLTE of Admin control panel template Based on Vuejs 2.x Front-end Framework.
Documentation
Demo Build Setup
# install dependencies
npm install

# serve with hot reload at localhost:8080
npm run dev

# build for production with minification
npm run build

# build for production and view the bundle analyzer report
npm run build --report

# run unit tests: coming soon
# npm run unit

# run e2e tests: coming soon
# npm run e2e

# run all tests: coming soon
# npm test
How to use
First, install vue2-admin-lte via npm.
$ npm i --save vue2-admin-lte
append alias config in webpack
module.exports = {
  resolve: {
    alias: {
      'va': 'vue2-admin-lte/src'
    }
  }
}
import css and javascript files
// css files
import 'va/lib/css'

// js files
import 'va/lib/script'
use the components in .vue
<template>
  <va-button
    name="Primary"
    theme="primary"
    size="btn-lg"
    :isFlat="true"
  ></va-button>
</template>

<script>
import VAButton from 'va/components/VAButton.vue'
export default {
  name: 'Button',
  components: {
    'va-button': VAButton
  }
}
</script>
Example
<template>

  <va-direct-chat
    :talkList="talkList"
    :badgeCount="3"
    theme="primary"
    title="Direct Chat"
    placeholder="Type Messages ..."
  ></va-direct-chat>

</template>


<script>
import VADirectChat from '../path/to/components/VADirectChat.vue'

export default {
  name: 'App',
  data () {
    return {
      talkList: [
        {
          name: 'Alexander Pierce',
          date: new Date(),
          profileImage: 'http://path/to/image',
          message: `Is this template really for free? That's unbelievable`,
          isMine: false
        },
        {
          name: 'Sarah Bullock',
          date: new Date(),
          profileImage: 'http://path/to/image',
          message: `You better believe it!`,
          isMine: true
        }
      ]
    }
  },
  components: {
    'va-direct-chat': VADirectChat
  }
}

</script>
how to start mock server
node ./mock-server/index.js
how to use Vuex
// /vuex/store.js
import Vue from 'vue'
import Vuex from 'vuex'

import * as actions from './actions'
import * as getters from './getters'
import modules from './modules'

Vue.use(Vuex)

export default new Vuex.Store({
  actions,
  getters,
  modules,
  strict: process.env.NODE_ENV !== 'production'
})
Contributing to Vue2 AdminLTE
The following is a set of guidelines for contributing to Vue2 AdminLTE.
Submitting Issues
You can create an issue here.
If you can, please include:
- The version, name of Browser you are using
- The operating system you are using
Other things that will help resolve your issue:
- Screenshots or gif
- dev tools or an alert
- Perform a search to see if a similar issue has already been submitted
Submitting Pull Requests
- Include screenshots and animated gif in your pull request whenever possible.
- Use short, present tense commit messages.
-
# Vue2集成AdminLte 后台模板 前提条件 安装最新版的nodejs 创建vue工程 npm install --global vue-cli vue init webpack vue-adminlte cd vue-adminlte npm install npm run dev 此时可以验证 http://localhost:8080/#/ 默认的demo 2 引入jQuery ,
-
【Vue Laravel-mix】 报错信息: Error with Vue lazy loading components: “Failed to resolve async component“ uncaught error during route navigation cann’t xxxxx 'call ’ bootstrap.js(63) 参考https://github.com/Je
-
是最新的由OpenDigg整理并维护的Vue相关开源项目库集合。原文地址:https://github.com/opendigg/awesome-github-vue 内容 UI组件 开发框架 实用库 服务端 辅助工具 应用实例 Demo示例 UI组件 element ★13489 - 饿了么出品的Vue2的web UI工具套件 Vux ★8133 - 基于Vue和WeUI的组件库 iview ★
-
ngx-admin-lte Admin-LTE for Angular 4/5/6/8 as a NPM package This project is a library to integrate in your own project.If your are looking for a full bootstrapping using this library, please check: B
-
bootstraping ngx-admin-lte Bootstraping of Angular4 with AdminLTE dashboard template( Using ngx-admin-lte Library) UPDATE ! This version use the new npm package ngx-admin-lte (this will be easier to u
-
我试图在我的应用程序中获取LTE小区ID号: 但是
-
Django 最受欢迎的特性之一 —— 自动生成的Admin 界面的所有内容:
-
大部份網站都設計有管理後台,讓管理者方便新增或異動網站內容。 而這樣的管理後台,Django 也有內建一個 App -- Django Admin 。只需要稍微設定,網站就能擁有管理後台功能。 前一章,我們學到如何使用 Django Model 抽象地表達資料庫結構。現在,我們要透過 Django Admin 看到實際的資料,並跟資料庫進行互動。 完成本章後,你會瞭解如何設定 Django Adm
-
Admin简介 Django有一个优秀的特性, 内置了Django admin后台管理界面, 方便管理者进行添加和删除网站的内容. 设置Admin 新建的项目系统已经为我们设置好了后台管理功能 可以在my_blog/my_blog/setting.py中查看 INSTALLED_APPS = ( 'django.contrib.admin', #默认添加后台管理功能


