SaaS Boilerplate
Open source web app that saves you many days of work when building your own SaaS product. The boilerplate comes with many basic SaaS features (see Features below) so that you can focus on features that differentiate your product.
If you want to learn how to build this project from scratch, check out our book: https://builderbook.org/book
The open source project is located in the saas folder. If you purchased our book, codebases for each of the book's chapters are located in the book folder.
Live demo:
Showcase
Check out projects built with the help of this open source app. Feel free to add your own project by creating a pull request.
- Retaino by Earl Lee: Save, annotate, review, and share great web content. Receive smart email digests to retain key information.
- Builder Book: Open source web app to publish documentation or books. Built with React, Material-UI, Next, Express, Mongoose, MongoDB.
- Async: Asynchronous communication and project management tool.
Contents
- Features
- Run locally
- Deploy
- Built with
- Screenshots
- Showcase
- Contributing
- Sponsors
- Team
- License
- Project structure
Features
- Server-side rendering for fast initial load and SEO.
- User authentication with Google OAuth API and Passwordless, cookie, and session.
- Production-ready Express server with compression, parser, and helmet.
- Transactional emails (
AWS SES): welcome, team invitation, and payment. - Adding email addresses to newsletter lists (
Mailchimp): new users, paying users. - File upload, load, and deletion (
AWS S3) with pre-signed request for: Posts, Team Profile, and User Profile. - Websockets with socket.io v3.
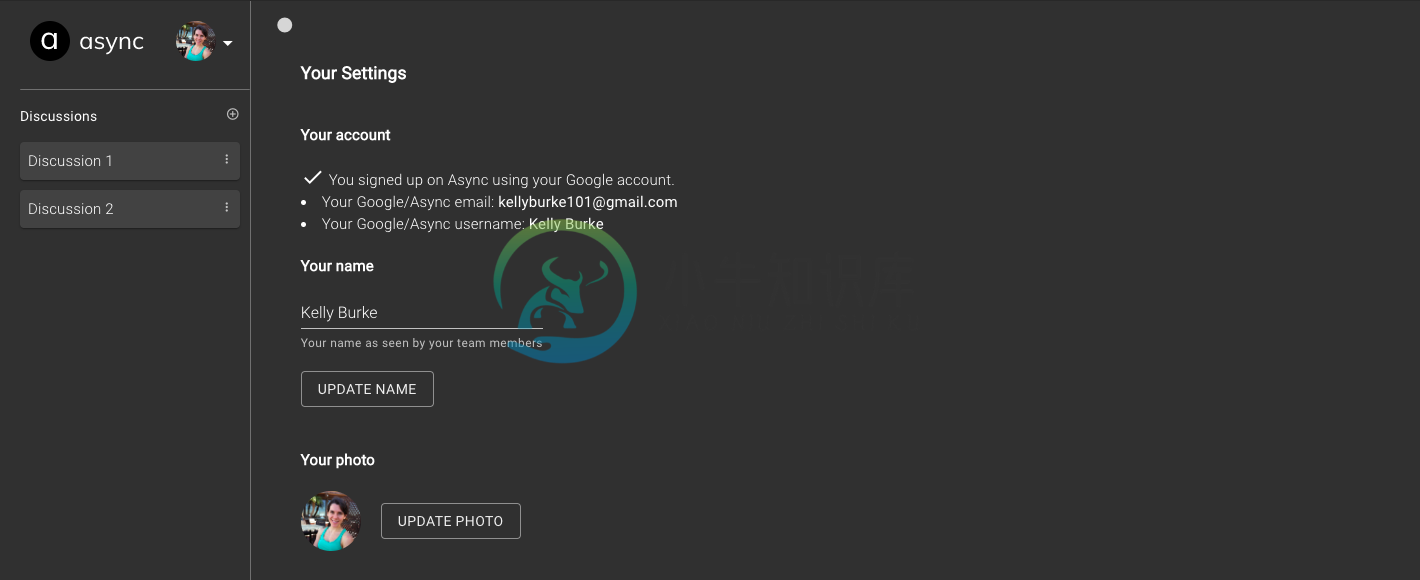
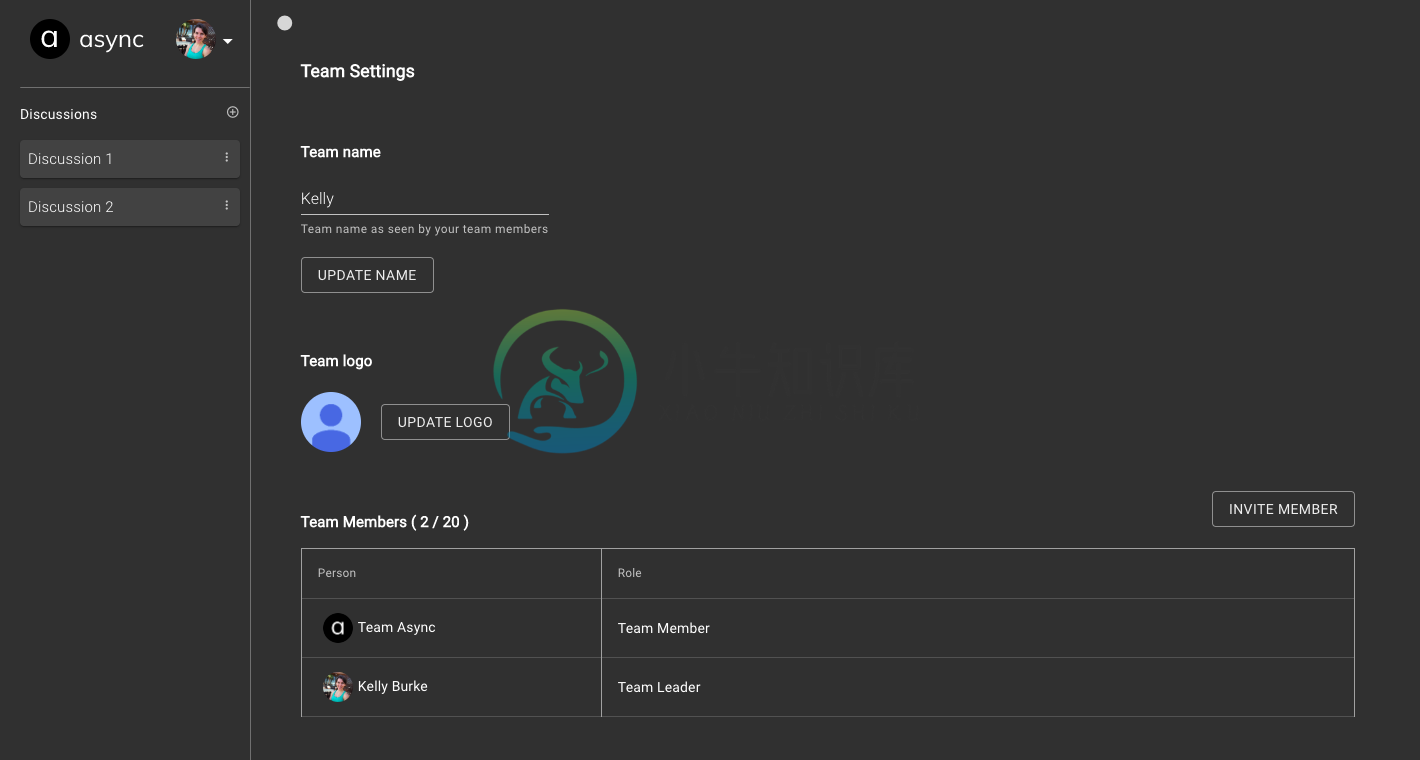
- Team creation, Team Member invitation, and settings for Team and User.
- Opinionated architecture:
- keeping babel and webpack configurations under the hood,
- striving to minimize number of configurations,
withAuthHOC to pass user prop and control user access to pages,- HOC extensions
MyAppandMyDocument - server-side rendering with
Material-UI, - model-specific components in addition to common components.
- Universally-available environmental variables at runtime.
- Custom logger (configure what not to print in production).
- Useful components for any web app:
ActiveLink,Confirm,Notifier,MenuWithLinks, and more. - Analytics with
Google Analytics. - Production-ready, scalable architecture:
app- user-facing web app with Next/Express server, responsible for rendering pages (either client-side or server-side rendered).appsends requests via API methods toapiExpress server.api- server-only code, Express server, responsible for processing requests for internal and external API infrastructures.- we prepared both apps for easy deployment to
nowby vercel.
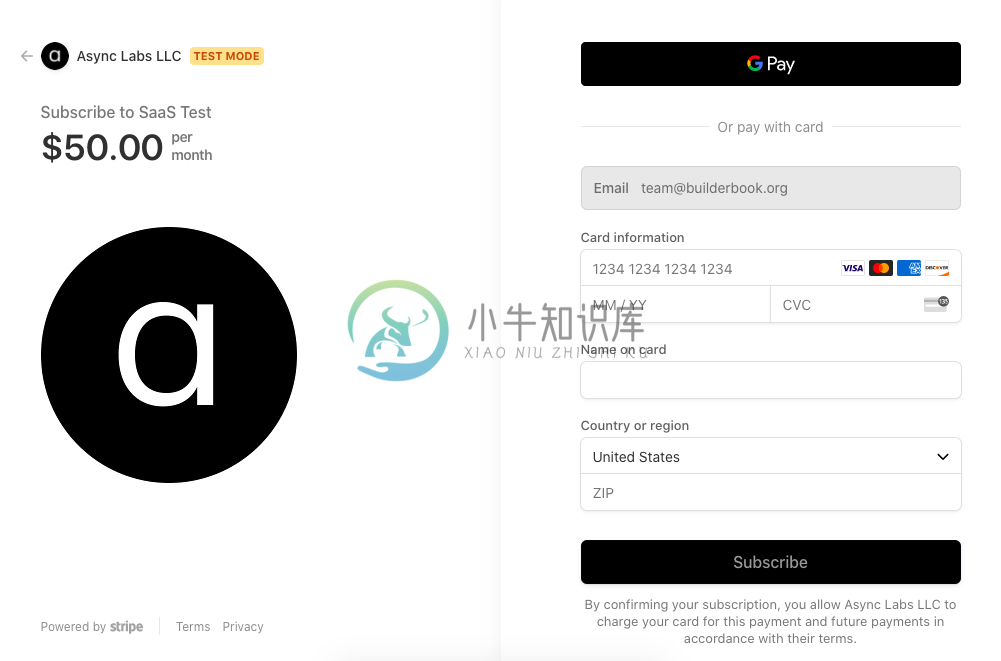
- Subscriptions with
Stripe:- subscribe/unsubscribe Team to plan,
- update card information,
- verified Stripe webhook for failed payment for subscription.
Running api locally:
Before running, create a
.envfile inside theapifolder with the environmental variables listed below.
This file must have values for therequiredvariables.
To use all features and third-party integrations, also add theoptionalvariables.api/.env:# Used in api/server/server.ts MONGO_URL_TEST= MONGO_URL= SESSION_NAME= SESSION_SECRET= COOKIE_DOMAIN= # Used in api/server/google.ts GOOGLE_CLIENTID= GOOGLE_CLIENTSECRET= # Used in api/server/aws-s3.ts and api/server/aws-ses.ts AWS_REGION= AWS_ACCESSKEYID= AWS_SECRETACCESSKEY= # Used in api/server/models/Invitation.ts and api/server/models/User.ts EMAIL_SUPPORT_FROM_ADDRESS= # Used in api/server/mailchimp.ts MAILCHIMP_API_KEY= MAILCHIMP_REGION= MAILCHIMP_SAAS_ALL_LIST_ID= # All env variables above this line are needed for successful user signup # Used in api/server/stripe.ts STRIPE_TEST_SECRETKEY=sk_test_xxxxxx STRIPE_LIVE_SECRETKEY=sk_live_xxxxxx STRIPE_TEST_PLANID=plan_xxxxxx STRIPE_LIVE_PLANID=plan_xxxxxx STRIPE_LIVE_ENDPOINTSECRET=whsec_xxxxxx # Optionally determine the URL URL_APP=http://localhost:3000 URL_API=http://localhost:8000 PRODUCTION_URL_API= PRODUCTION_URL_APP= # in pages/_document.tsx and lib/withAuth.tsx GA_MEASUREMENT_ID=Important: The above environmental variables are available on the server only. You should add your
.envfile to.gitignoreinside theapifolder so that your secret keys are not stored on a remote Github repo.- To get value for
MONGO_URL_TEST, we recommend you use a free MongoDB at MongoDB Atlas or $15/month MongoDB at Digital Ocean - Specify your own name and secret keys for Express session: SESSION_NAME and SESSION_SECRET
- Get
GOOGLE_CLIENTIDandGOOGLE_CLIENTSECRETby following the official OAuth tutorial.
Important: For Google OAuth app, callback URL is: http://localhost:8000/oauth2callback
Important: You have to enable Google+ API in your Google Cloud Platform account.
- To get value for
Once
.envis created, you can run theapiapp. Navigate to theapifolder, runyarn installto add all packages, then run the command below:yarn dev
Running app locally:
Navigate to the
appfolder, runyarnto add all packages, then runyarn devand navigate tohttp://localhost:3000:- A
.envfile in theappfolder is not required to run, but you can create one to override the default variables:
STRIPE_TEST_PUBLISHABLEKEY=pk_test_xxxxxxxxxxxxxxx STRIPE_LIVE_PUBLISHABLEKEY=pk_live_xxxxxxxxxxxxxxx BUCKET_FOR_POSTS= BUCKET_FOR_TEAM_AVATARS= BUCKET_FOR_TEAM_LOGOS= URL_APP=http://localhost:3000 URL_API=http://localhost:8000 PRODUCTION_URL_API= PRODUCTION_URL_APP= API_GATEWAY_ENDPOINT= GA_MEASUREMENT_ID=- To get
GA_MEASUREMENT_ID, set up Google Analytics and follow these instructions to find your tracking ID. - To get
STRIPE_TEST_PUBLISHABLEKEY, go to your Stripe dashboard, clickDevelopers, then clickAPI keys.
- A
For successful file uploading, make sure your buckets have proper CORS configuration. Go to your AWS account, find your bucket, go to
Permissions > CORS configuration, add:
[
  {
    "AllowedHeaders":[
      "*"
    ],
    "AllowedMethods":[
      "PUT",
      "POST",
      "GET",
      "HEAD",
      "DELETE"
    ],
    "AllowedOrigins":[
      "http://localhost:3000",
      "https://saas-app.async-await.com"
    ],
    "ExposeHeaders":[
      "ETag",
      "x-amz-meta-custom-header"
    ]
  }
]
Make sure to update allowed origin with your actual values for
URL_APPandPRODUCTION_URL_APP.Once
.envis created, you can run theappapp. Navigate to theappfolder, runyarn installto add all packages, then run the command below:yarn dev
Deploy with Heroku
To deploy the two apps (api and app), you can follow these instructions to deploy each app individually to Heroku:
https://github.com/async-labs/builderbook/blob/master/README.md#deploy-to-heroku
You are welcome to deploy to any cloud provider. Eventually, we will publish a tutorial for AWS Elastic Beanstalk.
If you need help deploying your SaaS Boilerplate app, or variation of it, you can hire us. Email us for more details: team@async-await.com.
Built with
For more detail, check package.json files in both app and api folders and project's root.
To customize styles, check this guide.
Screenshots
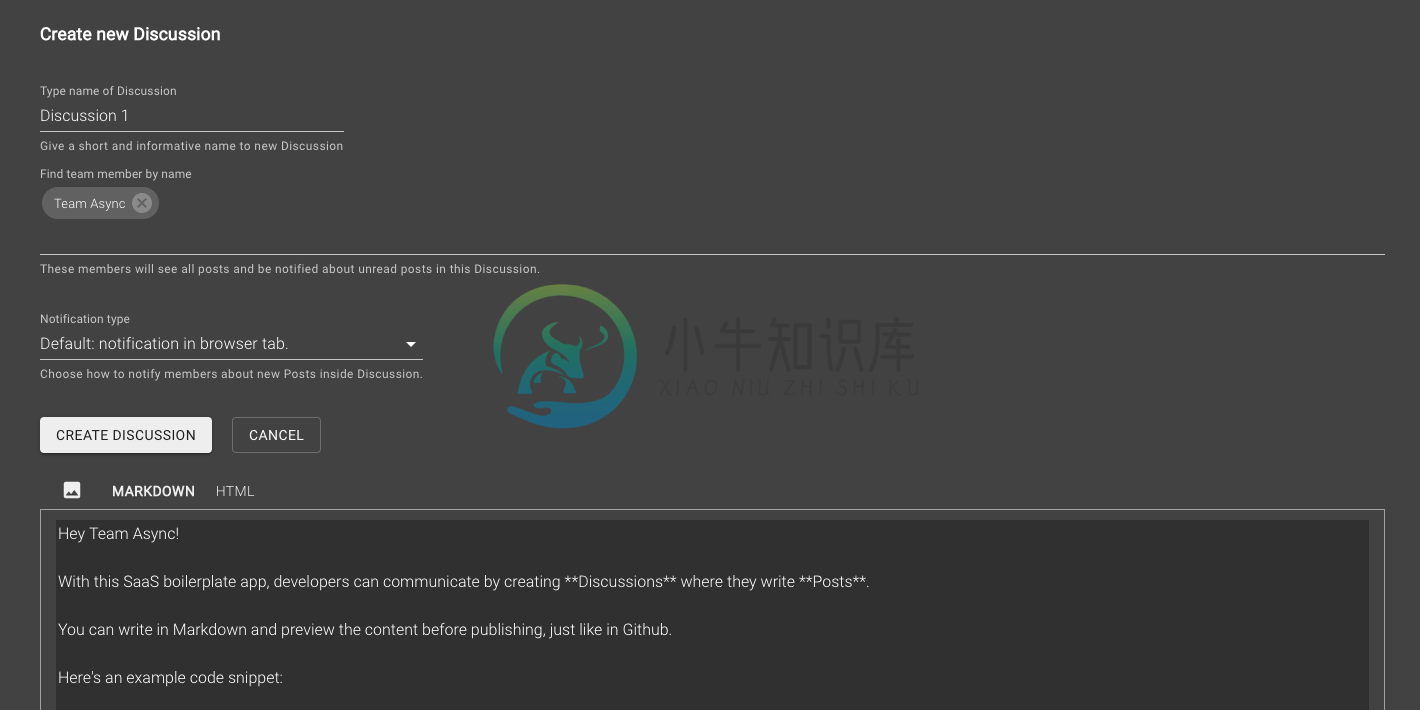
Writing a Post, Markdown vs. HTML view:
Discussion between team members: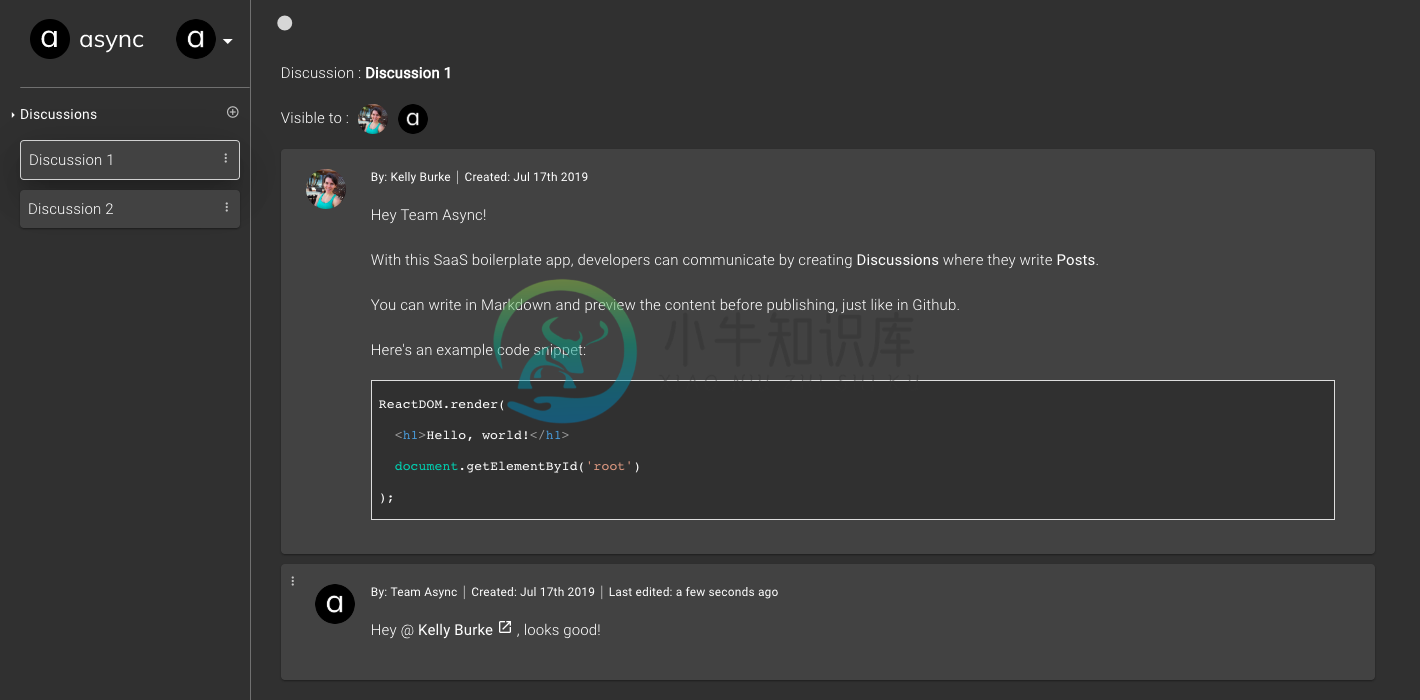
Contributing
Want to support this project? Sign up at async and/or buy our book, which teaches you how to build this project from scratch.
Sponsors
Team
You can contact us at team@async-await.com.
License
All code in this repository is provided under the MIT License.
Project structure
├── .elasticbeanstalk
│   └── config.yml
├── .github
│   └── FUNDING.yml
├── .vscode
│   ├── extensions.json
│   ├── launch.json
│   └── settings.json
├── api
│   ├── .elasticbeanstalk
│   │   └── config.yml
│   ├── server
│   │   ├── api
│   │   │   ├── index.ts
│   │   │   ├── public.ts
│   │   │   ├── team-leader.ts
│   │   │   └── team-member.ts
│   │   ├── models
│   │   │   ├── Discussion.ts
│   │   │   ├── EmailTemplate.ts
│   │   │   ├── Invitation.ts
│   │   │   ├── Post.ts
│   │   │   ├── Team.ts
│   │   │   └── User.ts
│   │   ├── utils
│   │   │   ├── slugify.ts
│   │   │   └── sum.ts
│   │   ├── aws-s3.ts
│   │   ├── aws-ses.ts
│   │   ├── google-auth.ts
│   │   ├── logger.ts
│   │   ├── mailchimp.ts
│   │   ├── passwordless-auth.ts
│   │   ├── passwordless-token-mongostore.ts
│   │   ├── server.ts
│   │   ├── sockets.ts
│   │   └── stripe.ts
│   ├── static
│   │   └── robots.txt
│   ├── test/server/utils
│   │   ├── slugify.test.ts
│   │   └── sum.test.ts
│   ├── .eslintignore
│   ├── .eslintrc.js
│   ├── .gitignore
│   ├── package.json
│   ├── tsconfig.json
│   ├── tsconfig.server.json
│   └── yarn.lock
├── app
│   ├── .elasticbeanstalk
│   │   └── config.yml
│   ├── components
│   │   ├── common
│   │   │   ├── Confirmer.tsx
│   │   │   ├── LoginButton.tsx
│   │   │   ├── MemberChooser.tsx
│   │   │   ├── MenuWithLinks.tsx
│   │   │   ├── MenuWithMenuItems.tsx
│   │   │   └── Notifier.tsx
│   │   ├── discussions
│   │   │   ├── CreateDiscussionForm.tsx
│   │   │   ├── DiscussionActionMenu.tsx
│   │   │   ├── DiscussionList.tsx
│   │   │   ├── DiscussionListItem.tsx
│   │   │   └── EditDiscussionForm.tsx
│   │   ├── layout
│   │   │   ├── index.tsx
│   │   ├── posts
│   │   │   ├── PostContent.tsx
│   │   │   ├── PostDetail.tsx
│   │   │   ├── PostEditor.tsx
│   │   │   └── PostForm.tsx
│   │   ├── teams
│   │   │   └── InviteMember.tsx
│   ├── lib
│   │   ├── api
│   │   │   ├── makeQueryString.ts
│   │   │   ├── public.ts
│   │   │   ├── sendRequestAndGetResponse.ts
│   │   │   ├── team-leader.ts
│   │   │   └── team-member.ts
│   │   ├── store
│   │   │   ├── discussion.ts
│   │   │   ├── index.ts
│   │   │   ├── invitation.ts
│   │   │   ├── post.ts
│   │   │   ├── team.ts
│   │   │   └── user.ts
│   │   ├── confirm.ts
│   │   ├── isMobile.ts
│   │   ├── notify.ts
│   │   ├── resizeImage.ts
│   │   ├── sharedStyles.ts
│   │   ├── theme.ts
│   │   └── withAuth.tsx
│   ├── pages
│   │   ├── _app.tsx
│   │   ├── _document.tsx
│   │   ├── billing.tsx
│   │   ├── create-team.tsx
│   │   ├── discussion.tsx
│   │   ├── invitation.tsx
│   │   ├── login-cached.tsx
│   │   ├── login.tsx
│   │   ├── team-settings.tsx
│   │   └── your-settings.tsx
│   ├── public
│   │   └── pepe.jpg
│   ├── server
│   │   ├── robots.txt
│   │   ├── routesWithCache.ts
│   │   ├── server.ts
│   │   └── setupSitemapAndRobots.ts
│   ├── .babelrc
│   ├── .eslintignore
│   ├── .eslintrc.js
│   ├── .gitignore
│   ├── next.env.d.ts
│   ├── next.config.js
│   ├── package.json
│   ├── tsconfig.json
│   ├── tsconfig.server.json
│   └── yarn.lock
├── book
├── lambda
│   ├── .estlintignore
│   ├── .eslintrc.js
│   ├── .gitignore
│   ├── api
│   ├── handler.ts
│   ├── package.json
│   ├── serverless.yml
│   ├── tsconfig.json
│   └── yarn.lock
├── .gitignore
├── LICENSE.md
├── README.md
├── package.json
├── yarn.lock
-
2015年是个互联网产品的分水岭,那时候C端产品渐渐褪去热度,B端产品渐渐崭露头角进而匀速发展。近年来SaaS慢慢进入大众视野,逐渐普及并渗透到我们日常的生活工作当中,或许你正在使用SaaS服务,但对它并没有清晰深刻的认识,那么这篇文章将用通俗易懂的语言带你了解SaaS的现在和未来。第一篇就来讲讲SaaS的概念和行业发展。 一、 SaaS的概述及特性 (一) SaaS的概述 1、 什么是SaaS?
-
本文向大家介绍请你来解释一下以下几个名词:ASO,UGC,SAAS,NFC。相关面试题,主要包含被问及请你来解释一下以下几个名词:ASO,UGC,SAAS,NFC。时的应答技巧和注意事项,需要的朋友参考一下 ASO:App Store Optimization,应用商店优化。利用app store的搜索规则和排名规则,提升app的排名和被搜到的概率,可类比SEO - 普通网站针对搜索引擎的优化。
-
问题内容: 您可能需要在这里与我联系,以免使某些术语有些错误,因为我什至没有意识到它属于整个“多租户”“软件即服务”类别,但是在这里确实如此。 我已经为客户开发了会员系统(用PHP)。我们现在正在考虑将其作为其他客户的完全托管解决方案,提供一个子域(甚至他们自己的域)。 就数据存储而言,我似乎在表上拥有的选项是: 选项1-将 所有内容存储在1个大数据库中,并在需要它的表上有一个“ client_i
-
问题内容: 因此,我们计划将PHP后端与React + Redux前端服务器一起使用。我们正在开发一个非常大的应用程序,整个应用程序中都有很多表。由于它将是单页应用程序,因此所有数据都包含在存储对象中。 所以,让我们看看我是否有正确的心态。登录该应用后,我的状态几乎开始为空。当我访问页面时,我的状态将开始充满。示例:我访问了应用程序的“照片”,然后最终从数据库中加载了一些照片并将其放入商店中: 然
-
问题内容: 我有一个Webapp,用户可以在其中创建帐户并使用该服务。现在,我想给他们提供一个自定义域功能,一旦用户设置了自定义域,app.customer1web.com便会使用用户ID客户1将app.customer1web.com指向myservice.com,因为在世界范围内,我的服务似乎正在其计算机上运行。诸如Blogger,wp.com,tumblr之类的许多服务都提供了此功能。 我怎
-
读者们好, 我正在ubuntu 16.04中使用Odoo 11,试图在我的本地机器上安装Odoo SaaS工具包11 for Odoo v11 CE,当我在SaaS中创建模板数据库时,我遇到了一个问题= 我的etc/hosts文件如下: 127.0.0.1localhost127.0.1.1shivam.sahu希瓦姆 ::1 ip6本地主机ip6环回fe00::0 ip6本地网ff00::0 i
-
是否可以在3个不同的云提供商上使用SaaS、IaaS和PaaS的单一服务,并将它们连接在一起?例如,我的公司需要为其员工提供Microsoft云软件,为其服务器提供IBM Baremetal,为其IT部门提供Github PaaS,以帮助开发后端/脚本。微软软件、IBM Baremetal和Github只是他们可以选择另一家云提供商的例子。我知道我的问题有点毫无意义,但这有可能吗?
-
我正在尝试为一个Saas应用程序建模,在这个应用程序中,我将让不同的公司使用这些服务。我有点困惑于为这种类型的服务建模我的猫鼬数据库的最佳方式。 所以这个模型有点像 为这样的应用程序建模的最佳方式是什么? 我是否应该为用户、项目等创建不同的模型,并将公司唯一ID附加到该公司内的所有用户或项目。也可以在公司模型中引用这些用户或项目。差不多 或者 只需在公司模式中引用用户和项目模式,而不需要单独的模型
-
我已经阅读了一些关于SaaS/PaaS/IaaS的信息,我在想: 如果我提供了一个SaaS应用程序,我的客户能否使用PaaS开发和部署他自己的应用程序,PaaS将使用一些API与我的SaaS应用程序交互?还是我对云服务的理解有误?


