Enhance your WordPress content with Artificial Intelligence and Machine Learning services.
Table of Contents
- Features
- Requirements
- Pricing
- Installation
- Register ClassifAI account
- Set Up Language Processing
- Set Up Image Processing
- WP CLI Commands
- FAQs
- Support
- Changelog
- Contributing
Features
- Classify your content using IBM Watson's Natural Language Understanding API and Microsoft Azure's Computer Vision API
- Supports Watson's Categories, Keywords, Concepts & Entities and Azure's Describe Image
- Automatically classify content and images on save
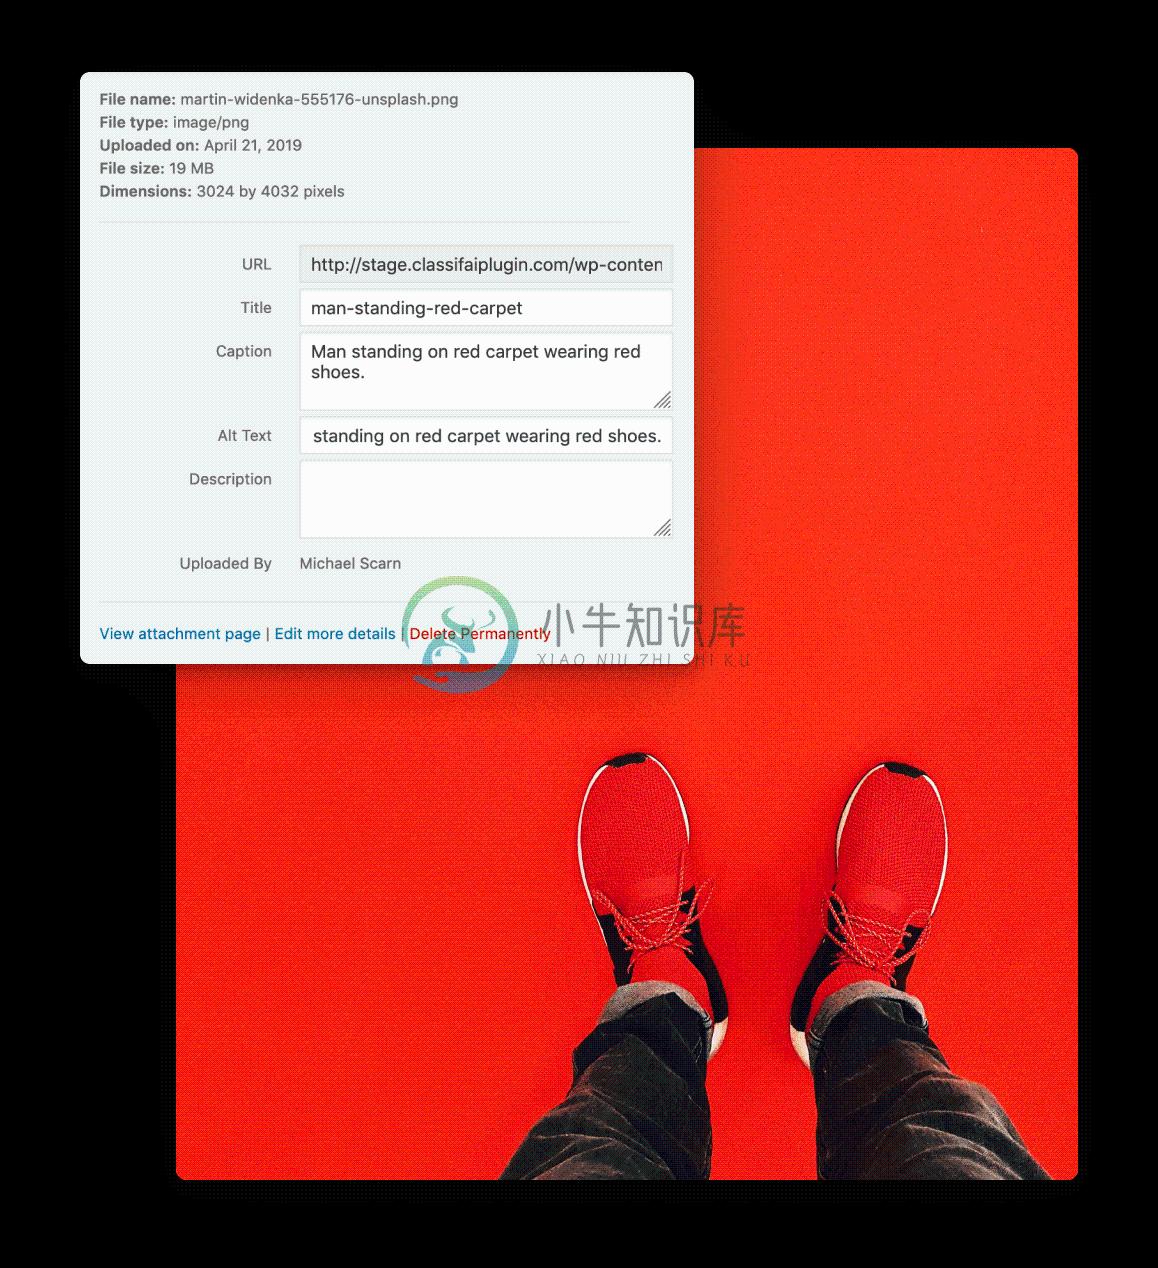
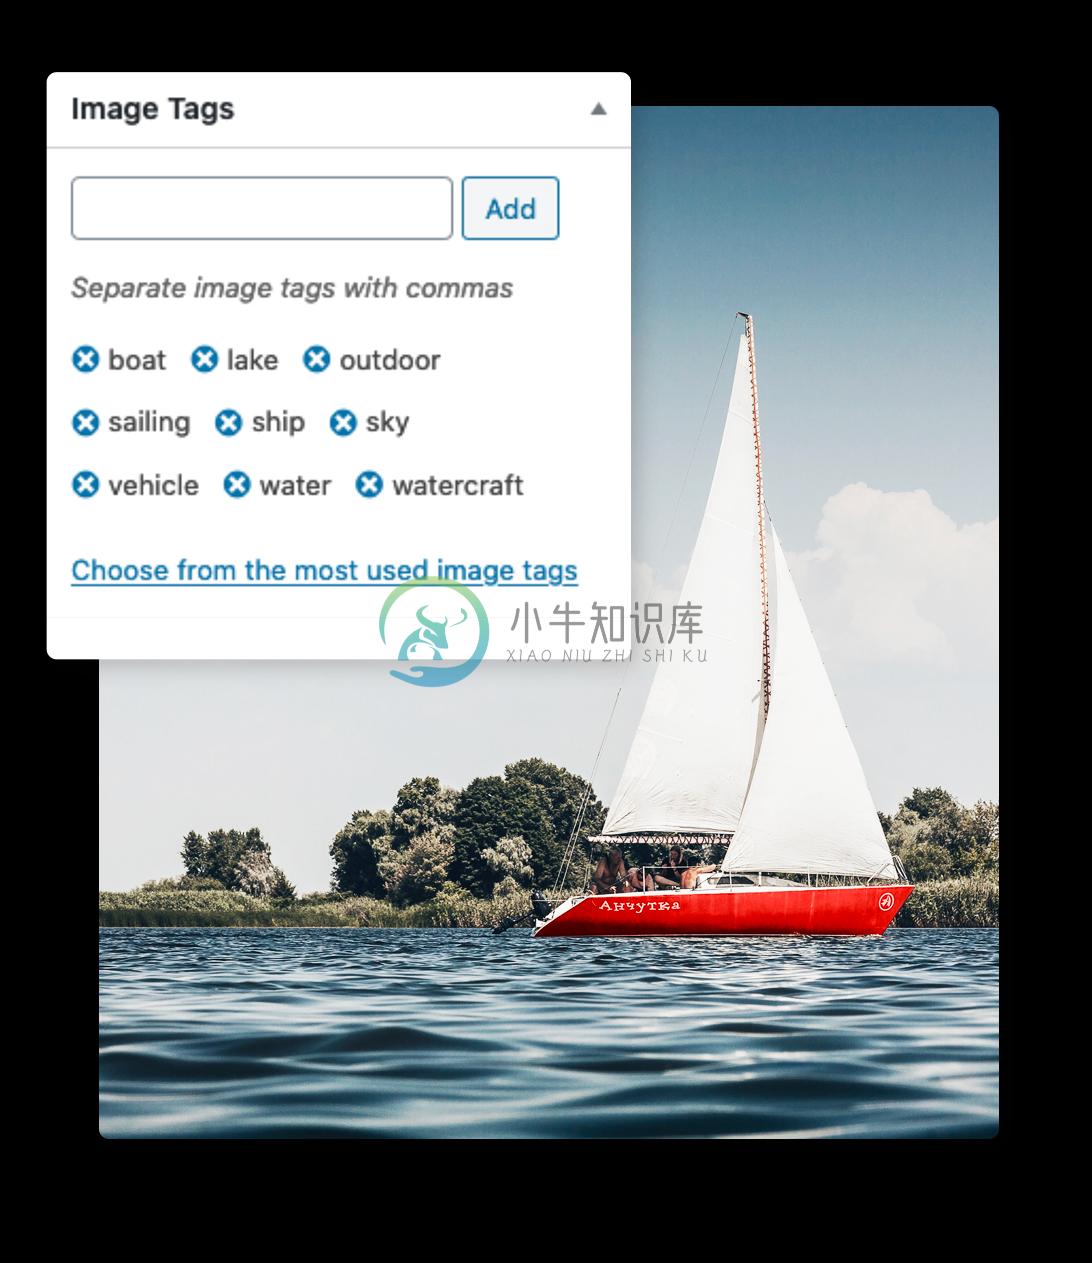
- Automatically generate alt text and image tags for images
- Automatically scan images and PDF files for embedded text and save for use in WordPress
- Smartly crop images around a region of interest identified by Computer Vision
- Bulk classify content with WP-CLI
| Language Processing - Tagging | Image Processing - Alt Text | Image Processing - Smart Cropping | Image Processing - Tagging |
|---|---|---|---|
 |
 |
 |
Requirements
- PHP 7.0+
- WordPress 5.0+
- To utilize the Language Processing functionality, you will need an active IBM Watson account.
- To utilize the Image Processing functionality, you will need an active Microsoft Azure account.
Pricing
Note that there is no cost to using ClassifAI and that both IBM Watson and Microsoft Azure have free plans for their AI services, but that above those free plans there are paid levels as well. So if you expect to process a high volume of content, then you'll want to review the pricing plans for these services to understand if you'll incur any costs. For the most part, both services' free plans are quite generous and should at least allow for testing ClassifAI to better understand its featureset and could at best allow for totally free usage.
The service that powers ClassifAI's Language Processing, IBM Watson's Natural Language Understanding ("NLU"), has a "lite" pricing tier that offers 30,000 free NLU items per month.
The service that powers ClassifAI's Image Processing, Microsoft Azure's Computer Vision, has a "free" pricing tier that offers 20 transactions per minute and 5,000 transactions per month.
Installation
1. Download or Clone this repo, install dependencies and build.
git clone https://github.com/10up/classifai.git && cd classifaicomposer install && npm install && npm run build
2. Activate Plugin
Register ClassifAI account
ClassifAI is a sophisticated solution that we want organizations of all shapes and sizes to count on. To keep adopters apprised of major updates and beta testing opportunities, gather feedback, and prioritize common use cases, we're asking for a little bit of information in exchange for a free key. Your information will be kept confidential.
1. Register for a ClassifAI account
- Register for a free ClassifAI account here.
- Check for an email from
ClassifAI Teamwhich contains the registration key. - Note that the email will be sent from
opensource@10up.com, so please whitelist this email address if needed.
2. Configure ClassifAI Registration Key under ClassifAI > ClassifAI
- In the
Registered Emailfield, enter the email you used for registration. - In the
Registration Keyfield, enter the registration key from the email in step 1 above.
Set Up Language Processing (via IBM Watson)
1. Sign up for Watson services
- Register for an IBM Cloud account or sign into your existing one.
- Check for an email from
IBM Cloudand click theConfirm Accountlink. - Log into your account (accepting the privacy policy) and create a new Natural Language Understanding Resource if you do not already have one. It may take a minute for your account to fully populate with the default resource group to use.
- Click
Managein the left hand menu, thenShow credentialson the Manage page to view the credentials for this resource.
2. Configure IBM Watson API Keys under ClassifAI > Language Processing
The credentials screen will show either an API key or a username/password combination.
If your credentials contain an API Key, then:
- In the
API URLfield enter the URL - Enter your API Key in the
API Keyfield.
If your credentials contain a username and password, then:
- In the
API URLfield enter the URL - Enter the
usernamevalue into theAPI Username. - Enter the
passwordinto theAPI Keyfield.
3. Configure Post Types to classify and IBM Watson Features to enable under ClassifAI > Language Processing
- Choose which public post types to classify when saved.
- Choose whether to assign category, keyword, entity, and concept as well as the thresholds and taxonomies used for each.
4. Save a Post/Page/CPT or run WP CLI command to batch classify your content
Set Up Image Processing (via Microsoft Azure)
Note that Computer Vision can analyze and crop images that meet the following requirements:
- The image must be presented in JPEG, PNG, GIF, or BMP format
- The file size of the image must be less than 4 megabytes (MB)
- The dimensions of the image must be greater than 50 x 50 pixels
- The file must be externally accessible via URL (i.e. local sites and setups that block direct file access will not work out of the box)
1. Sign up for Azure services
- Register for a Microsoft Azure account or sign into your existing one.
- Log into your account and create a new Computer Vision Service if you do not already have one. It may take a minute for your account to fully populate with the default resource group to use.
- Click
Keys and Endpointin the left hand Resource Management menu to view theEndpointURL for this resource. - Click the copy icon next to
KEY 1to copy the API Key credential for this resource.
2. Configure Microsoft Azure API and Key under ClassifAI > Image Processing
- In the
Endpoint URLfield, enter yourAPI endpoint. - In the
API Keyfield, enter yourKEY 1.
3. Enable specific Image Processing features
- Choose to
Automatically Caption Images,Automatically Tag Images,Enable smart cropping, and/orEnable OCR. - For features that have thresholds or taxonomy settings, set those as well.
4. Save Image or PDF file or run WP CLI command to batch classify your content
WP CLI Commands
- Check out the ClassifAI docs.
Frequently Asked Questions
What data does ClassifAI gather?
ClassifAI connects your WordPress site directly to your account with specific service provider(s) (e.g. Microsoft Azure AI, IBM Watson), so no data is gathered by 10up. The data gathered in our registration form is used simply to stay in touch with users so we can provide product updates and news. More information is available in the Privacy Policy on ClassifAIplugin.com.
What are the Categories, Keywords, Concepts, and Entities within the Language Processing feature?
Categories are five levels of hierarchies that IBM Watson can identify from your text. Keywords are specific terms from your text that IBM Watson is able to identify. Concepts are high-level concepts that are not necessarily directly referenced in your text. Entities are people, companies, locations, and classifications that are made by IBM Watson from your text.
How can I view the taxonomies that are generated from Language Processing?
Whatever options you have selected in the Category, Keyword, Entity, and Concept taxonomy dropdowns in the Language Processing settings can be viewed within Classic Editor metaboxes and the Block Editor side panel. They can also be viewed in the All Posts and All Pages table list views by utilizing the Screen Options to enable those columns if they're not already appearing in your table list view.
Support Level
Active: 10up is actively working on this, and we expect to continue work for the foreseeable future including keeping tested up to the most recent version of WordPress. Bug reports, feature requests, questions, and pull requests are welcome.
Changelog
A complete listing of all notable changes to ClassifAI are documented in CHANGELOG.md.
Contributing
Please read CODE_OF_CONDUCT.md for details on our code of conduct, CONTRIBUTING.md for details on the process for submitting pull requests to us, and CREDITS.md for a listing of maintainers, contributors, and libraries for ClassifAI.


