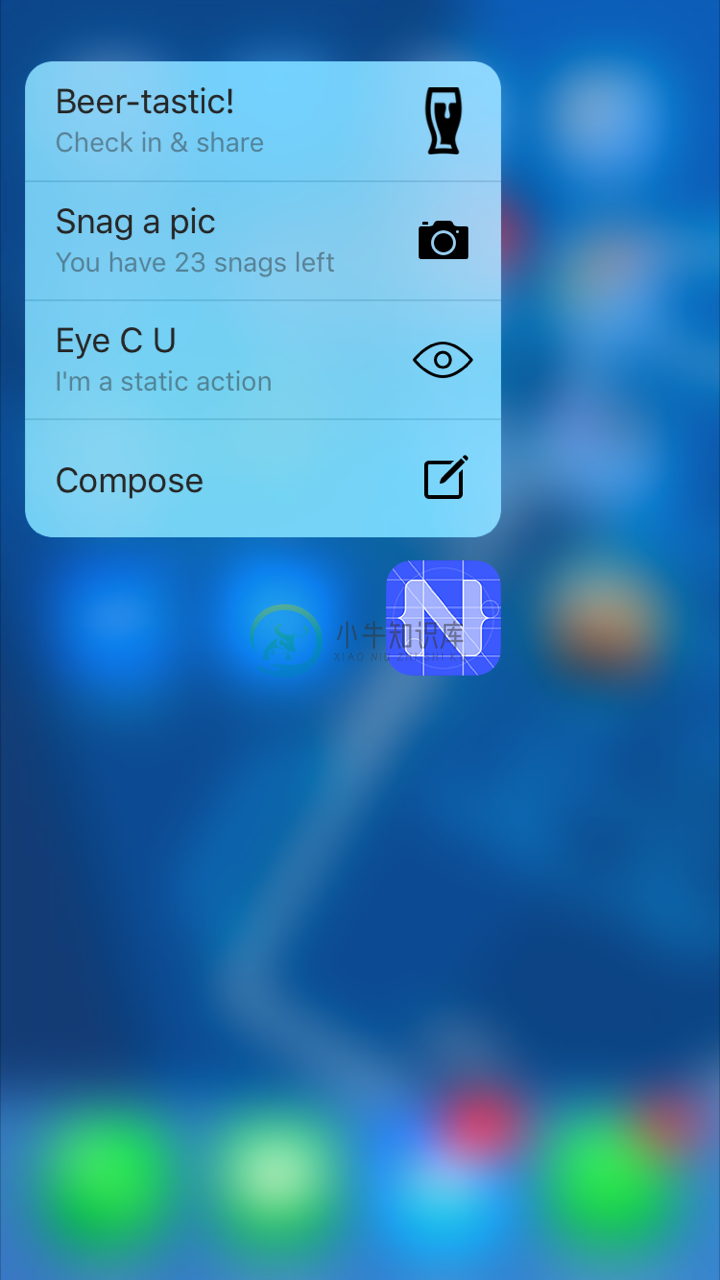
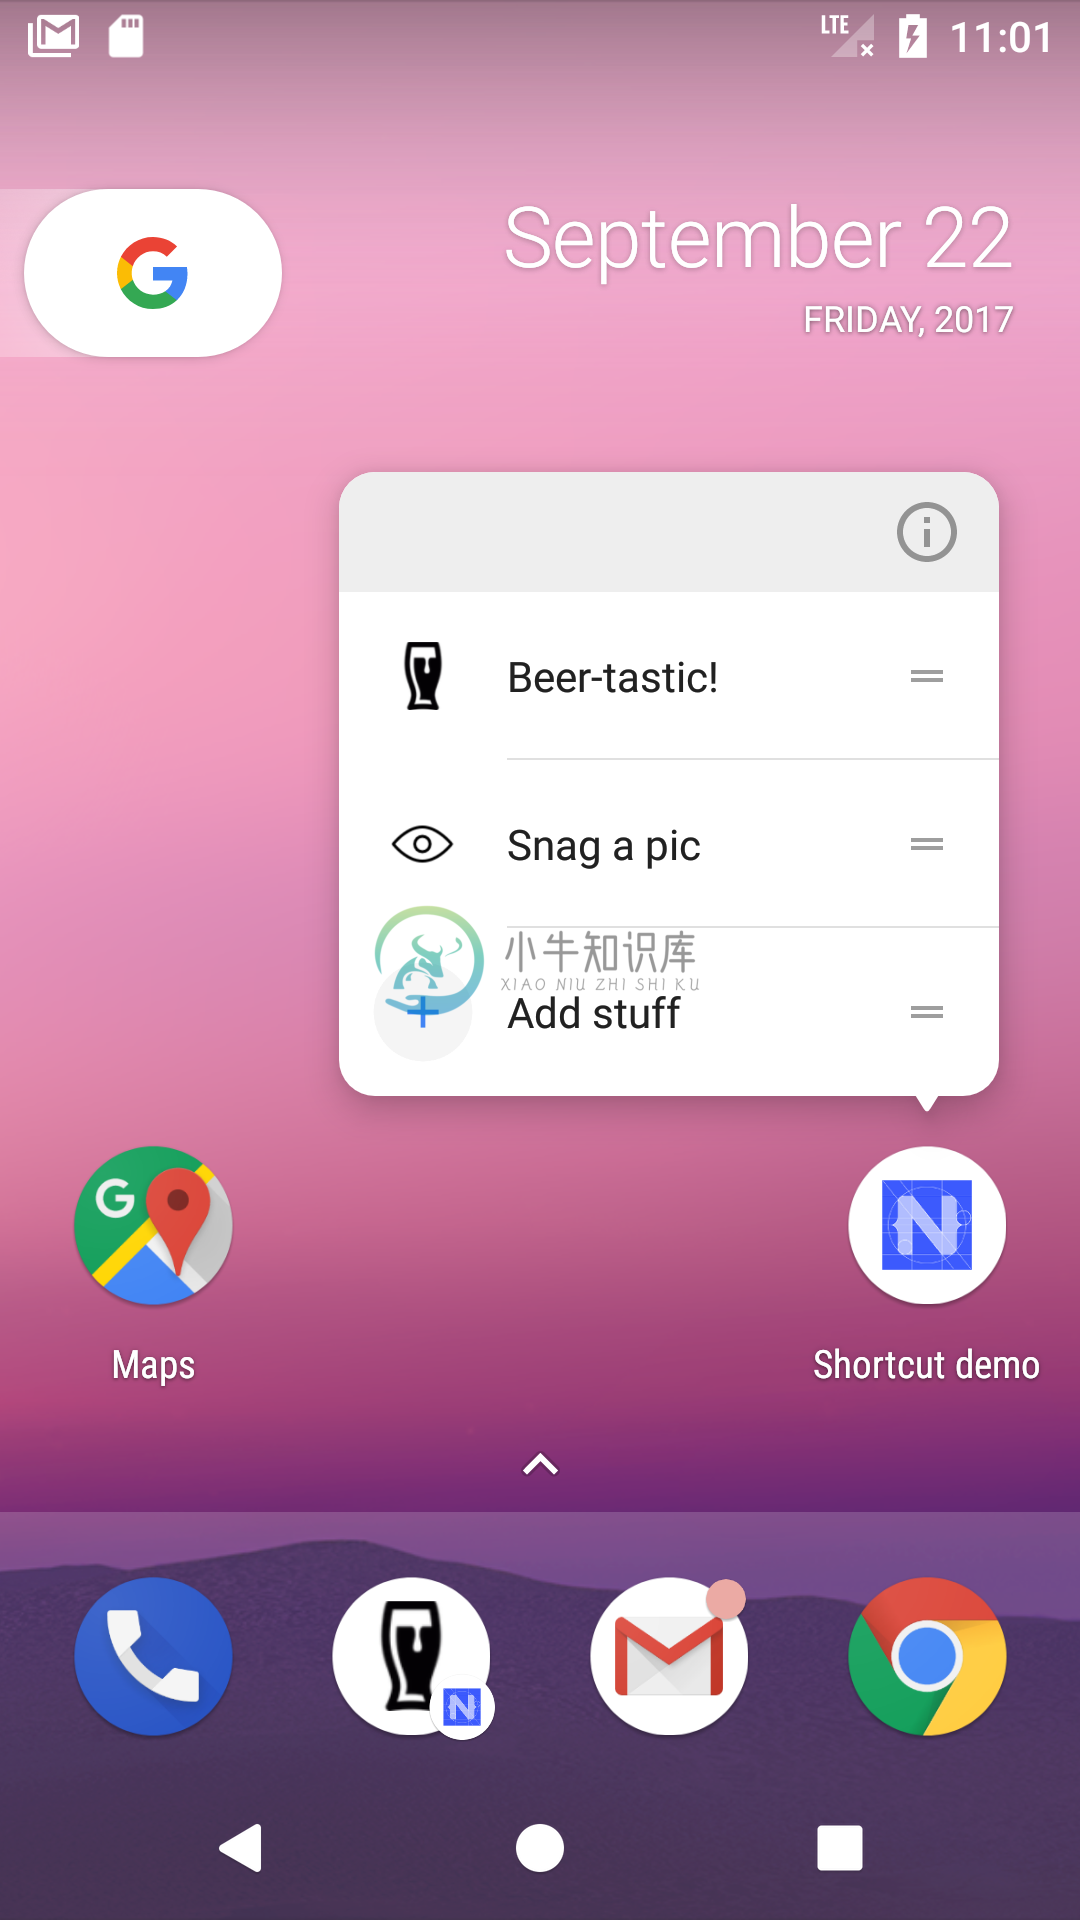
NativeScript Icon Shortcuts plugin
Supported platforms
- iPhone 6s / 6s Plus or newer, running iOS 9 or newer.
- Android 7.1 (API level 25) or newer.
Installation
From the command prompt go to your app's root folder and execute:
NativesScript 7.x
tns plugin add nativescript-app-shortcuts
NativesScript 6.x
tns plugin add nativescript-app-shortcuts@2.2.0
Demo app (XML & TypeScript)
Want to dive in quickly? Check out the demo app! Otherwise, continue reading.
Demo app (Angular)
This plugin is part of the plugin showcase app I built using Angular.
API
available
Check whether or not the device is capable.Android devices will also report false, so you can use this cross platform.
JavaScript
// require the plugin
var AppShortcuts = require("nativescript-app-shortcuts").AppShortcuts;

// instantiate the plugin
var appShortcuts = new AppShortcuts();

appShortcuts.available().then(
  function(available) {
    if (available) {
      console.log("This device supports app shortcuts");
    } else {
      console.log("No app shortcuts capability, ask the user to upgrade :)");
    }
  }
);
TypeScript
// require the plugin
import { AppShortcuts } from "nativescript-app-shortcuts";

// instantiate the plugin
let appShortcuts = new AppShortcuts();

appShortcuts.available().then(available => {
  if (available) {
    console.log("This device supports app shortcuts");
  } else {
    console.log("No app shortcuts capability, ask the user to upgrade :)");
  }
});
configureQuickActions
When your app is running you can add those fancy Quick Actions to the Home Screen icon. You can configure up to four icons and they are 'cached' by iOS until you pass in a new set of icons. So you don't need to do this every time your app loads, but it can't really hurt of course.
The type param (see the code sample below) is the most convenient way to relate the icon to the event you'll receive when the action was used to launch your app. So make sure it's unique amongst your icons.
There are two types of icons currently supported: iconType and iconTemplate.
iconType (iOS)
A value from a fixed list of icons which have been provided by Apple and look great (click the value in the 'API' column to look up the Objective-C name, and look at the sample below how to use them).
iconTemplate
Can be used to provide your own icon. It must be a valid name of an icon template in your Assets catalog. NativeScript allows you to add the icon to the app/App_Resources/<platform> folder. If you add a file called beer.png then reference it as beer. More on these images below when we discuss static actions.
Ignored on iOS, if iconType is set as well.
TypeScript
import { AppShortcuts } from "nativescript-app-shortcuts";
import { isIOS } from "tns-core-modules/platform";

let appShortcuts = new AppShortcuts();

appShortcuts.configureQuickActions([
  {
    type: "capturePhoto",
    title: "Snag a pic",
    subtitle: "You have 23 snags left", // iOS only
    iconType: isIOS ? UIApplicationShortcutIconType.CapturePhoto : null,
    iconTemplate: "eye" // ignored by iOS, if iconType is set as well
  },
  {
    type: "beer",
    title: "Beer-tastic!",
    subtitle: "Check in & share", // iOS only
    iconTemplate: "beer"
  }
]).then(() => {
  alert("Added 2 actions, close the app and apply pressure to the app icon to check it out!");
}, (errorMessage) => {
  alert(errorMessage);
});
Capturing the Action
When a home icon is pressed, your app launches. You probably want to perform different actions based on the home icon actionthat was picked (like routing to a different page), so you need a way to capture the event.
NativeScript with XML
In a non-Angular NativeScript app we need to extend app.js or app.ts and import the plugin,then call the setQuickActionCallback function. So in case of app.ts change it from something like this:
import * as application from "tns-core-modules/application";
application.start({ moduleName: "main-page" });
To this:
import * as application from "tns-core-modules/application";

// import the plugin
import { AppShortcuts } from "nativescript-app-shortcuts";

// instantiate it and call setQuickActionCallback
new AppShortcuts().setQuickActionCallback(shortcutItem => {
  console.log(`The app was launched by shortcut type '${shortcutItem.type}'`);

  // this is where you handle any specific case for the shortcut
  if (shortcutItem.type === "beer") {
    // this is an example of 'deeplinking' through a shortcut
    let frames = require("ui/frame");
    // on Android we need a little delay
    setTimeout(() => {
      frames.topmost().navigate("beer-page");
    });
  } else {
    // .. any other shortcut handling
  }
});

application.start({ moduleName: "main-page" });
NativeScript with Angular
If you're using Angular, the best place to add the handler is in app.module.ts,and use NgZone to help Angular knowing about the route change you're performing:
import { NgZone } from "@angular/core";
import { isIOS } from "tns-core-modules/platform";
import { RouterExtensions } from "nativescript-angular";
import { AppShortcuts } from "nativescript-app-shortcuts";

export class AppModule {
  constructor(private routerExtensions: RouterExtensions,
              private zone: NgZone) {

    new AppShortcuts().setQuickActionCallback(shortcutItem => {
  console.log(`The app was launched by shortcut type '${shortcutItem.type}'`);

      // this is where you handle any specific case for the shortcut, based on its type
      if (shortcutItem.type === "page1") {
        this.deeplink("/page1");
      } else if (shortcutItem.type === "page2") {
        this.deeplink("/page2");
      }
    });
  }

  private deeplink(to: string): void {
    this.zone.run(() => {
      this.routerExtensions.navigate([to], {
        animated: false
      });
    });
  }
}
Configuring Static Actions
With configureQuickActions you can configure dynamic actions,but what if you want actions to be available immediately after the app as installed from the store?
iOS
You need to manually edit the .plist.Fortunately NativeScript allows you to change this file through app/App_Resources/iOS/Info.plist. Anything added there is added to the final .plist during a build.
Note that dynamic actions will never replace static actions, so if you have two static actions you can add up to two dynamic ones. Any more will be ignored.
Here's an example which you can paste anywhere in the .plist file:
<key>UIApplicationShortcutItems</key>
<array>
  <dict>
    <key>UIApplicationShortcutItemIconFile</key>
    <string>Eye</string>
    <key>UIApplicationShortcutItemTitle</key>
    <string>Eye from plist</string>
    <key>UIApplicationShortcutItemSubtitle</key>
    <string>Awesome subtitle</string>
    <key>UIApplicationShortcutItemType</key>
    <string>eyefromplist</string>
  </dict>
  <dict>
    <key>UIApplicationShortcutItemIconType</key>
    <string>UIApplicationShortcutIconTypeCompose</string>
    <key>UIApplicationShortcutItemTitle</key>
    <string>Compose</string>
    <key>UIApplicationShortcutItemType</key>
    <string>compose</string>
  </dict>
</array>
UIApplicationShortcutItemIconFile
The second action above uses the built-in UIApplicationShortcutIconTypeCompose icon, but the first one uses a custom icon: Eye. This expects the file app/App_Resources/iOS/Eye.png. According to Apple's docs this needs to be a single color, transparent, square, 35x35 icon - but that size will look pixelated on retina devices so go ahead and use a 70x70 or 105x105 icon if you please.
UIApplicationShortcutItemTitle / UIApplicationShortcutItemSubtitle
You can guess what those do, right? Only the title is mandatory.
UIApplicationShortcutItemType
This is the same as the type param of configureQuickActions, so it's what you'll receive in the callback you may have configured in app.js / app.ts as payload.type. Just do something cool with that info (like routing to a specific page and loading some content).
Android
Open app/App_Resources/Android/AndroidManifest.xml and add:
<activity ..> <!-- your existing NativeScript activity -->
  <meta-data android:name="android.app.shortcuts"
             android:resource="@xml/shortcuts" />
</activity>
Add the file you referenced in AndroidManifest.xml: /app/App_Resources/Android/xml/shortcuts.xml and add:
<shortcuts xmlns:android="http://schemas.android.com/apk/res/android">
  <shortcut
      android:shortcutId="compose"
      android:enabled="true"
      android:icon="@drawable/add"
      android:shortcutShortLabel="@string/shortcut_short_label1"
      android:shortcutLongLabel="@string/shortcut_long_label1"
      android:shortcutDisabledMessage="@string/shortcut_disabled_message1">
    <intent
        android:action="shortcut.type.compose"
        android:targetPackage="org.nativescript.plugindemo.appshortcuts"
        android:targetClass="com.tns.NativeScriptActivity"/>
    <categories android:name="android.shortcut.conversation"/>
  </shortcut>
</shortcuts>
A few notes:
- This adds 1 static
shortcutto your app (you can add more if you like). - Make sure the
actionhas theshortcut.type.prefix. The value behind the prefix is the equivalent of the iOSUIApplicationShortcutItemType. - The
targetPackageneeds to be your app id. - The
targetClassneeds to be theactivityclass as mentioned inAndroidManifest.xml, which iscom.tns.NativeScriptApplicationby default.
-
nativescript-app-environment Add environment variables into your app from the nativescript-cli Creates app/environment.json from the nativescript-cli command via argv --env.app Install tns plugin add
-
NativeScript HealthCare App NativeScript Angular app template for an example healthcare scenario. Demonstrates a beautiful login screen, registration screen, custom form validation and animations, as
-
NativeScript Task App This repository demonstrates an example task management application built with NativeScript Angular. Technologies NativeScript Angular RxJS / NgRx (State / Effects / Actions / Re
-
NativeScript AppSync plugin A live-update service for your NativeScript apps! �� NOTE: NativeScript AppSync is currently in beta and is not supported by the core NativeScript team. AppSync is based on
-
NativeScript App Templates App templates help you jump start your native cross-platform apps with built-in UI elements and best practices. Save time writing boilerplate code over and over again when y
-
cd json-serverjson-server --watch db.json -d 2000tns run android --emulator


