
ssm整合之Spring整合MyBatis框架配置事务的详细教程

ssm整合之Spring整合MyBatis框架配置事务
1.在applicationContext.xml修改代码如下:
<?xml version="1.0" encoding="UTF-8"?>
<beans xmlns="http://www.springframework.org/schema/beans"
    xmlns:xsi="http://www.w3.org/2001/XMLSchema-instance"
    xmlns:context="http://www.springframework.org/schema/context"
    xmlns:aop="http://www.springframework.org/schema/aop"
    xmlns:tx="http://www.springframework.org/schema/tx"
    xsi:schemaLocation="http://www.springframework.org/schema/beans
	http://www.springframework.org/schema/beans/spring-beans.xsd
	http://www.springframework.org/schema/context
	http://www.springframework.org/schema/context/spring-context.xsd
	http://www.springframework.org/schema/aop
	http://www.springframework.org/schema/aop/spring-aop.xsd
	http://www.springframework.org/schema/tx
	http://www.springframework.org/schema/tx/spring-tx.xsd">
  <!--开启注解的扫描,希望处理service和dao,controller不需要Spring框架去处理-->
  <context:component-scan base-package="com.txw">
    <!--配置哪些注解不扫描-->
    <context:exclude-filter type="annotation" expression="org.springframework.stereotype.Controller" />
  </context:component-scan>
  <!--Spring整合MyBatis框架-->
  <!--配置连接池-->
  <bean id="dataSource" class="com.mchange.v2.c3p0.ComboPooledDataSource">
    <property name="driverClass" value="com.mysql.jdbc.Driver"/>
    <property name="jdbcUrl" value="jdbc:mysql:///ssm"/>
    <property name="user" value="root"/>
    <property name="password" value="123456"/>
  </bean>
  <!--配置SqlSessionFactory工厂-->
  <bean id="sqlSessionFactory" class="org.mybatis.spring.SqlSessionFactoryBean">
    <property name="dataSource" ref="dataSource" />
  </bean>
  <!--配置AccountDao接口所在包-->
  <bean id="mapperScanner" class="org.mybatis.spring.mapper.MapperScannerConfigurer">
    <property name="basePackage" value="com.txw.dao"/>
  </bean>
  <!--配置Spring框架声明式事务管理-->
  <!--配置事务管理器-->
  <bean id="transactionManager" class="org.springframework.jdbc.datasource.DataSourceTransactionManager">
    <property name="dataSource" ref="dataSource" />
  </bean>
  <!--配置事务通知-->
  <tx:advice id="txAdvice" transaction-manager="transactionManager">
    <tx:attributes>
      <tx:method name="find*" read-only="true"/>
      <tx:method name="*" isolation="DEFAULT"/>
    </tx:attributes>
  </tx:advice>
  <!--配置AOP增强-->
  <aop:config>
    <aop:advisor advice-ref="txAdvice" pointcut="execution(* com.txw.service.impl.*ServiceImpl.*(..))"/>
  </aop:config>
</beans>
2.修改index.jsp的代码如下:
<%--
 Created by IntelliJ IDEA.
 User: Adair
 Date: 2020/7/8 0008
 Time: 14:26
 To change this template use File | Settings | File Templates.
--%>
<%@ page contentType="text/html;charset=UTF-8" language="java" %>
<html>
<head>
  <title>首页</title>
</head>
<body>
  <a href="account/findAll" rel="external nofollow" >测试查询</a>
  <h3>测试保存</h3>
  <form action="account/save" method="post">
     姓名:<input type="text" name="name" /><br/>
     金额:<input type="text" name="money" /><br/>
     <input type="submit" value="保存"/><br/>
  </form>
</body>
</html>
3.修改帐户的控制类的代码如下:
package com.txw.controller;

import com.txw.domain.Account;
import com.txw.service.AccountService;
import org.springframework.beans.factory.annotation.Autowired;
import org.springframework.stereotype.Controller;
import org.springframework.ui.Model;
import org.springframework.web.bind.annotation.RequestMapping;
import javax.servlet.http.HttpServletRequest;
import javax.servlet.http.HttpServletResponse;
import java.util.List;
/**
 *帐户的控制类
 * @author Adair
 */
@Controller
@RequestMapping(path = "/account")
@SuppressWarnings("all")   // 注解警告信息
public class AccountController {
  @Autowired // 自动类型注入
  private AccountService accountService;
  @RequestMapping(value = "/findAll")
  public String findAll(Model model){
    System.out.println("表现层:查询所有账户...");
    // 调用findAll()方法
    List<Account> list = accountService.findAll();
    // 进行存储
    model.addAttribute("list",list);
    return "list";
  }
  /**
   * 保存
   * @return
   */
  @RequestMapping("/save")
  public void save(Account account, HttpServletRequest request, HttpServletResponse response) throws Exception {
    accountService.saveAccount(account);
    response.sendRedirect(request.getContextPath()+"/account/findAll");
    return;
  }
}
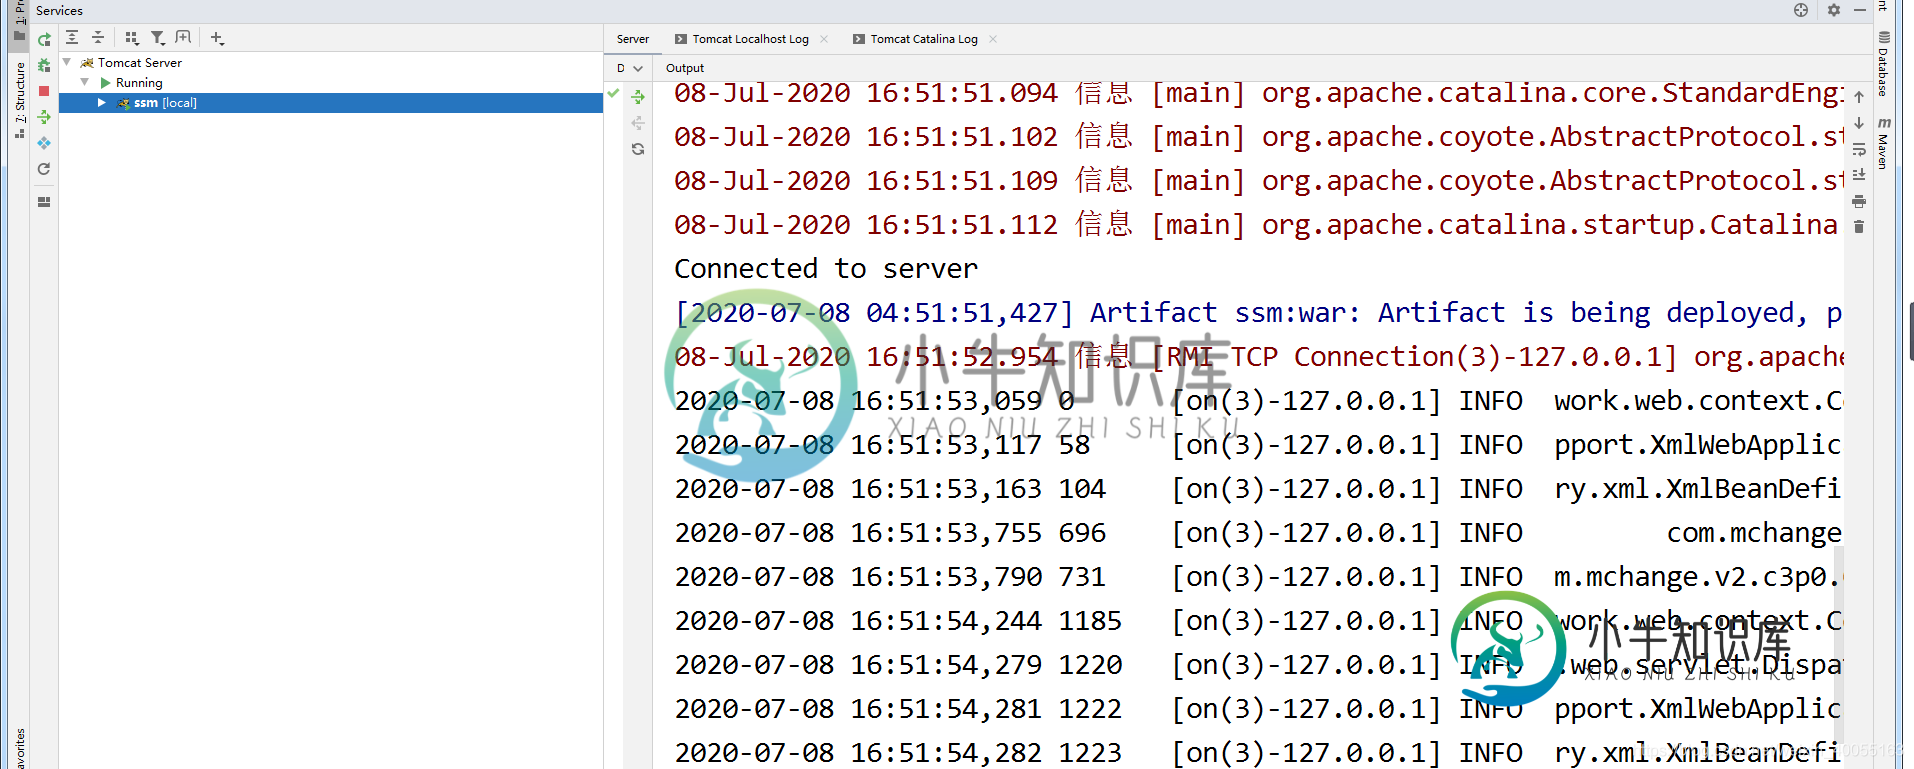
4.重新部署项目,运行如图所示:
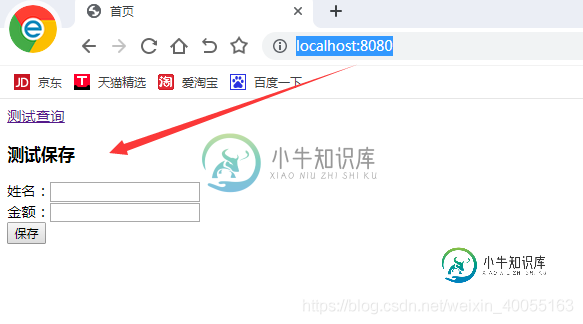
5.通过浏览器访问http://localhost:8080/如图所示:
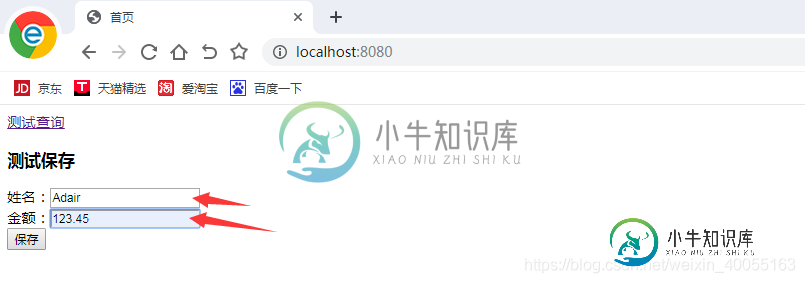
6.填写姓名和金额如图所示:
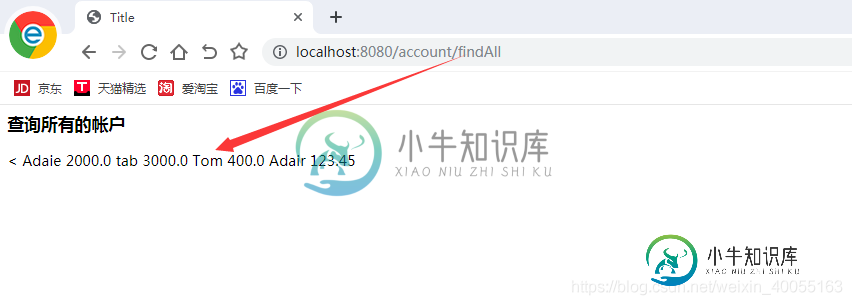
7.点击保存会跳转到如图所示的界面:
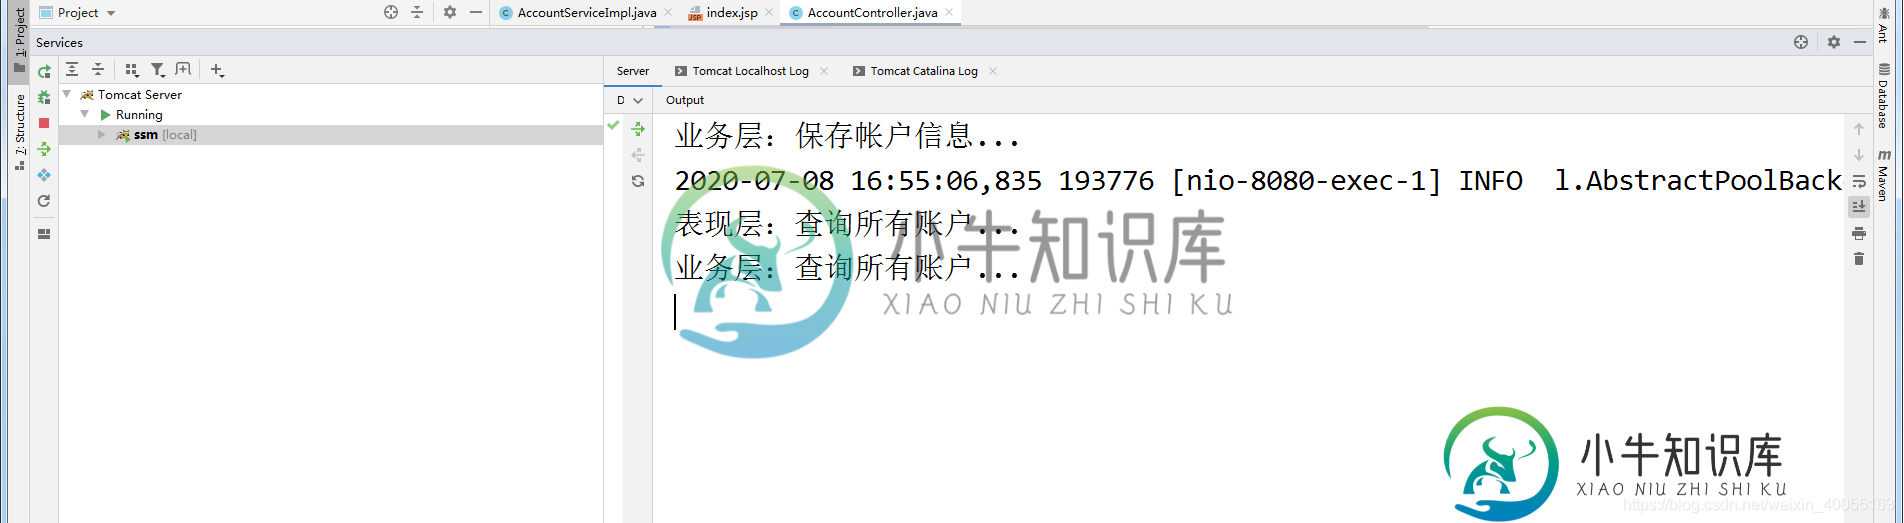
8.控制台打印结果如图所示:
到此这篇关于ssm整合之Spring整合MyBatis框架配置事务的文章就介绍到这了,更多相关Spring整合MyBatis配置事务内容请搜索小牛知识库以前的文章或继续浏览下面的相关文章希望大家以后多多支持小牛知识库!
-
本文向大家介绍一步步教你整合SSM框架(Spring MVC+Spring+MyBatis)详细教程,包括了一步步教你整合SSM框架(Spring MVC+Spring+MyBatis)详细教程的使用技巧和注意事项,需要的朋友参考一下 前言 SSM(Spring+SpringMVC+Mybatis)是目前较为主流的企业级架构方案,不知道大家有没有留意,在我们看招聘信息的时候,经常会看到这一点,需要
-
本文向大家介绍Spring SpringMVC,Spring整合MyBatis 事务配置的详细流程,包括了Spring SpringMVC,Spring整合MyBatis 事务配置的详细流程的使用技巧和注意事项,需要的朋友参考一下 整合思路 (1)SSM是什么? Spring,SpringMVC,Mybastis (2)思路 搭建整合的环境,初始化环境 搭建Spring环境,配置完成并测试 (se
-
本文向大家介绍详解SpringBoot整合MyBatis详细教程,包括了详解SpringBoot整合MyBatis详细教程的使用技巧和注意事项,需要的朋友参考一下 1. 导入依赖 首先新建一个springboot项目,勾选组件时勾选Spring Web、JDBC API、MySQL Driver 然后导入以下整合依赖 2. 连接数据库 数据库代码: 然后IDEA连接数据库 打开我们创建的数据库sp
-
本文向大家介绍Ajax 框架之SSM整合框架实现ajax校验,包括了Ajax 框架之SSM整合框架实现ajax校验的使用技巧和注意事项,需要的朋友参考一下 刚学习了ssm框架,ajax校验成功,分享下 1.导入jar包 2.配置spring-servlet.xml 3.控制器中用@ResponseBody实现返回json数据格式 4.页面中接收查询到的结果 实现结果就是以下这样的: 以上所述是小编
-
本文向大家介绍使用IDEA搭建SSM框架的详细教程(spring + springMVC +MyBatis),包括了使用IDEA搭建SSM框架的详细教程(spring + springMVC +MyBatis)的使用技巧和注意事项,需要的朋友参考一下 1 框架组成 Spring SpringMVC MyBatis 2 所需工具 Mysql 8.0.15 数据库管理系统,创建数据库 Tomcat
-
Spring + Mybatis 整合 本章节主要是介绍如何使用Spring + Mybatis 框架整合构建项目。 Spring-mybatis整合官方文档地址 http://www.mybatis.org/spring/zh/ 本教程的代码已经存放在code.aliyun.com上面 . 可以clone到本地 . 项目地址 : https://code.aliyun.com/lemypyl/s