如何在springboot中将springfox-swagger2与jersey集成
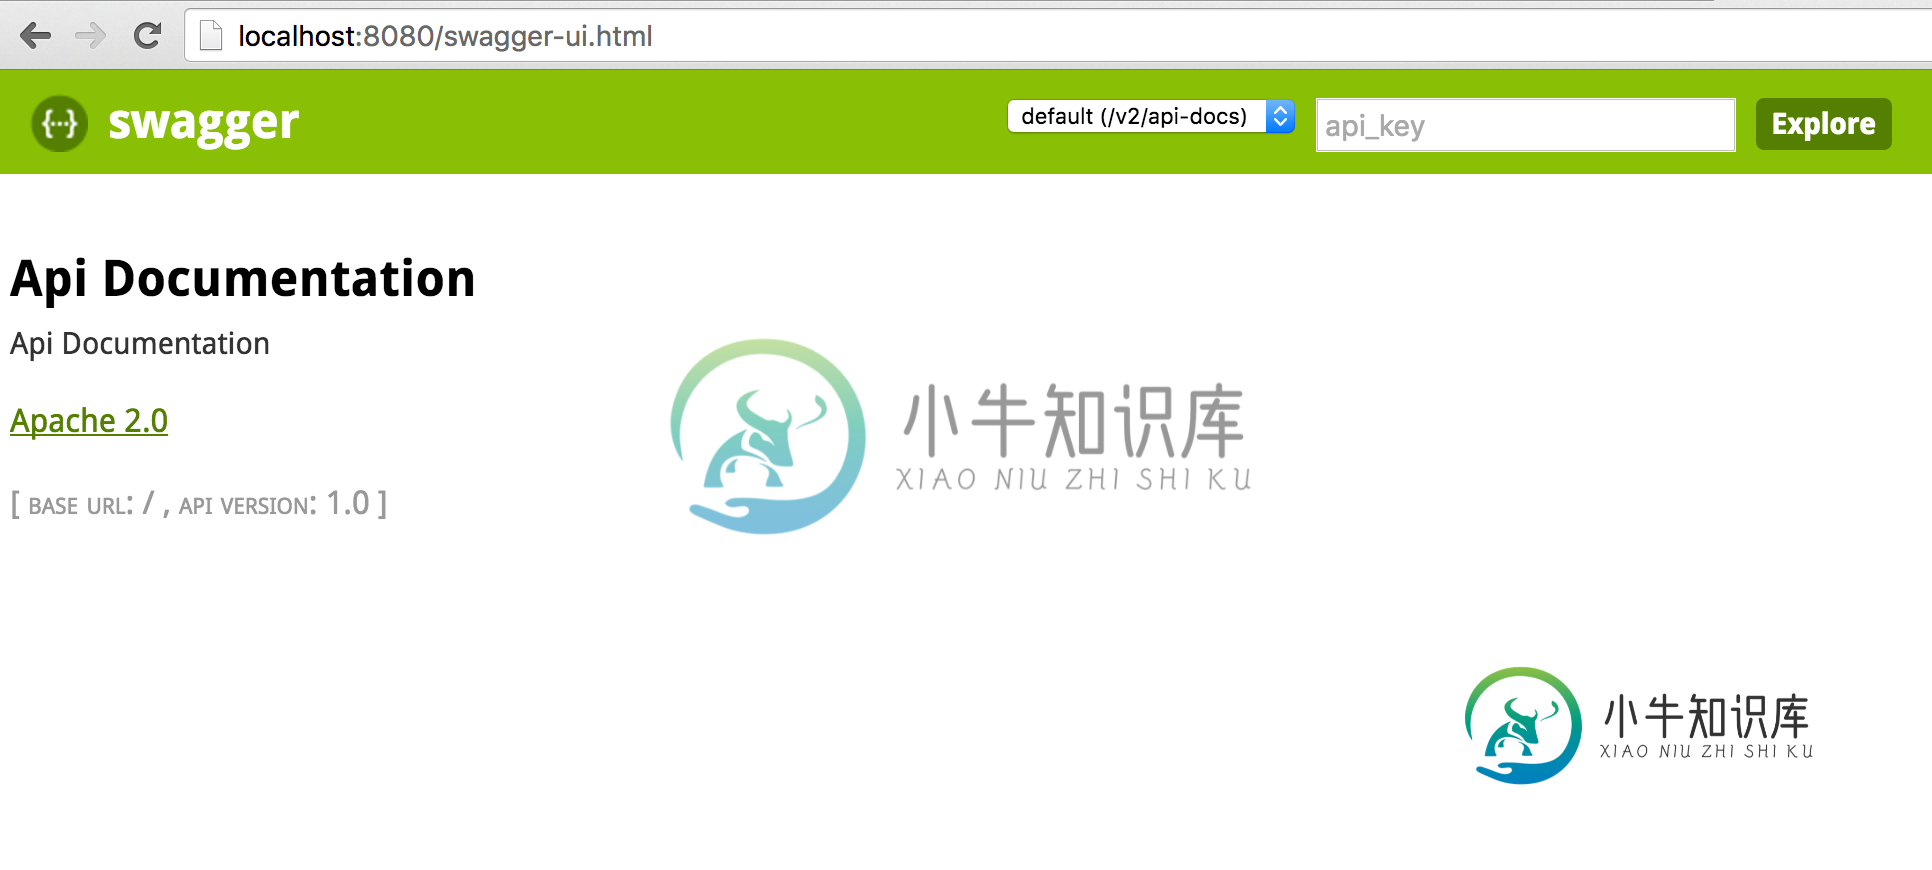
我使用springboot和jersey作为restful API。现在我想将swagger2集成到我的项目中,但它不起作用。当我运行我的应用程序并访问http://localhost:8080/swagger-ui.html.我得到了swagger网页,但没有显示api(见下图)。似乎swagger没有找到我的api类。

下面是我添加的依赖项。
compile "io.springfox:springfox-swagger2:2.5.0"
compile 'io.springfox:springfox-swagger-ui:2.5.0'
以下是我的申请课程:
@SpringBootApplication
@EnableSwagger2
@EnableAutoConfiguration
@Configuration
@ComponentScan(value = "com.ticket.api")
public class Application {

    public static void main(String[] args) {
        SpringApplication.run(Application.class, args);
    }


    @Bean
    public Docket documentation() {
        return new Docket(DocumentationType.SWAGGER_2)
                .select()
                .apis(RequestHandlerSelectors.basePackage("com.lenovo.ticket.api"))
                .paths(PathSelectors.any())

                .build().pathMapping("/")
                .useDefaultResponseMessages(false);
    }

    @Bean
    UiConfiguration uiConfig() {
        return UiConfiguration.DEFAULT;
    }

}
下面是我的jersey配置类:
@Configuration
@ApplicationPath("/ticket")
public class JerseyConfig extends ResourceConfig  {

    public JerseyConfig(){
        register(Helloworld.class);
    }

}
共有2个答案
如前所述,如果使用Spring MVC而不是Jersey实现endpoint,则可以使用EnableSwagger 2注释和springfox依赖项。
为了记录您的泽西实现的endpoint:
1)确保您的Spring Boot应用程序通过以下方式扫描位于特定包(即com.asimio.jerseyexample.config)中的组件:
@SpringBootApplication(
    scanBasePackages = {
        "com.asimio.jerseyexample.config", "com.asimio.jerseyexample.rest"
    }
)
2) Jersey配置类实现:
package com.asimio.jerseyexample.config;
...
@Component
public class JerseyConfig extends ResourceConfig {

    @Value("${spring.jersey.application-path:/}")
    private String apiPath;

    public JerseyConfig() {
        // Register endpoints, providers, ...
        this.registerEndpoints();
    }

    @PostConstruct
    public void init() {
        // Register components where DI is needed
        this.configureSwagger();
    }

    private void registerEndpoints() {
        this.register(HelloResource.class);
        // Access through /<Jersey's servlet path>/application.wadl
        this.register(WadlResource.class);
    }

    private void configureSwagger() {
        // Available at localhost:port/swagger.json
        this.register(ApiListingResource.class);
        this.register(SwaggerSerializers.class);

        BeanConfig config = new BeanConfig();
        config.setConfigId("springboot-jersey-swagger-docker-example");
        config.setTitle("Spring Boot + Jersey + Swagger + Docker Example");
        config.setVersion("v1");
        config.setContact("Orlando L Otero");
        config.setSchemes(new String[] { "http", "https" });
        config.setBasePath(this.apiPath);
        config.setResourcePackage("com.asimio.jerseyexample.rest.v1");
        config.setPrettyPrint(true);
        config.setScan(true);
    }
}
3) 使用JAX-RS(Jersey)和Swagger注释的资源实现:
package com.asimio.jerseyexample.rest.v1;
...
@Component
@Path("/")
@Consumes(MediaType.APPLICATION_JSON)
@Produces(MediaType.APPLICATION_JSON)
@Api(value = "Hello resource", produces = "application/json")
public class HelloResource {

    private static final Logger LOGGER = LoggerFactory.getLogger(HelloResource.class);

    @GET
    @Path("v1/hello/{name}")
    @ApiOperation(value = "Gets a hello resource. Version 1 - (version in URL)", response = Hello.class)
    @ApiResponses(value = {
        @ApiResponse(code = 200, message = "Hello resource found"),
        @ApiResponse(code = 404, message = "Hello resource not found")
    })
    public Response getHelloVersionInUrl(@ApiParam @PathParam("name") String name) {
        LOGGER.info("getHelloVersionInUrl() v1");
        return this.getHello(name, "Version 1 - passed in URL");
    }
...
}
4) 确保应用程序的Spring Boot配置文件区分Spring MVC(用于执行器endpoint)和Jersey(用于资源)endpoint:
应用程序.yml
...
# Spring MVC dispatcher servlet path. Needs to be different than Jersey's to enable/disable Actuator endpoints access (/info, /health, ...)
server.servlet-path: /
# Jersey dispatcher servlet
spring.jersey.application-path: /api
...
这些步骤在我不久前创建的一篇博客文章中有更详细的介绍,这篇文章是使用Spring Boot、Jersey Swagger和Docker的微服务
它引用了我的Bitbucket repo中的源代码和一个运行示例
不支持泽西,请参考此答案。鉴于答案来自SpringFox库的作者,我认为信息是可靠的。
-
我对springfox和Swagger2都是新手。我一直在尝试将SpringFox/Swagger2与我的spring boot微服务集成以生成API文档。 我遵循了“http://springfox.github.io/springfox/docs/snapshot/”站点中给出的步骤。但是我没有成功的带来api文档页面。 每当我试图点击URL“http://localhost:8081/swa
-
我如何访问生成的swagger-ui.html?或者index.html我似乎在我的项目中找不到这个文件。啊啊!
-
我尝试使用@api和@apimodel来重命名我的api引用,但似乎什么都不起作用。它总是使用类名。Im使用swagger2+springfox 2.4+Springboot。
-
我尝试在Tomee 1.5.2 WebProfile中使用jer1.18部署一个非常简单的RESTful Web服务。我的项目完全受到tomee-jersey-eclipselink的启发 我通过删除持久性部分进一步简化的示例:Web 服务只是重新调整“你好,世界! 我在POM中的依赖关系: 我使用与应用程序模型无关的应用程序模型部署我的 Web 服务: 这是我的网络.xml: 我还在$TOMEE
-
本文向大家介绍Springboot中集成Swagger2框架的方法,包括了Springboot中集成Swagger2框架的方法的使用技巧和注意事项,需要的朋友参考一下 摘要:在项目开发中,往往期望做到前后端分离,也就是后端开发人员往往需要输出大量的服务接口,接口的提供方无论是是Java还是PHP等语言,往往会要花费一定的精力去写接口文档,比如A接口的地址、需要传递参数情况、返回值的JSON数据格式
-
我希望文档的显示方式类似于它在特定于应用程序的上下文路径下的文档中提到的方式。你能告诉我我错过了什么吗?

